Last Updated: Monday, 19th February 2024
How To Install End Feed Fittings
End Feed fittings require more skill than others when installing. Don't let this put you off though. With practice, you can learn this art and earn the respect of your peers!
To help, we have outlined below the equipment needed and the 7 simple steps to create the perfect end feed joint on copper pipe. Let's start off by gathering the tools and equipment that we'll need.
How To Install End Feed Fittings
Things You Will Need
Supplies You Will Need
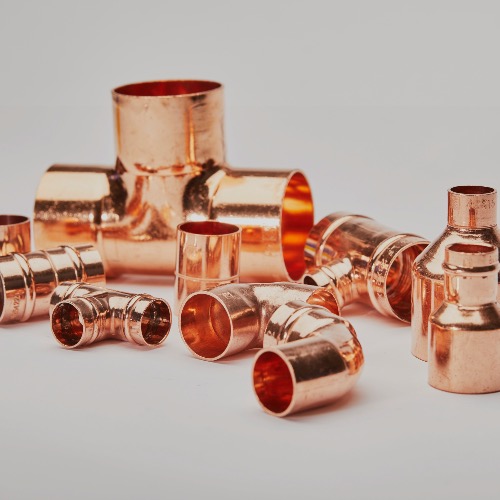
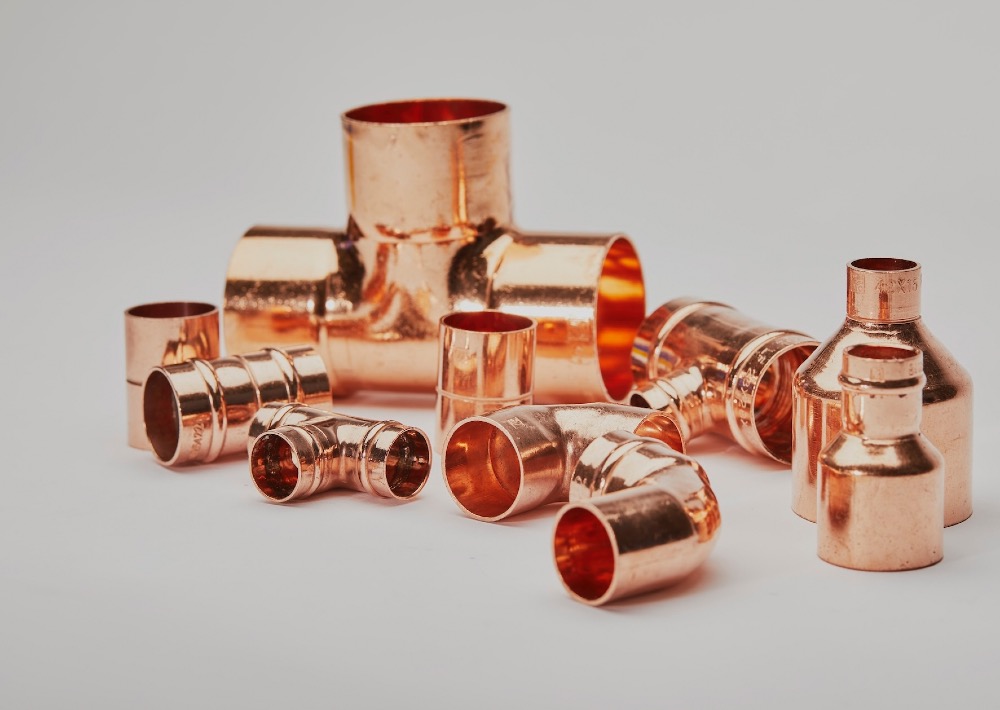
- End Feed Fittings (BS EN 1254)
- Copper Pipe (BS EN 1057)
Tools You Will Need
- Solder Wire
- Flux
- Pipe Cutter
- Abrasive Cloth
- Deburring Tool
- Flame
- Heat Mat
- Hand & Eye Protection
- Wet Rag
Steps
-
Pre-Installation Checks
Verify that the tube conforms to BS EN 1057 and that its outer diameter matches the fitting size. Inspect both the fitting and tube for cleanliness, damage, and imperfections.
-

Cut your pipe to size
It is important that you measure your pipe correctly and cut cleanly across the tube diameter using a good quality pipe cutter or rotary pipe cutter. If your cut is not flat, or your pipe is too short, the joint may not form properly. Too long and you may introduce strain into the whole system.
-

Cleaning
It is essential that you clean both the inside the fitting and the outside of the pipe. The fitting should also be deburred using your deburring tool, this will ensure the pipe is smooth and will not interfere with flow. The outside of the pipe needs to be cleaned to ensure that there is no pipe residue, dirt of grit present near the joint. If you don't remove all oxides and any material where the fittings and tube overlap you risk reducing the strength of the soldered joint, which can lead to problems later down the line.
-

Apply Flux
Only enough flux to lightly cover where the tube and the fitting will overlap should be applied. All fluxes should be used sparingly and strictly in accordance with the manufacturer's instructions. Flux is essentially corrosive and will erode the pipe over time if you don't remove all excess flux at the end of the assembly. Soldering flux protects against re-oxidation of the joint during the soldering procedure, helps prepare the fitting for the capillary action, and to assist in residual oxide removal. It should be done as quickly as possible after cleaning.
-

Assemble
Insert the tube into the fitting until the pipe reaches the base of the pipe stop. A small twist can also be applied to ensure even coverage of the flux. At this point, excess flux should be wiped away using a rag.
-
Heating
When heating, the entire circumference of the fitting should be heated evenly. It is recommended that you warm the pipe and the fitting gently before applying direct heat. Be careful not to overheat the joint or direct the flame into the face of the fitting cup. This could burn the flux, which will make it more difficult for the solder to flow into the joint in the next step.
-
Apply Solder
Touch the joint with the solder. If the solder does not melt and get drawn into the joint, take it away and continue heating. If the solder begins to melt, push the solder into the joint whilst continuing to heat the base of the joint.
-
Cooling & Cleaning
You should allow the joint to cool naturally, otherwise you could stress the joint. When cool, remove any excess flux and residue with a wet rag.
-
Testing
All systems are thoroughly tested upon completion. Whenever possible, completed systems should also be flushed to remove debris.
Wrapping Up
By following these steps, you'll be able to successfully fit end feed fittings, simplify the soldering process, and ensure reliable jointing in your plumbing projects.
Any more questions?
If you have any queries or questions about the products we sell, or even your next project, give us a shout! We'll try our best to give you a hand.