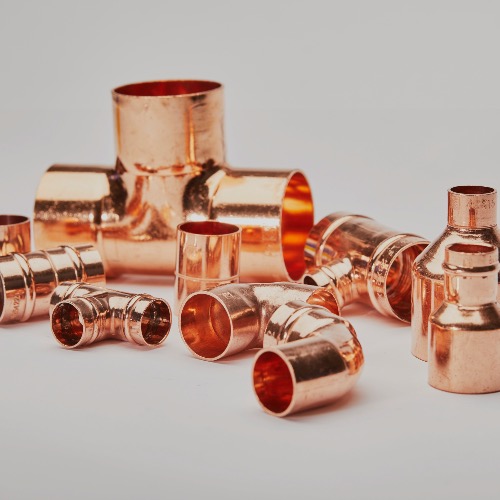
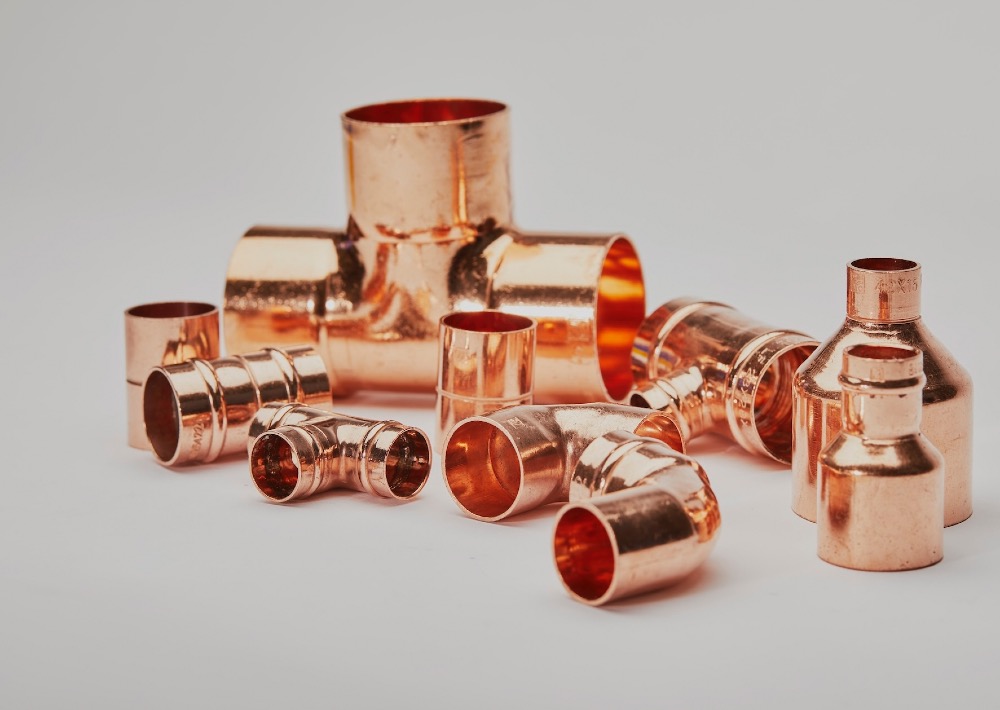
Solder ring fittings offer a simplified approach to joining copper pipes by removing the need for manually introducing the solder. In this guide, we'll walk you through the straightforward process in 6 simple steps.
Before you begin, gather the necessary equipment and follow these instructions to ensure a successful installation.
How To Install Solder Ring Fittings
Things You Will Need
Supplies You Will Need
- Copper Pipe (BS EN 1057)
- Solder Ring Fittings (BS EN 1254)
Tools You Will Need
- Flux
- Pipe Cutter
- Abrasive Cloth
- Deburring Tool
- Flame
- Heat Mat
- Hand & Eye Protection
- Wet Rag
Steps
-
Pre-Installation Checks
Verify that the tube conforms to BS EN 1057 and that its outer diameter matches the fitting size. Inspect both the fitting and tube for cleanliness, damage, and imperfections.
-

Cut your pipe to size
Use a high-quality pipe cutter or rotary pipe cutter to make a clean cut across the tube diameter. A precise cut is essential for a quality joint. Incorrect cuts can affect the joint's integrity – too short, and the joint might not take properly; too long, and strain could be introduced into the system.
-

Cleaning
Thoroughly clean the inside of the fitting and the outside of the pipe. Use a deburring tool on the fitting to ensure a smooth surface. Cleaning the pipe's exterior removes residue, dirt, and grit near the joint which can weaken the soldered joint, leading to issues later on.
-

Apply Flux
Flux has a few uses – it protects against re-oxidation of the joint during soldering, prepares the fitting for capillary action, and aids in removing residual oxides. Apply flux as quickly as possible after cleaning, focusing only on surfaces you cleaned with an abrasive cloth. Use a minimal amount of flux, applying it only where the tube and fitting will overlap. Follow the manufacturer's instructions carefully and ensure all excess flux is removed to prevent long-term corrosion.
-

Assemble
Insert the tube into the fitting until it reaches the base of the pipe stop. A gentle twist can help to evenly distribute the flux. Wipe away excess flux using a rag.
-
Heating
Heat the entire circumference of the fitting evenly. Before applying direct heat, gently warm both the pipe and fitting. Avoid overheating or directing the flame into the fitting cup, as it could burn the flux and hinder the flow of the solder in the next step.
-
Cooling & Cleaning
Allow the joint to cool naturally to prevent stressing it. Once cooled, use a wet rag to remove any excess flux and residue.
-
Testing
When you've followed these instructions for every fitting and fully installed your system, you should thoroughly test the system. Ideally, flush the completed system to remove any debris and contaminants.
Wrapping Up
By following these steps, you'll be able to successfully fit solder ring fittings, simplifying the soldering process and ensuring reliable jointing in your plumbing projects.
Any more questions?
If you have any queries or questions about the products we sell, or even your next project, give us a shout! We'll try our best to give you a hand.