
Pre Checks
Before diving into the installation, take a moment to ensure everything is in order for a smooth process:
Check all parts are present in your box
Remove all protective packaging
If wall-mounting, check the wall is strong enough to support the towel rail, with water inside
Ideally you’ll be installing directly onto brick or other masonry.
If installing onto a stud wall, attach the towel rail directly to the wooden batons.
Floor Mounted Installation
If you have purchased a floor-mounted towel rails, follow these instructions:
Fix the top flanges to the radiator and otherwise fully assemble the structure of the radiator.
Put the radiator against the wall where it is required to go.
Mark the positions of the holes for the screws, on the floor and the wall.
Remove the radiator from its position.
Drill the holes into the floor and the wall to suit the rawl plugs provided.
Return the radiator to its desired position and secure the flanges using the screws provided.
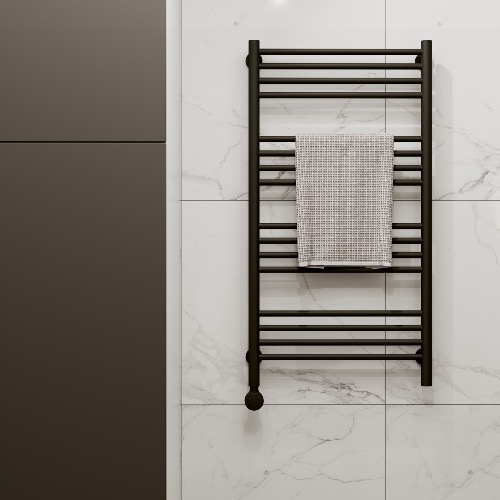
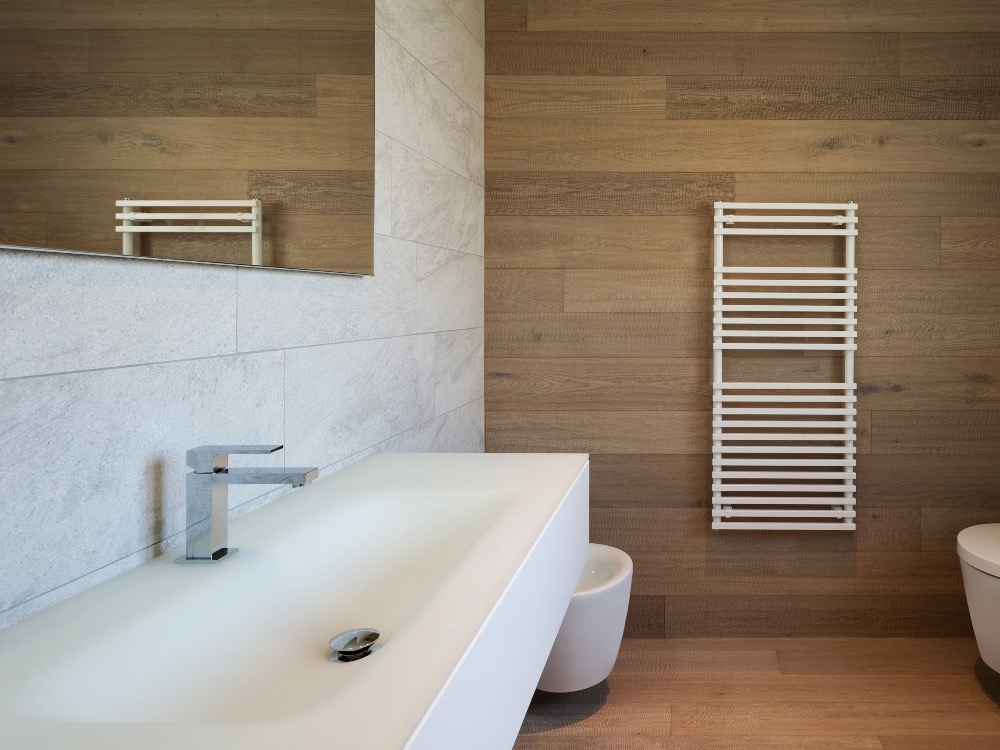
Wall Mounted Installation
If you have purchased a wall-mounted towel rail, follow these instructions:
Remove the wall-fixing pegs from the radiator, or otherwise find them in the box.
Mark out the hole positions for the wall-fixing pegs on the wall.
Drill the holes and fix the pegs into position, using the screws and rawl plugs provided.
Push the radiator over the wall-fixing pegs and secure the radiator using the grub screws.
Fixing Radiator Valves
Properly attaching the radiator valves is essential for efficient operation. Follow these instructions carefully:
When installing the radiator valves to your radiator, you must use a substantial length of PTFE Tape to wrap around the threads before screwing into the radiator.
Make sure the inlets for the radiator valves are pointing towards the pipework.
Connect the copper pipes to the radiator valves and secure them by tightening the compression nut.
Check for leaks.
Wrapping Up
Installing your new towel rail, whether floor-mounted or wall-mounted, can be a straightforward process with the right preparation and attention to detail. Remember, the key to a smooth installation lies in careful planning, precise execution, and regular checks for leaks to guarantee efficient and effective operation.
If you are looking for a new towel rail to install, look no further than our beautiful collection here at PlumbHQ.
Any more questions?
If you have any queries or questions about the products we sell, or even your next project, give us a shout! We'll try our best to give you a hand.