Last Updated: Monday, 19th February 2024
How To Install Copper Press Fittings
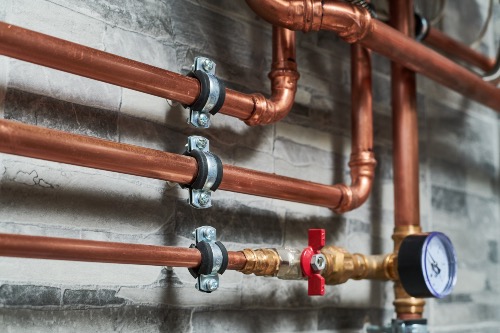
Copper press fittings are fast becoming a go-to choice for many plumbing projects due to their quick installation, dependability, and adaptability. In this guide, we'll provide you with an easy step-by-step process for using copper press fittings, ensuring a solid and leak-free connection.

How To Install Copper Press Fittings
Things You Will Need
Supplies You Will Need
- Copper Press Fittings
- Copper Pipe (BS EN 1057)
Tools You Will Need
- Press Tool with suitable jaws
- Pipe Cutter
- Deburring Tool
- Cleaning Brush or Emery Cloth
Steps
-
Get The Copper Pipes Ready
Measure and mark the required length of the pipe.
-

Cut the Pipe To Length
Use a pipe cutter to cut the pipe flat across the pipe to the marked length. Use a deburring tool to eliminate any burrs or sharp edges from the freshly cut end of the pipe. Clean the exterior of the pipe with a cleaning brush or emery cloth to remove any contaminants, grease, or oxidation.
-

Prepare The Copper Press Fittings
Examine the fitting for any damage or defects. Inspect the O-ring inside the fitting for any signs of damage or wear. Confirm that the fitting is the appropriate size for the pipe you're using.
-

Assemble The Connection
Slide the pipe into the fitting until it reaches the stop. Make sure the fitting is correctly aligned with the pipe. Use a marker to draw a line on the pipe at the edge of the fitting. This will help you ensure the fitting is crimped in the right place during pressing.
-

Secure The Connection
Position the press tool jaws around the fitting, ensuring they're aligned correctly. Activate the press tool to crimp the fitting onto the pipe. The press tool will exert the necessary force to create a secure and leak-proof connection. Release the press tool jaws and remove the tool from the fitting.
-
Verify The System
After installing all the fittings, test the system. Pressurise the system and inspect for any signs of leakage at the connections. If you detect any leaks, re-press the connection or replace the fitting as required.
Conclusion
Copper press fittings offer a fast and reliable method for joining copper pipes. By following these steps and using the appropriate tools, you can achieve a secure and leak-proof connection for your plumbing system.
Any more questions?
If you have any queries or questions about the products we sell, or even your next project, give us a shout! We'll try our best to give you a hand.