Welcome back to our comprehensive series on compression fittings. In this post, we'll be providing a hands-on approach to installing compression fittings for optimal performance.
Whether you're a DIY enthusiast or a professional plumber, this guide will equip you with the knowledge you need to install compression fittings with ease and confidence.

Things You Will Need
Supplies You Will Need
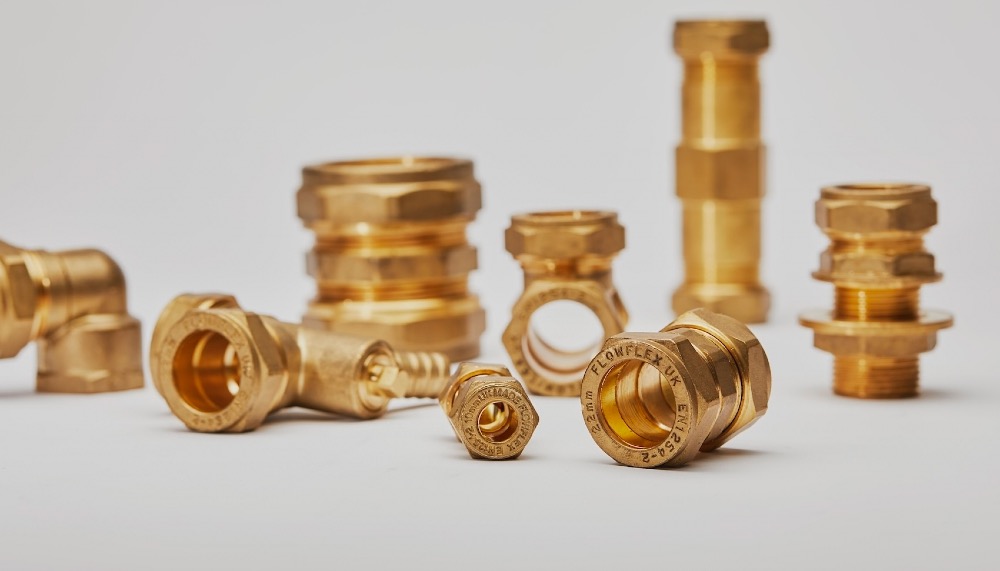
- Compression Fittings
- Pipe (made to BS EN 1057)
Tools You Will Need
- Pipe cutters
- Adjustable wrenches or pliers
- Deburring tool
Steps
-
Gather Your Tools and Materials
Before we begin, ensure you have the necessary tools and materials.
-

Cut the Pipe to the Correct Length
The first step is to cut the pipe to the correct length. Use a pipe cutter to make a clean, square cut on the end of the pipe that will be inserted into the fitting. Ensure the pipe is cut to the correct length so that it fits snugly into the fitting. The important bit here is to make sure the pipe hits the fitting back-stop comfortably so that the olive can correctly grip the pipe.
-

Clean and Deburr the End of the Pipe
After cutting the pipe, it's crucial to deburr the end of the pipe. This can be done with a deburring tool, which will remove any rough edges or burrs on the end of the pipe. This step both ensures a tight seal when the compression fitting is installed and that no unwanted debris gets into your system.
-

Slide the Compression Nut and Olive onto the Pipe
Next, slide the compression nut and olive onto the end of the pipe. The compression nut is the part of the fitting that will be tightened to create the seal. This will compress the olive that fits inside the compression nut, gripping the pipe and creating a watertight seal around the pipe.
-

Insert the Pipe into the Compression Fitting
Insert the end of the pipe into the compression fitting. Ensure that the pipe is pushed all the way into the fitting until it reaches the bottom.
-

Tighten the Compression Nut
Use an adjustable wrench or pliers to tighten the compression nut onto the fitting. Tighten the nut until it is snug, but avoid over-tightening as this can damage the fitting and cause leaks.
-
Test Your System and Check for Leaks
Once the compression fitting is installed, it's important to check for leaks. Turn on the water supply or gas supply and check all fittings for any signs of leakage. If you notice any leaks, tighten the compression nut a little more and check again.
Compression fittings are a reliable, flexible, and straightforward solution for connecting pipes without using heat. We hope this guide has provided you with a clear understanding of how to install compression fittings.
Stay tuned for more insights into the fascinating world of compression fittings!
Any more questions?
If you have any queries or questions about the products we sell, or even your next project, give us a shout! We'll try our best to give you a hand.