
In this guide
A dependable compression connection starts before the final turn of a spanner. The fitting must suit the job, the pipe end must be prepared carefully, and the connection must begin in alignment. Final tightening then completes work that has already been set up correctly. Extra force cannot compensate for a poor fitting, an uneven pipe end or crossed threads.
Start with a suitable fitting
Clear manufacturer identification, reputable manufacture and sound construction are useful signs when choosing a compression fitting. They are not proof that a fitting suits every pipe or system. Check current manufacturer information for the intended application, pipe compatibility, installation method and any applicable standards or regulations before work begins.
Price, appearance, markings, a guarantee or a generic approval statement should not be treated as a complete suitability check. The details that matter are the ones tied to the fitting you intend to use and the system it will join.
Prepare a square, smooth pipe end
Cut the tube or pipe squarely and smoothly so that its end can sit neatly at the fitting's internal backstop. Where small imperfections remain, a deburring tool may be used to smooth them. Complete these preparation checks before bringing the connection together rather than expecting final tightening to compensate for a poorly prepared end.
Do not add cleaning products, sealants or extra preparation steps unless the relevant fitting and pipe instructions call for them. Unsupported additions are not a substitute for following the specified preparation method.
Align and start the connection by hand
Begin the connection by hand and continue until you feel natural resistance. Hand-starting reduces the risk of cross-threading and lets you confirm alignment before a spanner or torque wrench applies greater force. If the fitting does not start cleanly, stop and re-check its position rather than using a tool to drive misaligned threads.
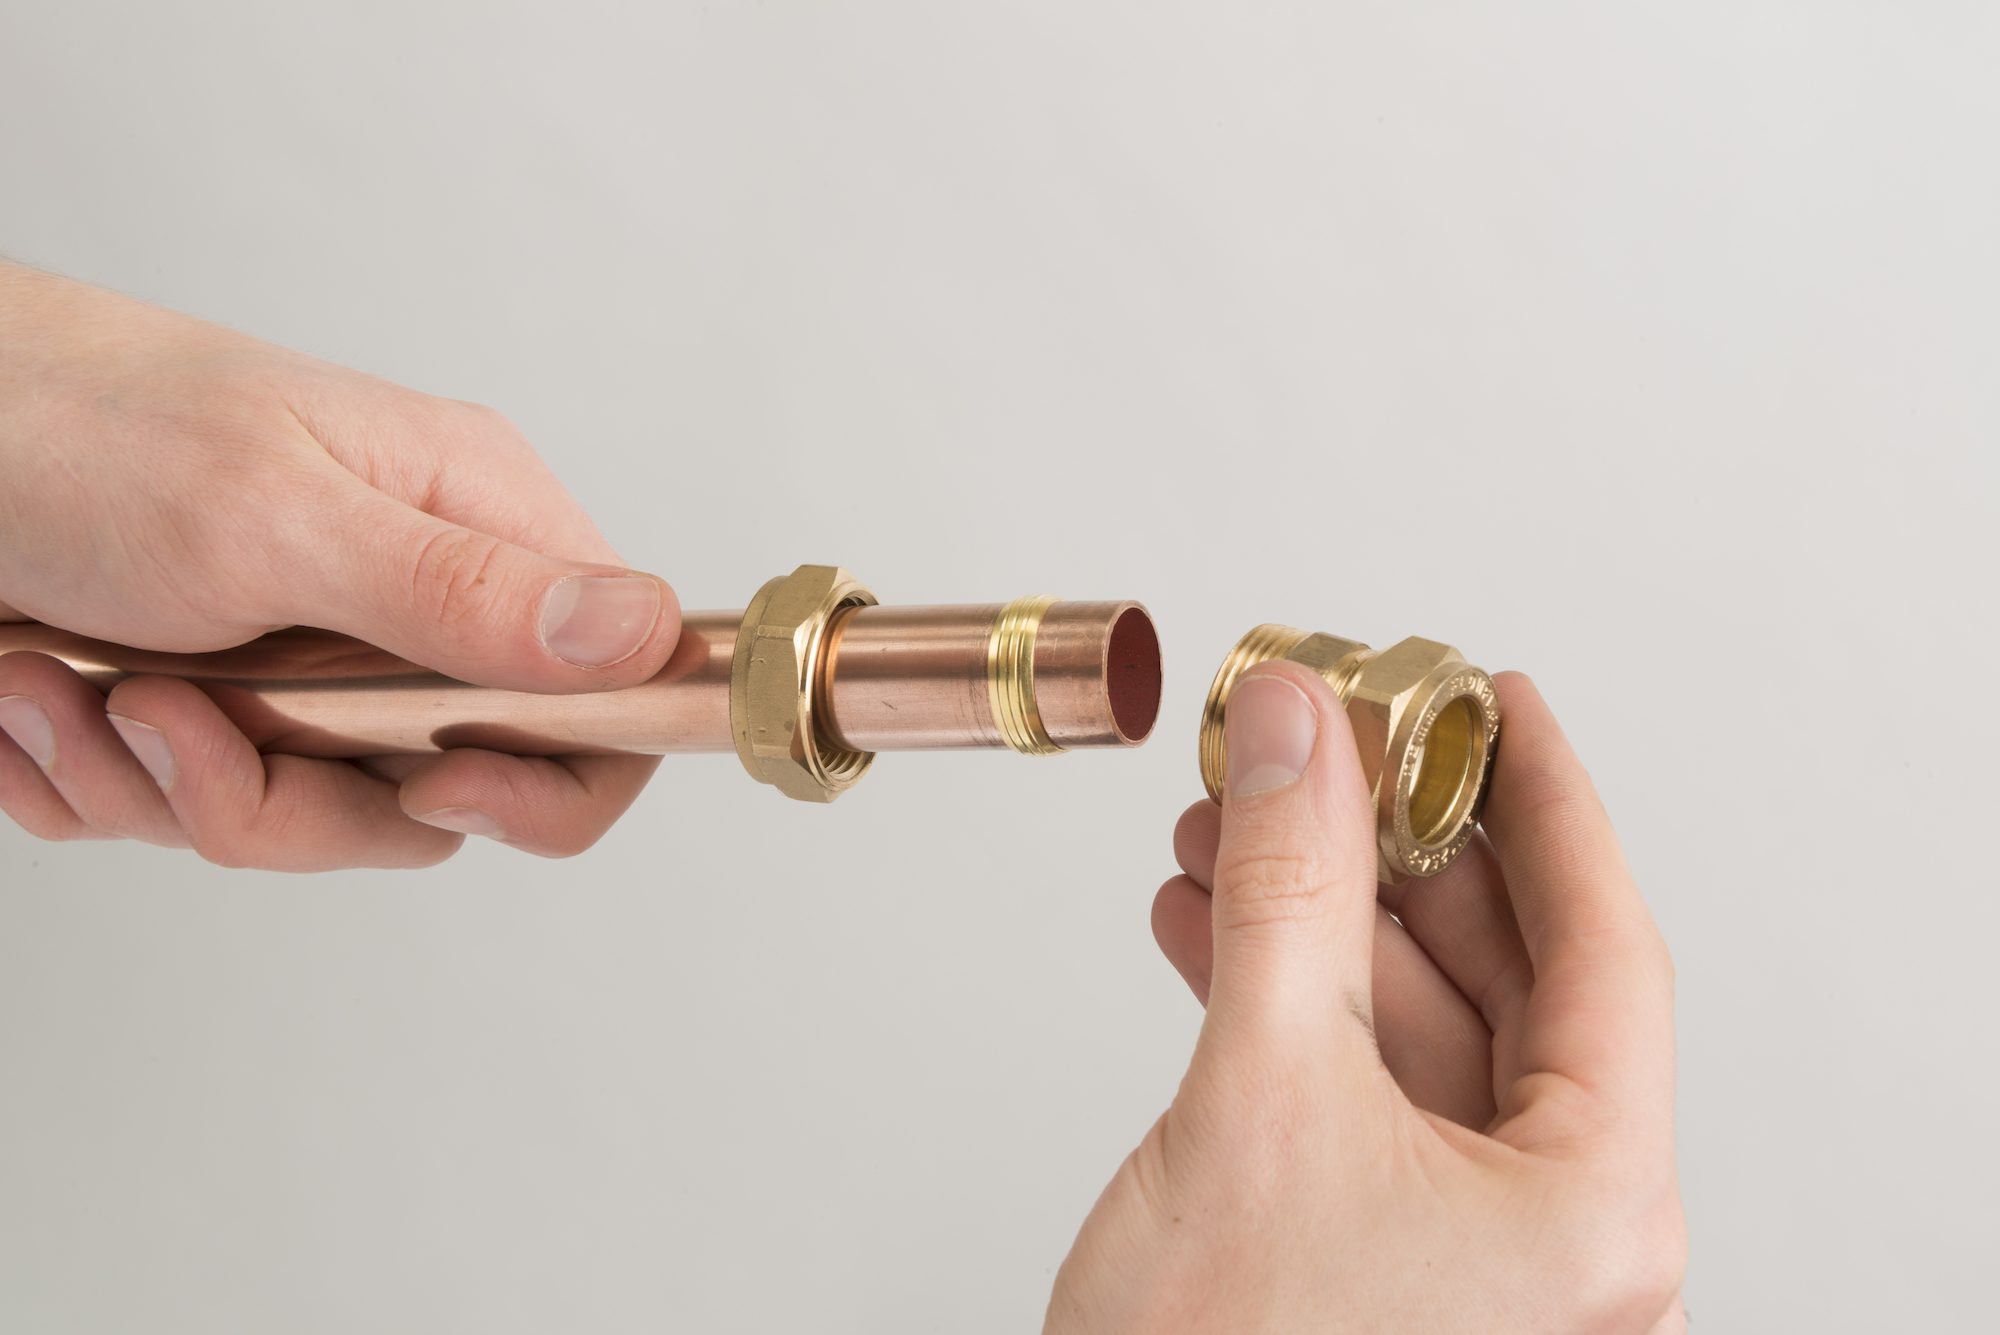
Apply controlled final tightening
After the fitting has been correctly hand-started, use a suitable spanner or torque wrench for final tightening. Follow the manufacturer's stated method and any supplied torque value for the particular fitting. There is no supported universal torque or fixed number of turns that can replace those instructions.
Over-tightening can deform or crack the fitting. Do not continue simply because the tools will allow more movement, and do not use an “as tight as possible” rule. Controlled tightening protects the selection, pipe preparation and alignment completed earlier.
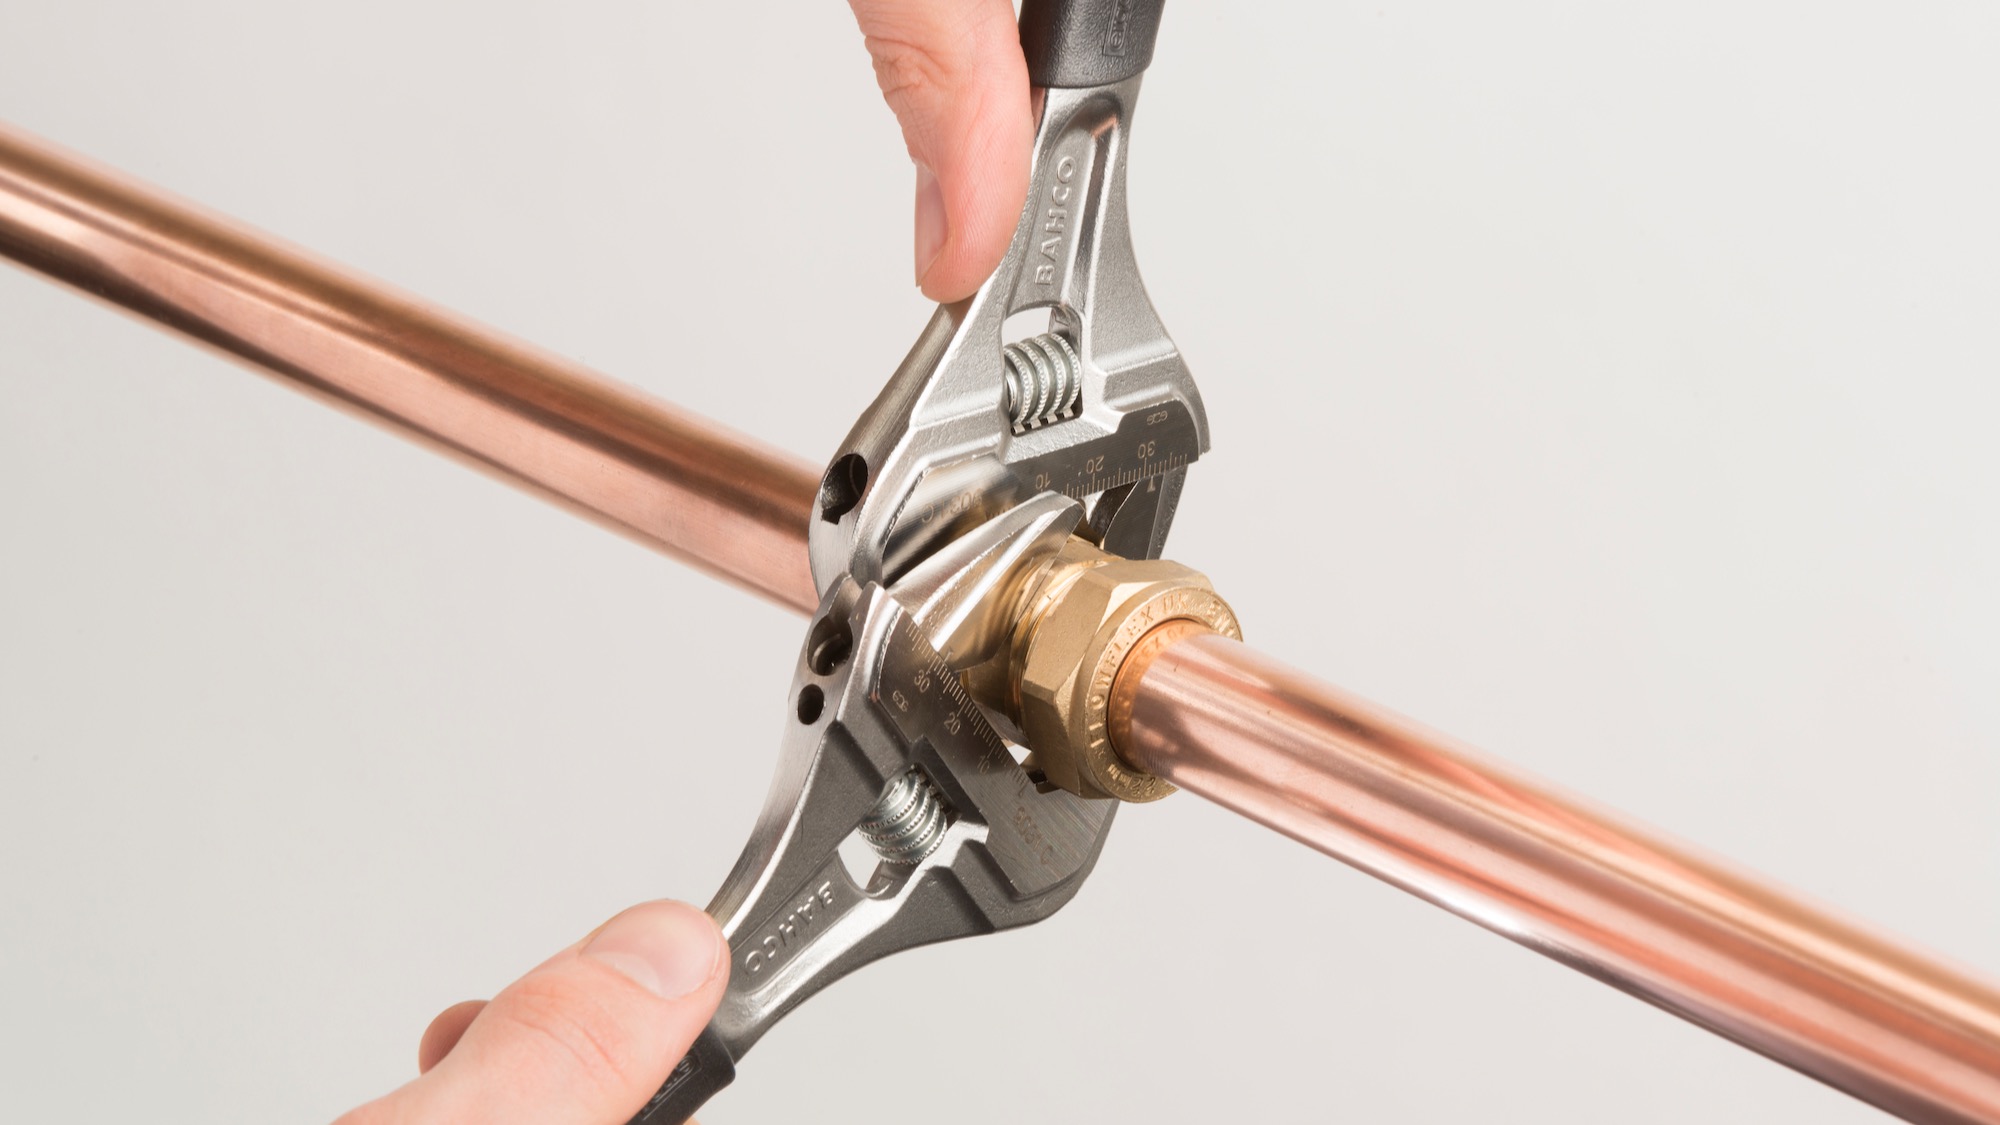
Make the final decision checks
Before treating the connection as ready, confirm the points that depend on the particular fitting and system:
- The fitting and pipe are documented as compatible for the intended application.
- Applicable standards or regulations have been checked rather than assumed from appearance or markings.
- The pipe end is square, smooth and seated neatly at the backstop.
- The fitting started cleanly by hand and is not visibly damaged or misaligned.
- The manufacturer's fitting-specific tightening method and any supplied torque requirement have been followed.
If the system type, safety status or correct installation requirement is uncertain, pause and seek competent assessment. This is especially important for damaged fittings, gas-related work and other safety-critical situations.
Good practice is a short sequence of deliberate checks: choose carefully, prepare the pipe properly, align by hand and tighten to the manufacturer's instructions. When you are ready to compare suitable options, explore the Compression Fittings range and verify the details for your installation before making a choice.