
In this guide
Copper press fittings can make pipe jointing quick and tidy without hot work at the connection, but the press itself is only one part of a sound installation. Reliable work depends on choosing one compatible system, preparing the tube properly, using the approved tooling and checking every joint before the pipework is put into service.
The practical rule is simple: never treat a press fitting as a mix-and-match component. The fitting, sealing element, tube, jaw and press tool all have to suit the same product instructions and the intended service.
Start with one compatible press system
Before cutting tube or opening fitting packages, confirm that the selected range is suitable for the job. Check the current manufacturer instructions for:
- the permitted tube material, standard and size;
- the water, heating or other service the fitting is approved for;
- the stated temperature and pressure limits;
- the required jaw profile, jaw size and compatible press tool.
Some copper press products use M-profile tooling, but that does not make M-profile universal. A jaw that looks close is not evidence of compatibility. The exact fitting instructions decide which profile, size and tool may be used.
Prepare the tube and inspect the fitting
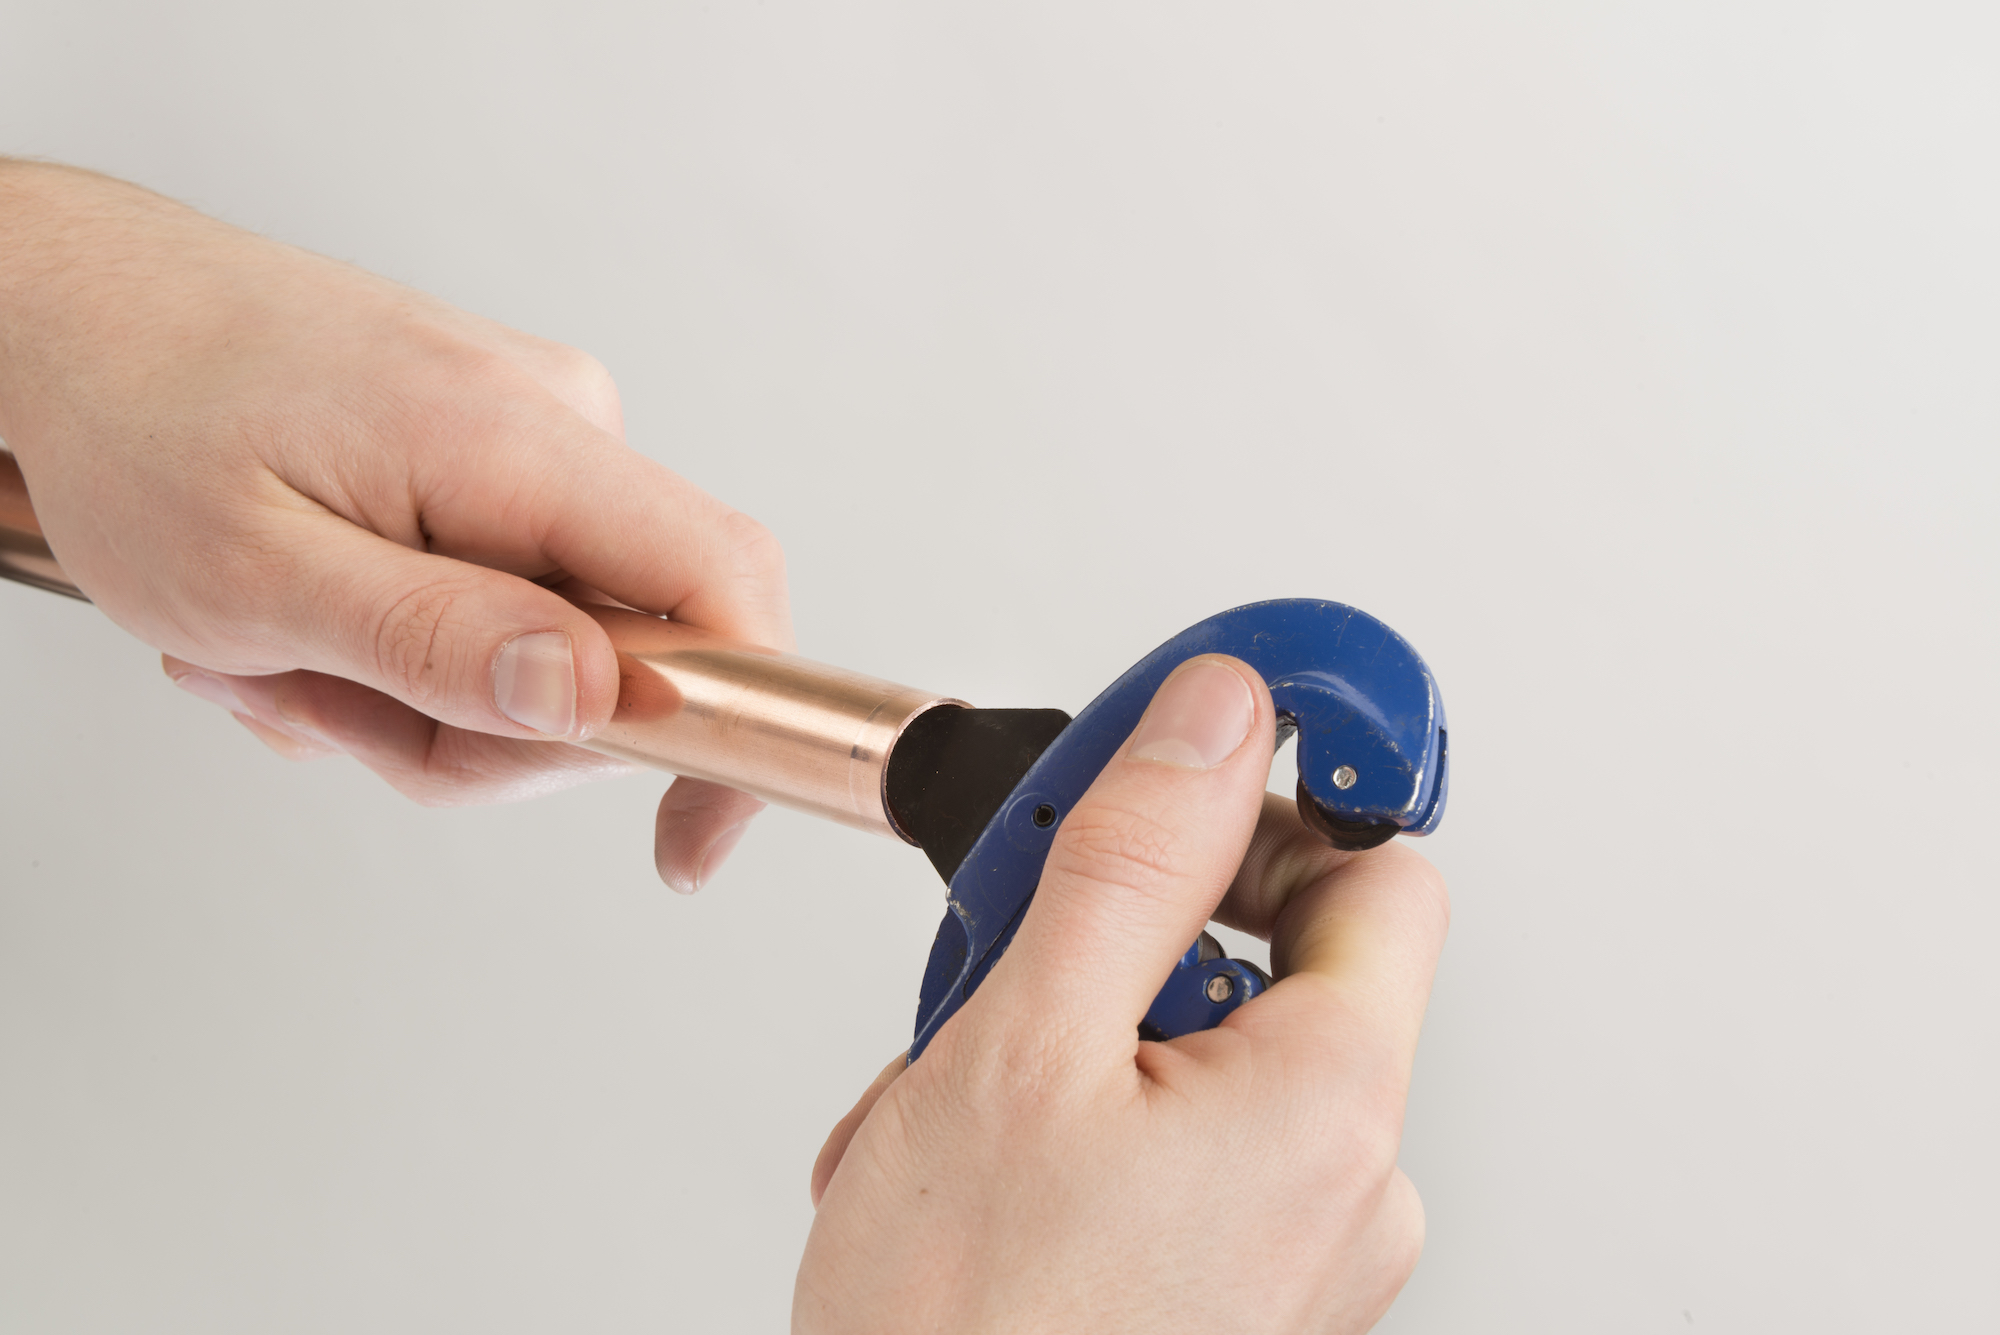
A clean, square and undamaged tube end protects the sealing element as the tube enters the fitting. Cut the tube square with an appropriate cutter, then deburr both the inside and outside. Remove sharp edges and swarf, then clean the tube and fitting only with the method and materials permitted by the exact fitting-system manufacturer's approved procedure. Do not improvise with unapproved cleaners or materials, and check that the tube end is round, smooth and free from damage across the full insertion area.
Inspect the fitting and its sealing element exactly as directed. Do not use a component with a missing, displaced, damaged, contaminated or uncertain seal. Do not add lubricant unless the fitting manufacturer expressly permits the named product and method.
For a fuller walkthrough of tube preparation and assembly, see How To Install Copper Press Fittings.
Mark and preserve the insertion depth
Push the tube into the fitting until it reaches the fitting stop, then mark the manufacturer-specified insertion depth on the tube. There is no safe universal depth because it can vary with the range, fitting and size.
The mark is a working control, not decoration. Check it immediately before pressing so you can see whether the tube has backed out during handling or alignment. If the mark is no longer in the expected position, stop and correct the assembly in accordance with the product instructions before using the press tool.
Use the correct, maintained tooling
Use the exact approved press tool, jaw profile and jaw size. Follow the tool maker's inspection, service and calibration schedule rather than relying on a generic interval. Check the jaw and tool for the condition and readiness required by their instructions.
Keep the tube and fitting aligned and position the jaw squarely on the prescribed pressing contour. Keep hands and loose material clear of the moving jaws, then allow the tool to complete one uninterrupted automatic press cycle. Do not interrupt the cycle or repeat the press as an improvised correction.
Inspect and identify every completed press
After the cycle, check that the insertion-depth mark remains correctly positioned and that the tube has not moved. Inspect the completed press contour and the visible fitting for anything that does not match the product instructions, including displacement or damage.
Use the job's agreed method to mark or record each completed press. A consistent visual record helps prevent an unpressed joint being overlooked before testing, insulation, boxing-in or other concealment.
Test the system and do not improvise a repair
Test and commission the complete system using the procedure required for the selected product, service and installation. The appropriate pressure, duration and sequence are system-specific, so they should not be guessed from a general article. Where the work or service requires competent-person involvement, that person must control the test.
Some ranges include a leak-before-press feature intended to help expose an unpressed connection during the specified test. Treat it as an additional check only. It does not replace the full testing and commissioning procedure.
If a joint fails a check or test, isolate and depressurise the system as required and follow the fitting manufacturer's remedial instructions. Do not casually re-press or reuse an already pressed or failed fitting. Uncertain or damaged work needs competent assessment rather than repeated pressing.
Keep the work within safe limits
Wear the protective equipment required for cutting, deburring and powered pressing, and keep the work area controlled. Follow the press tool's electrical or battery safety instructions. Protect people and property from an uncontrolled water release, and isolate and depressurise pipework wherever the task requires it.
Flame-free jointing at the connection does not remove every safety risk. Gas, live, pressurised, regulated or unfamiliar services, uncertain product compatibility and failed commissioning should be handled by a suitably competent installer.
A good press installation is built on checks that are easy to verify: one compatible system, a clean and marked tube, the right maintained tool, one complete press cycle and a documented test. Confirm those points before you start, and the job has a clear route from preparation to commissioning.