
In this guide
Copper press fittings let you form neat copper pipe connections without using a flame at the joint. A sound connection still depends on using a compatible fitting, seal, copper tube, press tool and jaw profile, then preparing, pressing and testing the joint exactly as the system requires.
This guide covers compatible copper press fittings on domestic water and wet-heating pipework. It does not turn a water-and-heating method into gas guidance. Any gas fitting or pipework work must be carried out by a suitably qualified Gas Safe registered engineer using a system expressly approved for that application.
Start with a compatible system
A press fitting is one part of a complete system. The fitting body, seal material, copper tube, application, tool and pressing profile must all be approved together in the current manufacturer instructions. Some systems accept copper tube made to BS EN 1057, but that marking alone does not confirm that a particular fitting, seal, tool or application is compatible.
Identify the intended service before choosing components. Domestic water and wet-heating systems can have different requirements, while gas and other special media need fittings and seals expressly approved for their application. If you cannot confirm the complete combination, stop and check with the system manufacturer or a competent installer.
Gather the specified fittings, tube and tools
Have the exact fitting type and size, compatible copper tube and the system instructions to hand. You will also need a suitable pipe cutter, tools for deburring both the inside and outside of the tube, suitable cleaning materials, an insertion-depth marker, and a compatible press tool with the approved jaw or collar profile and size.
Check the press tool and jaw are within the inspection, maintenance and calibration requirements set by their manufacturer. A jaw that fits physically is not necessarily approved for the fitting system.
Isolate the system and plan the route
Before cutting, switch off any associated system or appliance and allow it to cool. Correctly isolate, depressurise and drain the water or heating pipework. If you are unsure that isolation is complete, or the work affects equipment you are not competent to handle, bring in a suitable installer.
Measure the route with the fitting sockets, pipe supports, tool access and manufacturer clearances in mind. Arrange and support the tube so it meets the fitting naturally. Do not use a press fitting to pull misaligned pipework into position.
Measure and cut the tube square
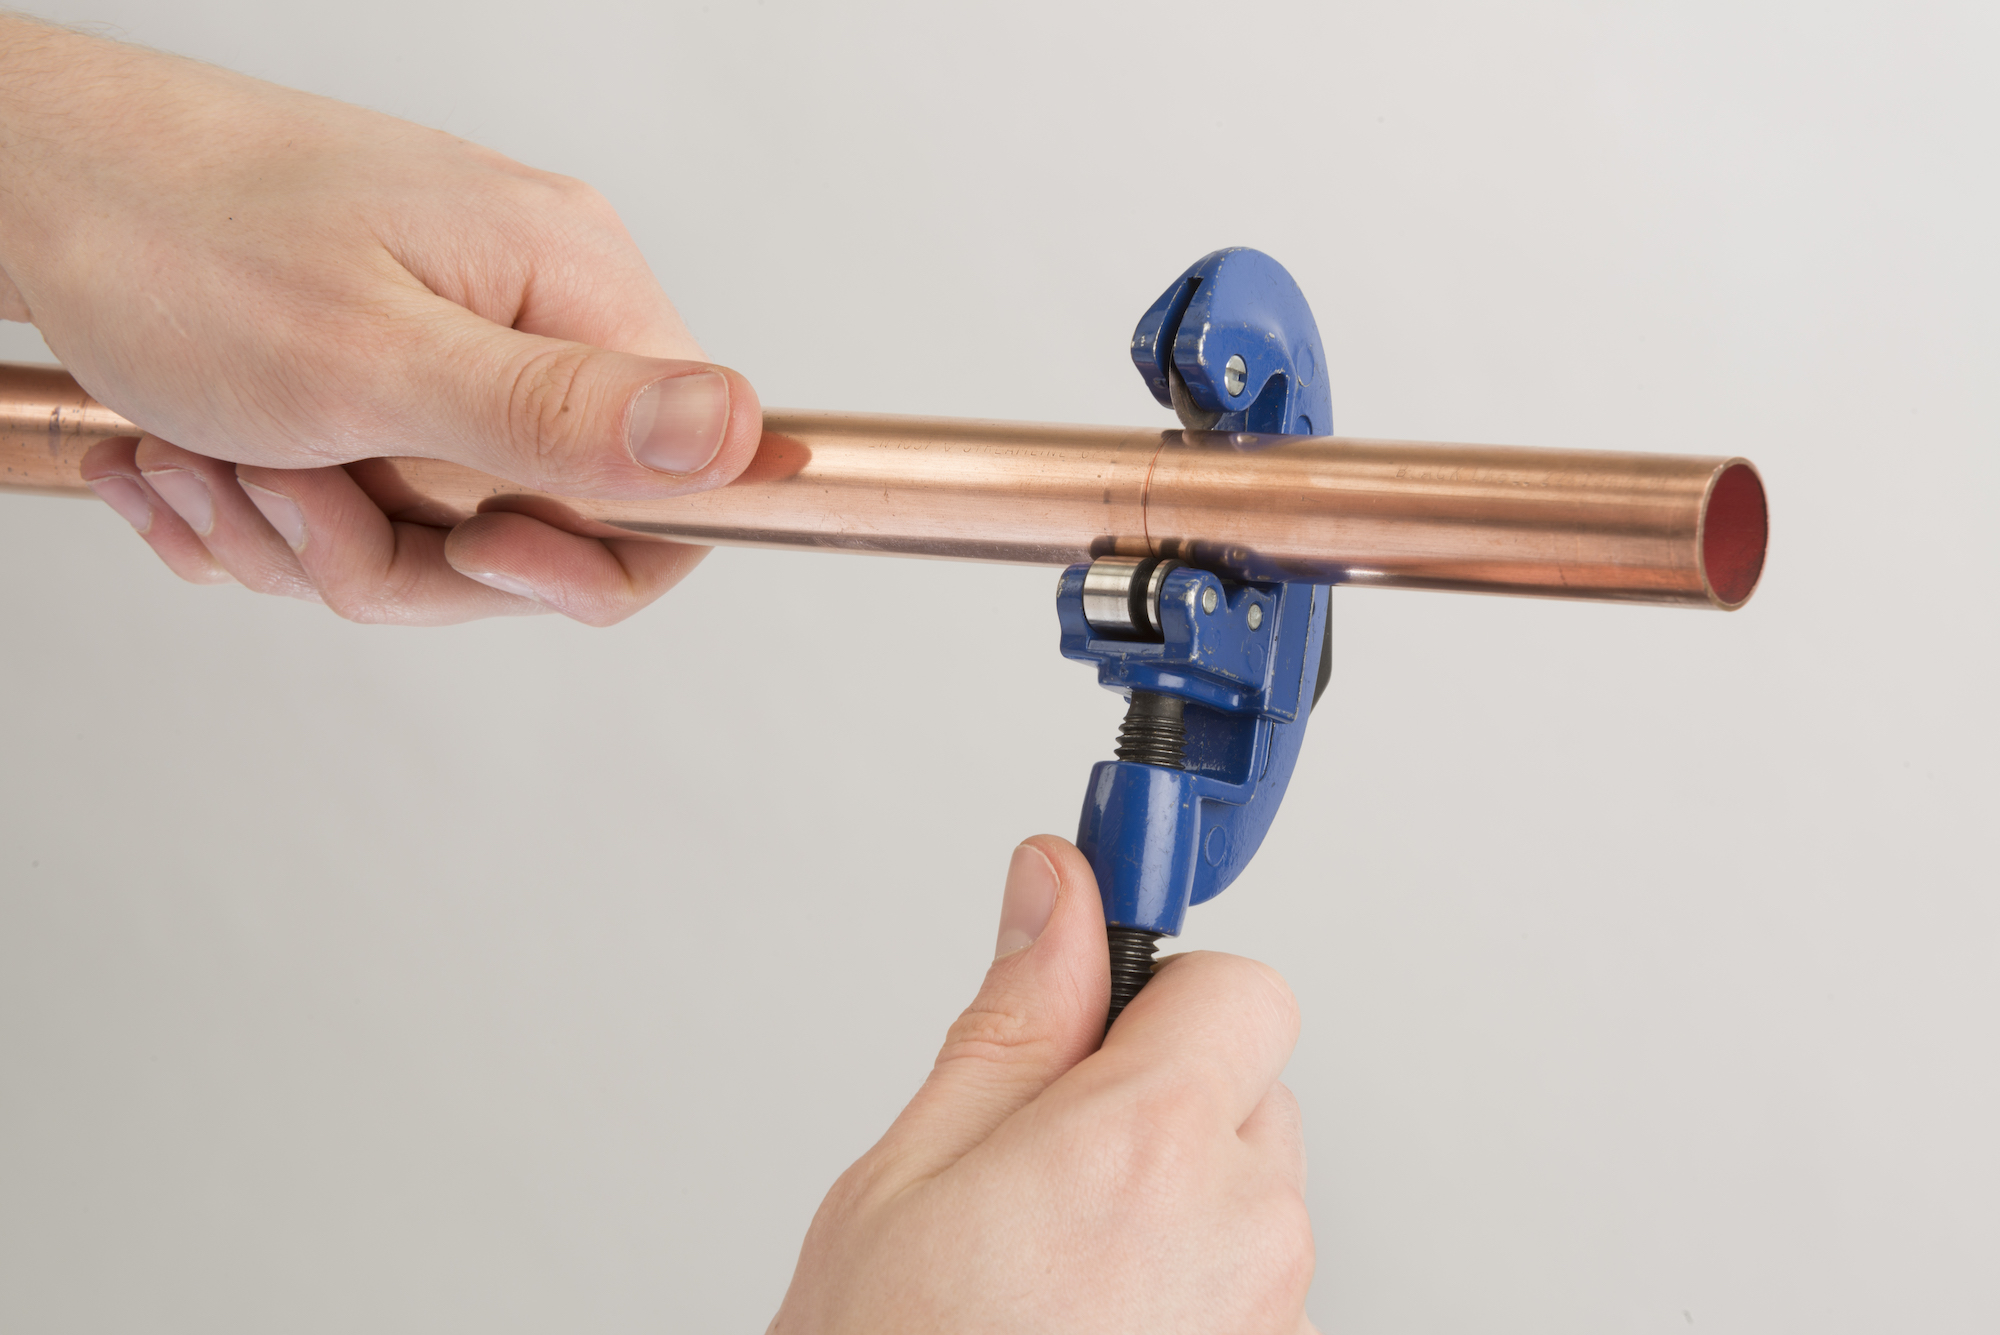
Use the planned fitting position and the system dimensions to measure and mark the tube. Cut it square with a suitable pipe cutter, taking care not to crush or distort the copper. Inspect the cut and the tube shape before moving on, and reject damage that falls outside the system instructions.
Deburr, clean and inspect the tube
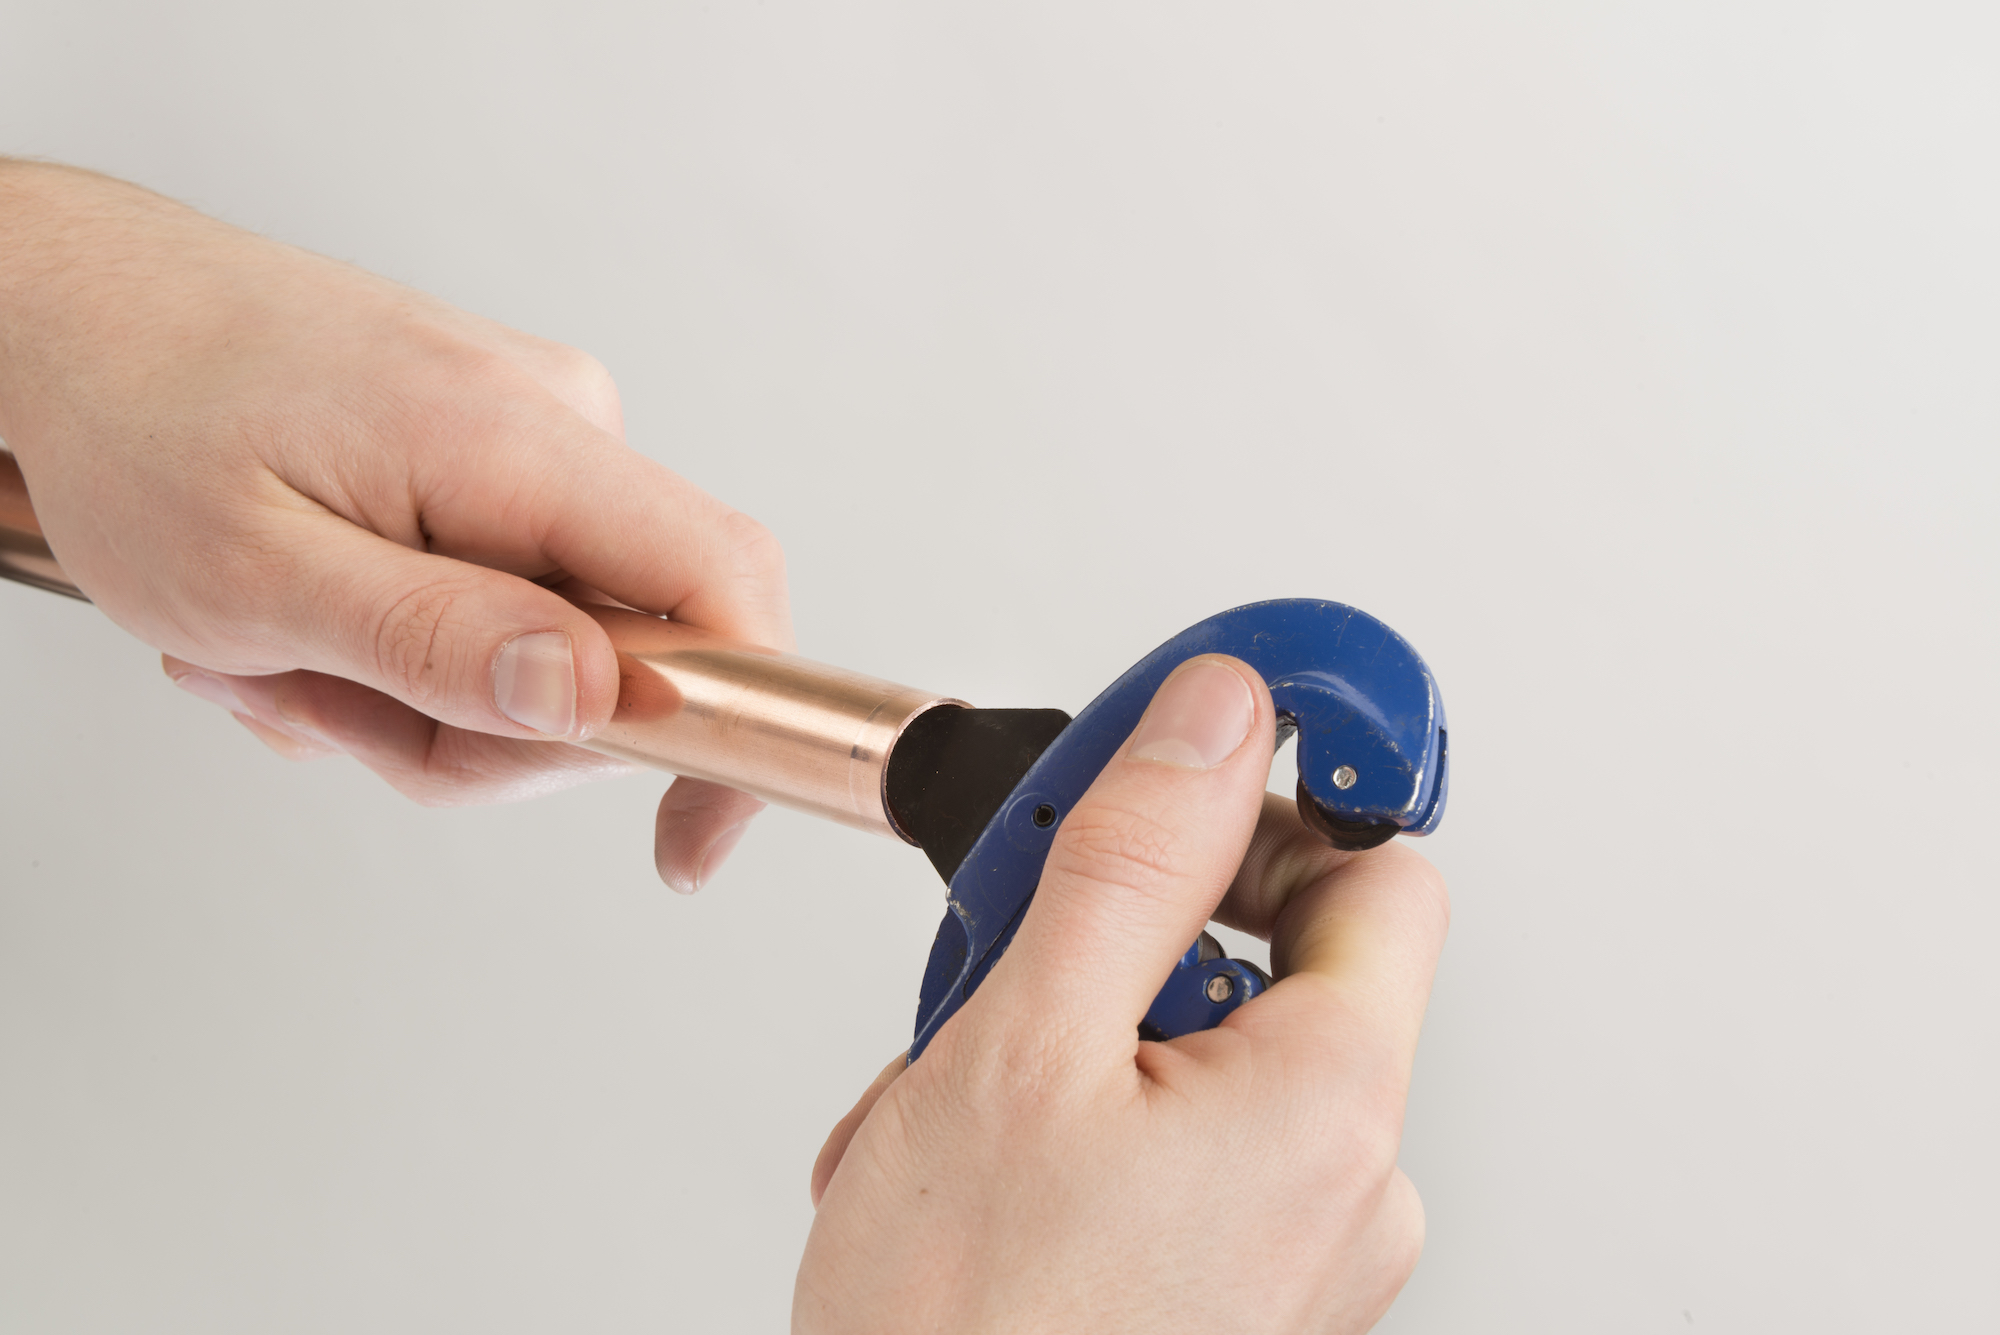
Deburr the inside and outside of the cut end completely. Smooth edges protect the fitting seal from being cut or displaced during insertion. Keep filings out of the pipe, and clean the insertion area without introducing unsuitable substances.
Check the prepared tube for contamination, deep scoring, distortion and an out-of-round end against the system requirements. Do not continue with damaged or incompletely prepared tube.
Check the fitting and seal
Keep the fitting protected from contamination until you are ready to use it. Confirm its size and intended application, then check that the seal is present, clean, correctly seated and undamaged. Never substitute a seal simply because it appears to fit.
Do not put flux, solder, general grease, tape or sealant into the press socket or onto the seal. If the fitting manufacturer specifies an approved lubricant, use only that product and method. Replace or refer a suspect fitting instead of trying to repair it.
Insert the tube and mark the depth
Find the specified insertion depth for the exact fitting and tube size. Push the prepared tube fully to the internal stop without damaging or displacing the seal, then mark the insertion depth at the socket edge. The mark makes any movement visible before and after pressing.
Check the fitting orientation and pipe alignment while adjustment is still possible. Do not rely on an unmarked visual estimate of full insertion.
Complete one safe press cycle
Follow the exact operating and safety instructions for the press tool and jaw. Use the eye and hearing protection specified by the manufacturer, and keep your hands clear of the closing jaws throughout the cycle.
Fit the approved jaw or collar of the correct profile and size to a maintained, compatible press tool. Place it squarely over the manufacturer-designated pressing area, with the fitting bead correctly located where the system requires. Complete one uninterrupted cycle until the tool confirms completion, then mark the joint if the inspection method calls for it.
Do not press the same fitting twice. If a cycle is interrupted, a joint looks suspect or leakage is found, isolate and depressurise the system, then follow the fitting manufacturer's replacement or remedy instructions.
Inspect and test before finishing
Account for every planned joint. Check the insertion-depth marks, any completed-joint indicators provided by the system, pipe alignment and supports. These visual checks can reveal omissions or movement, but appearance alone cannot prove that a connection is sound.
Complete the application-specific leak and load or pressure test required by the current system instructions and applicable rules. Use the specified test medium, pressure, duration and documentation rather than a universal figure. Keep every joint visible until the test has passed. If leakage or movement appears, isolate and depressurise the system, identify the cause and replace components as directed.
When you have confirmed the fitting, tube, seal, application and pressing profile for your job, explore PlumbHQ's Copper Press Pipe Fittings and choose the components that match the approved system.