
In this guide
An integral solder-ring fitting can form a neat copper joint without feeding separate solder into the connection. The solder is already held inside each socket, but the joint still depends on compatible components, careful preparation, controlled heating and a proper system test.
If you are not confident that you can isolate and drain the pipework, control the open flame and protect the surrounding area, ask a competent plumber to do the work. Gas appliances, gas pipework and final boiler connections need appropriately registered competence and sit outside this general water-pipe guide.
How an integral solder ring forms the joint
Each capillary socket contains a ring of solder. When clean, compatible copper tube and the prepared fitting are assembled, fluxed and heated as their manufacturers direct, the solder melts and flows into the narrow gap between the tube and socket.
A complete ring of solder appearing around the socket mouth is a useful sign that solder has emerged around the joint. It is not, by itself, proof that the joint is sound. The finished installation still needs inspection, any required flushing and the specified system test before it is used or concealed.
Confirm suitability and make the work area safe
Before reaching for a torch, identify the exact fitting manufacturer and range. Check that the tube material and outside diameter suit the fitting, that both components are sound and undamaged, and that the intended service and flux are compatible. Follow the current fitting, flux and torch instructions rather than assuming that one method or setting applies to every product.
The pipework must be correctly isolated, depressurised and drained. Never apply heat to pipework carrying an unknown service or anything flammable. If you cannot establish what the pipe contains, stop and obtain competent help.
Treat soldering as hot work. Make sure you understand the torch controls, flux precautions, ventilation needs, personal protection and burn risk. Clear combustible material from the area and protect nearby finishes, hidden surfaces and anything else that could be affected by heat. Provide the suitable fire-extinguishing and fire-watch controls identified by the risk assessment, and keep watch during and after heating. Where these conditions cannot be assured, use a competent plumber or an appropriate cold-jointing method approved for the installation.
Gather compatible tools and materials
Prepare everything before starting so the joint can be assembled and heated without interruption. The exact list depends on the products and installation, but it will normally include:
- Sound, compatible copper tube and integral solder-ring fittings.
- Flux confirmed as suitable for the fitting, tube and intended service, plus a suitable application brush.
- A tube cutter and tools for removing both internal and external burrs.
- The cleaning pad or fine abrasive permitted by the fitting manufacturer.
- Suitable torch equipment, heat protection, and eye and hand protection for hot work.
- Materials for removing flux residue, plus the flushing and test equipment specified for the system.
This list does not replace the instructions for the exact fitting, flux or torch, or the hot-work assessment for the site.
Cut the tube square
Start with sound, undamaged tube and measure the required length carefully. Use a suitable tube cutter to make a clean, square end without crushing or distorting the copper.
A skewed, short, oval or damaged end can prevent the tube reaching the fitting stop or leave an uneven capillary gap. Do not force a poor fit. Reject the damaged component or follow the manufacturer's approved corrective method.
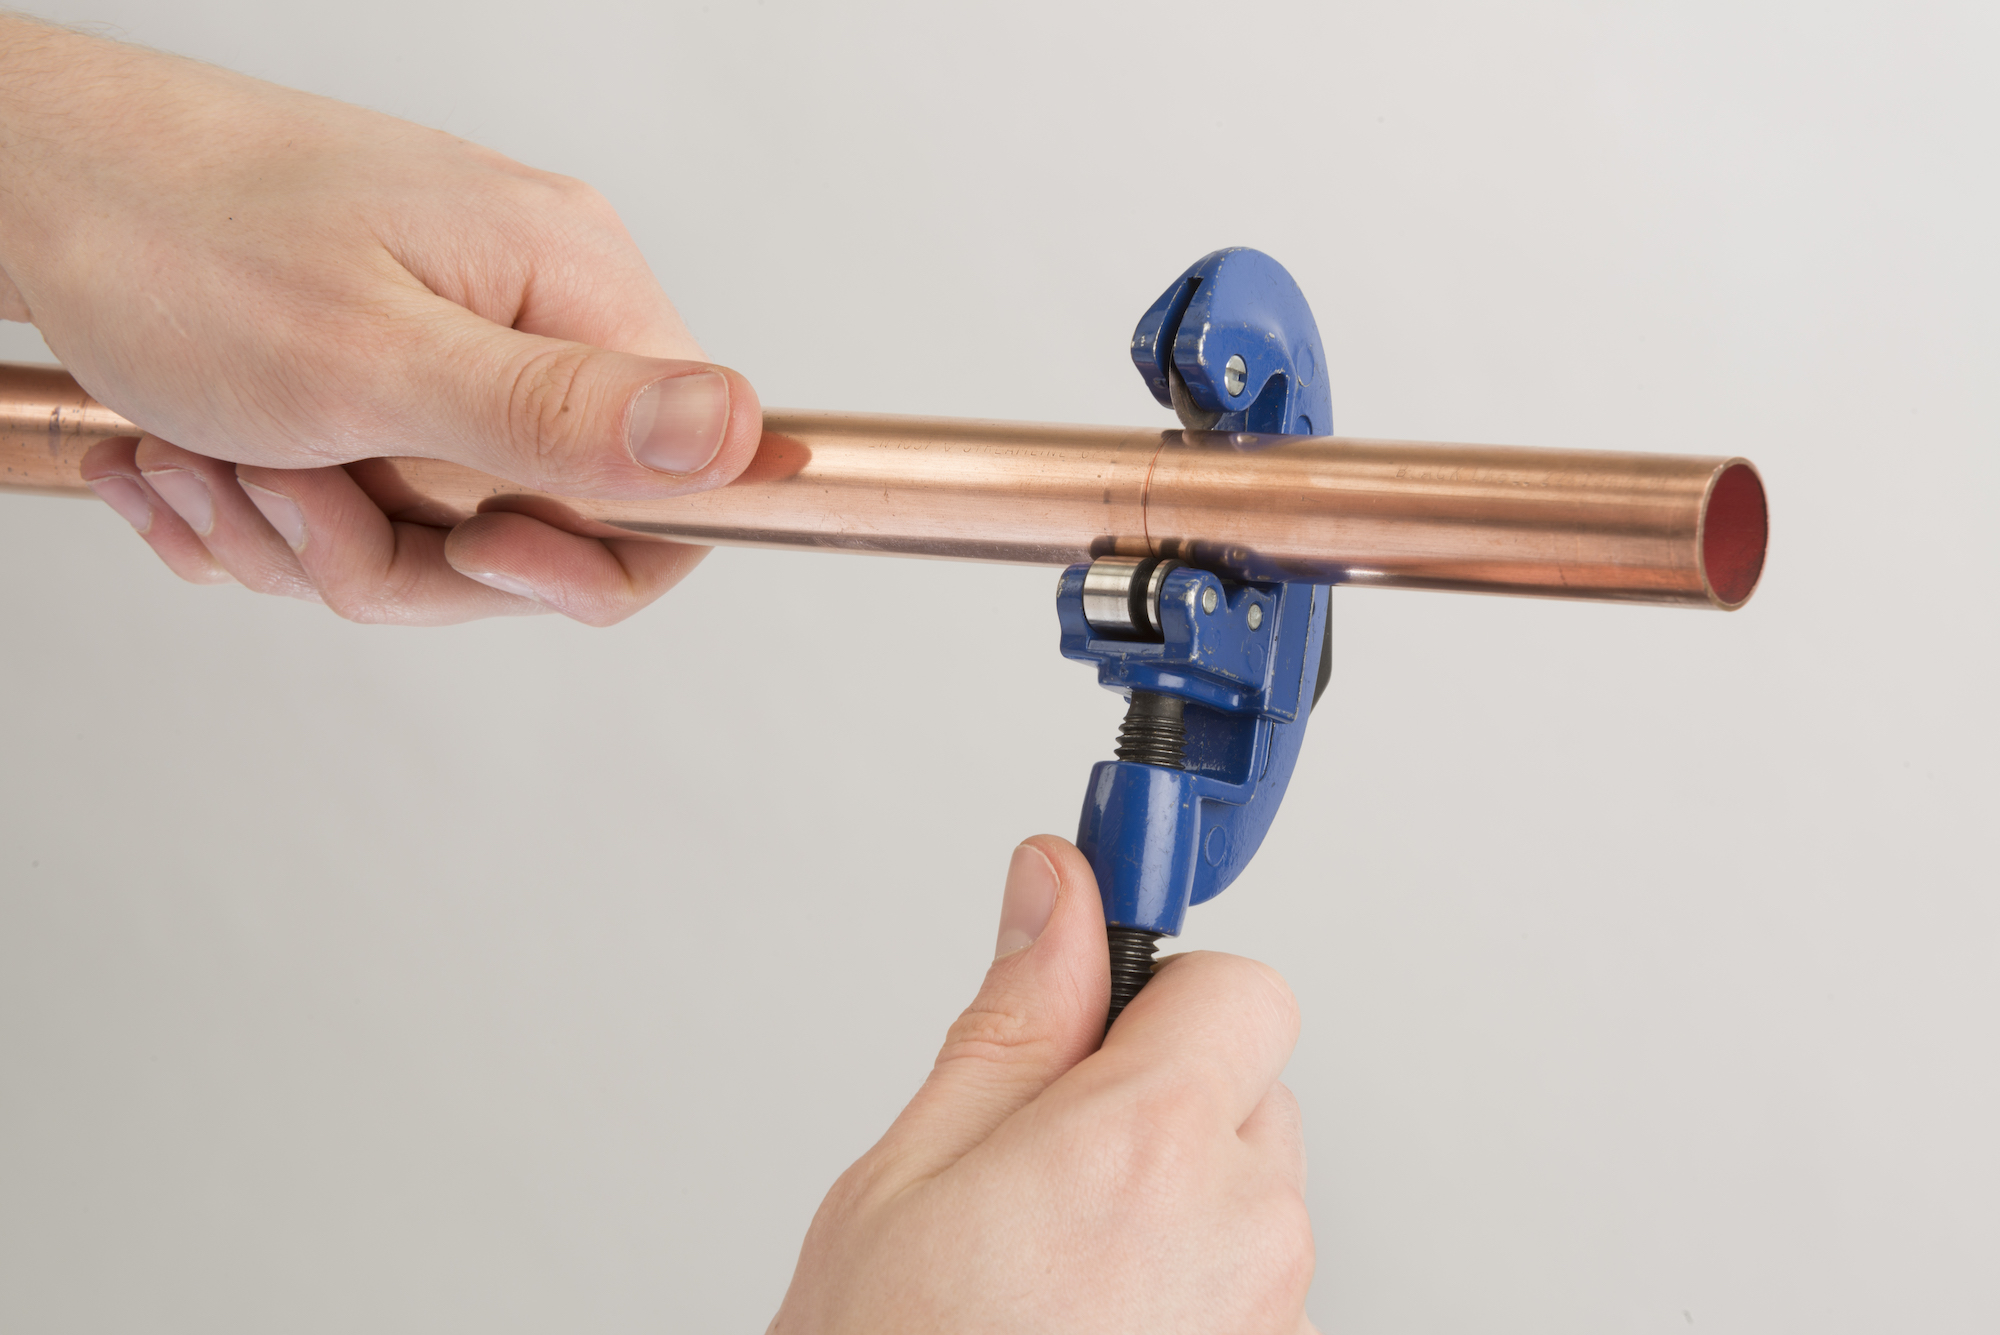
Deburr and clean the mating surfaces
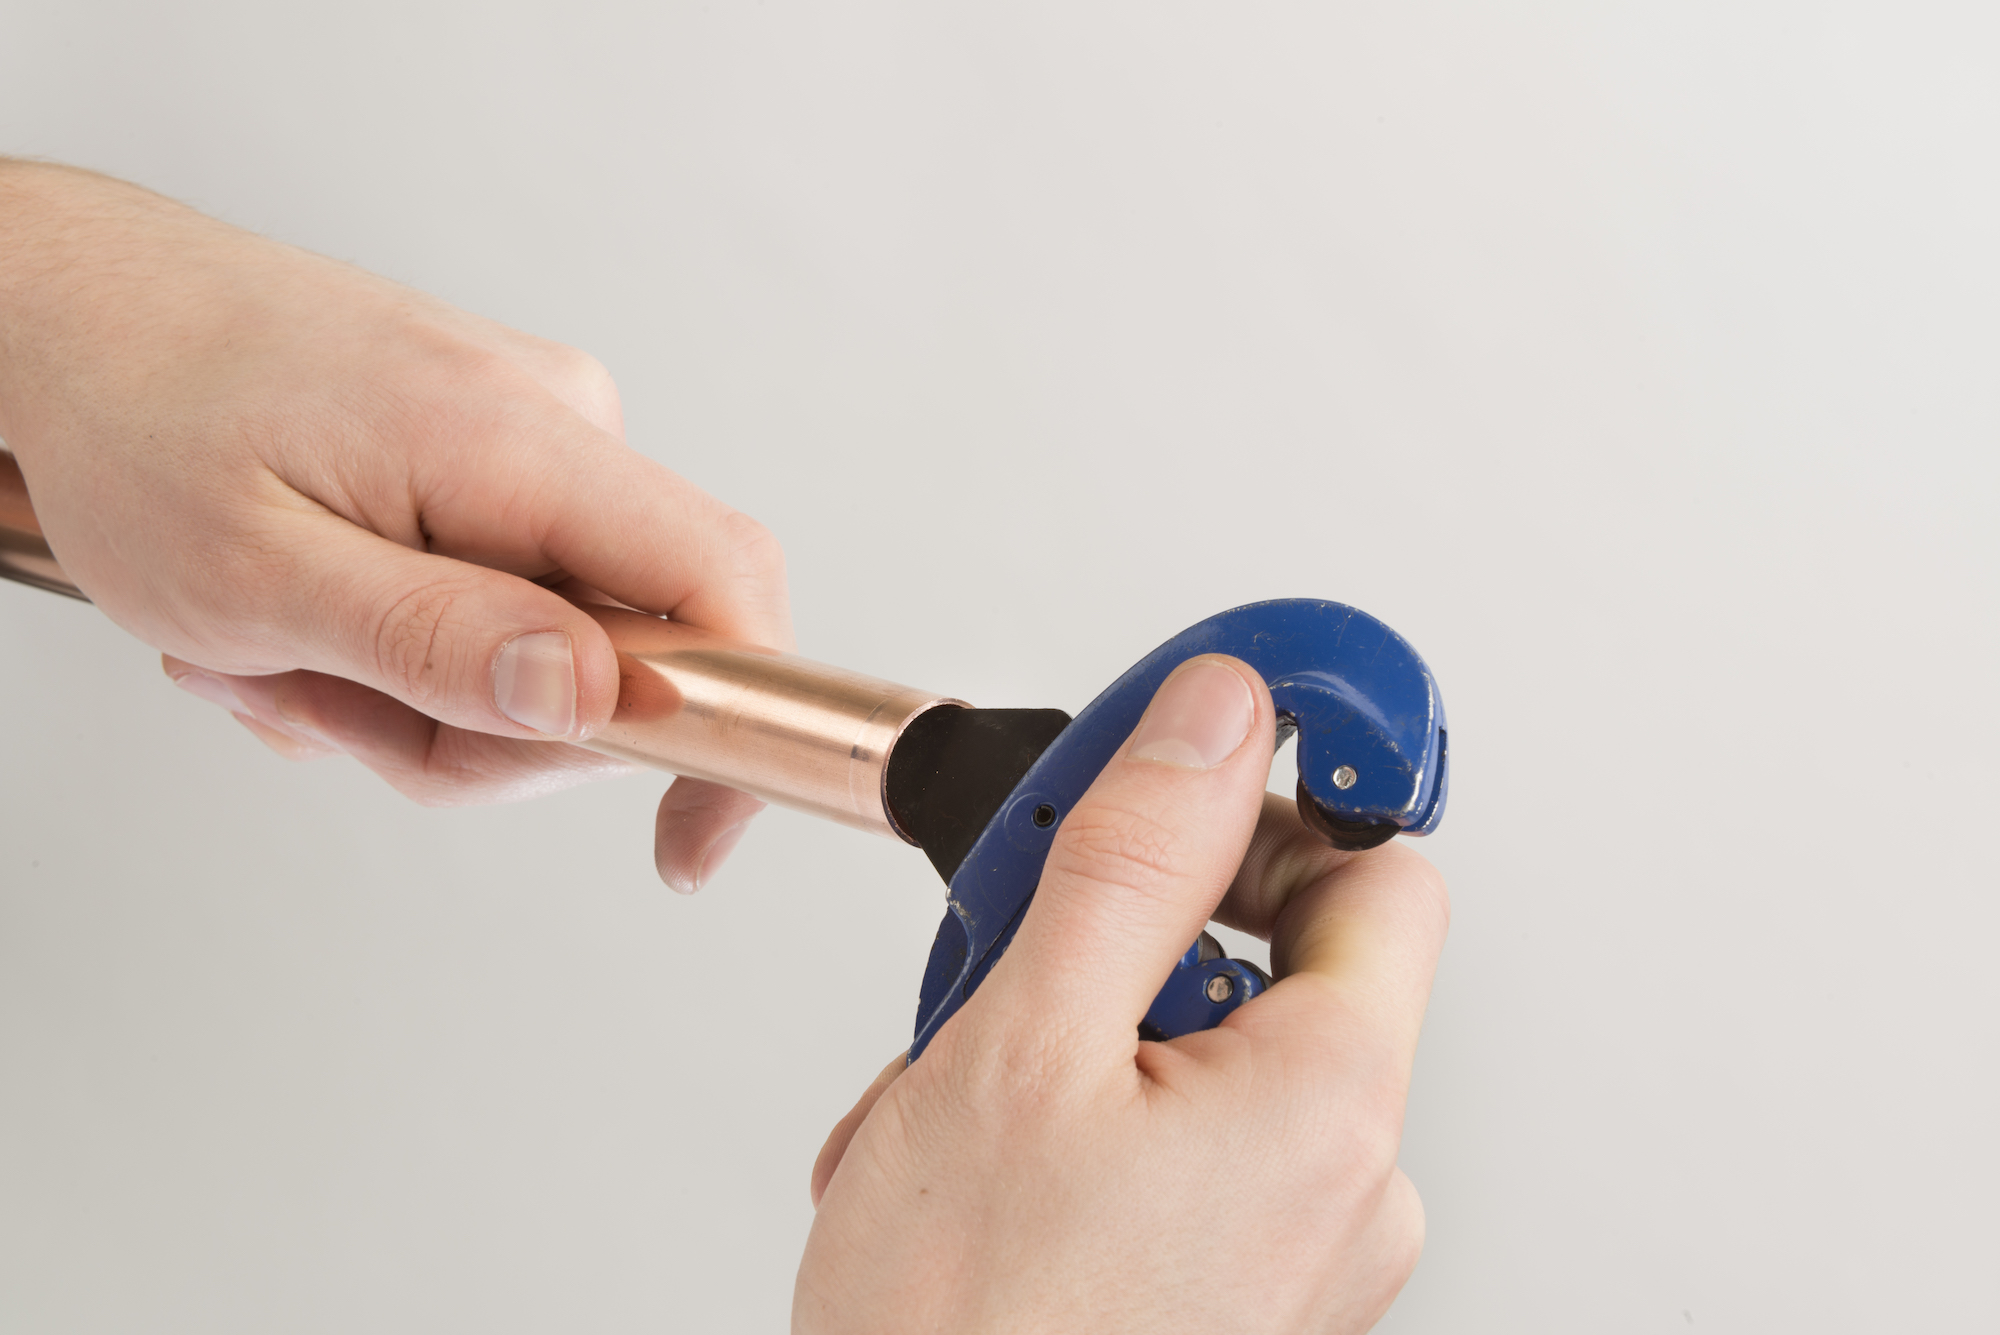
Remove burrs from both the inside and outside of the cut tube end. Deburring helps the tube enter fully and avoids leaving a rough edge at the joint.
Clean the outside of the tube and the inside of the fitting socket as the manufacturer directs. The mating surfaces need to be free from grit, oxide, grease and other contamination. Avoid removing excessive material, touching the cleaned surfaces unnecessarily or damaging the fitting's integral solder ring.
Apply flux and assemble the joint
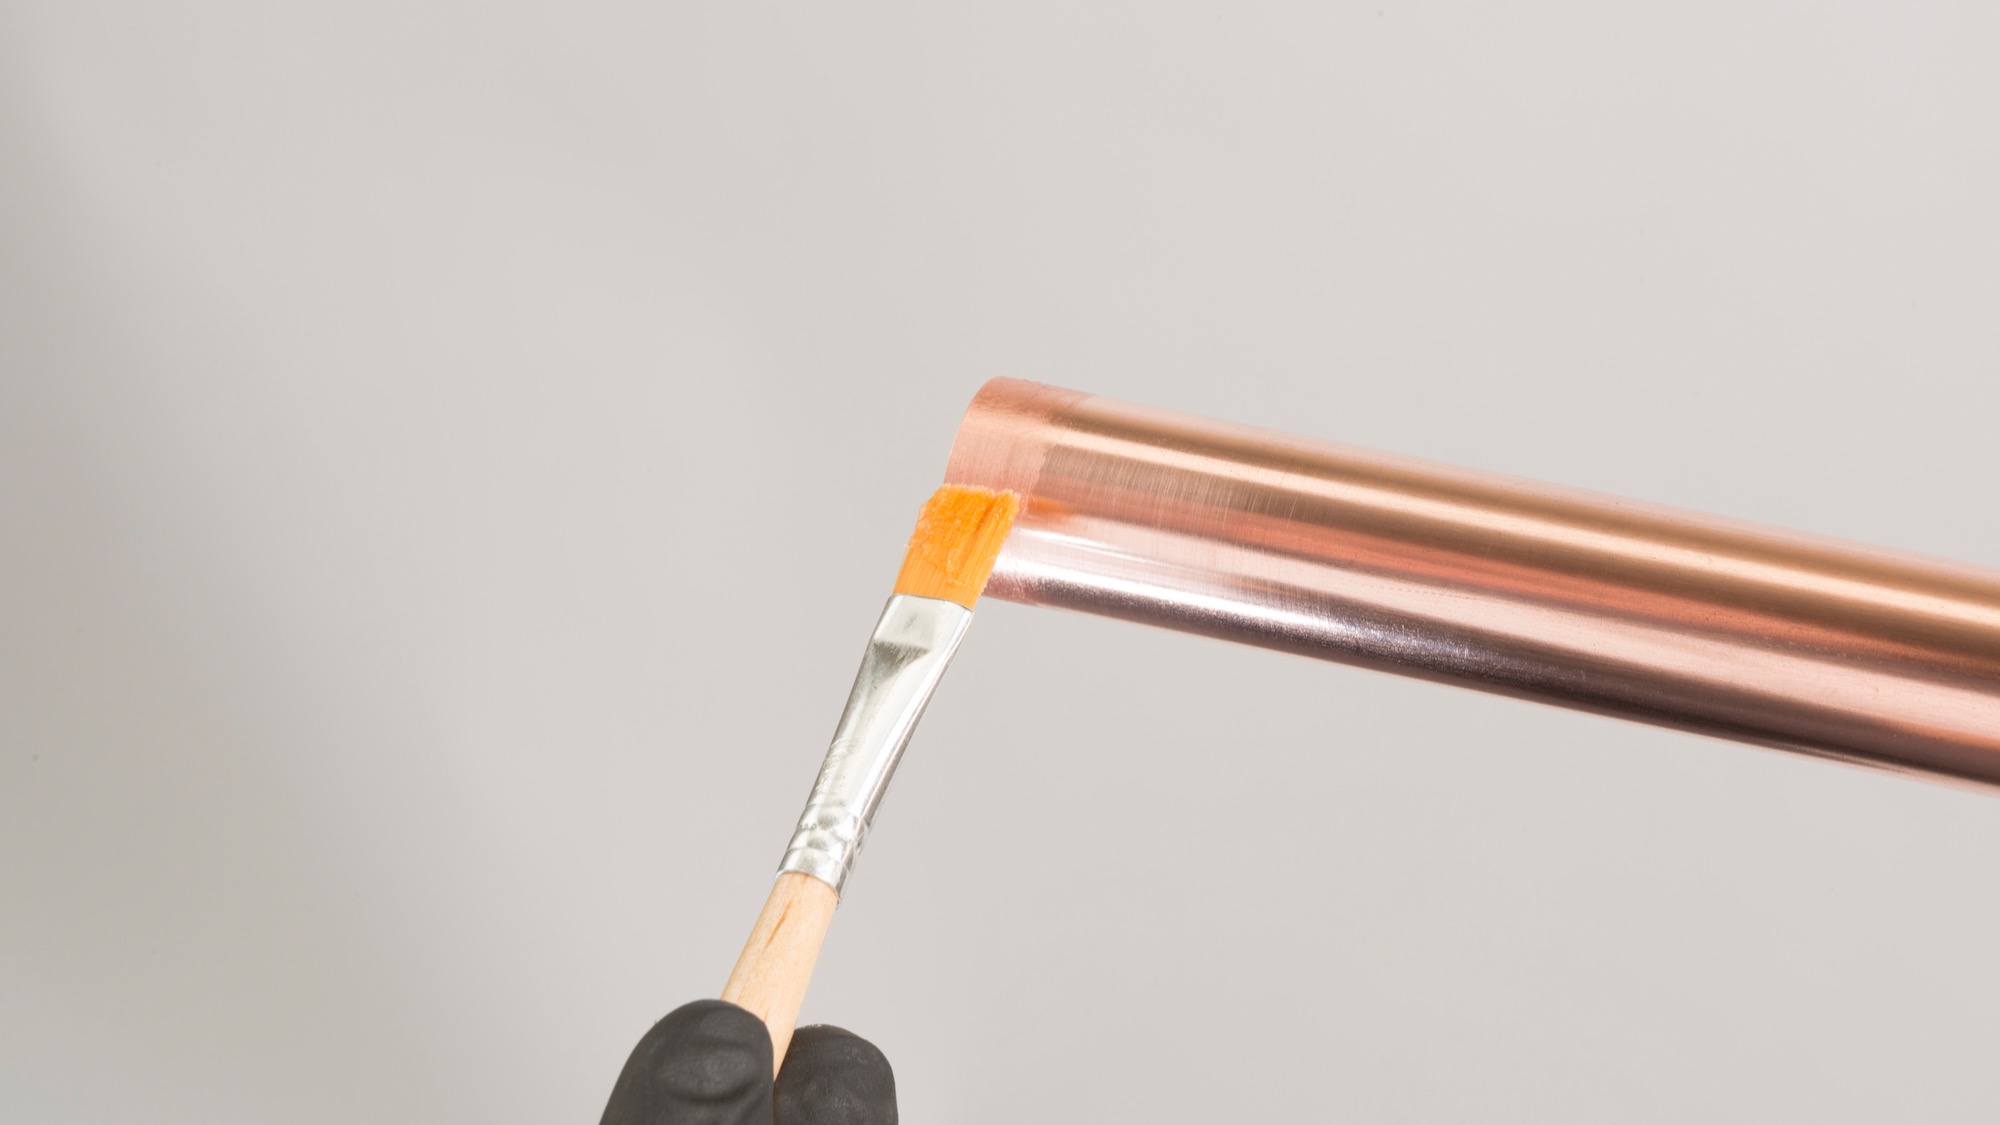
Use only flux confirmed as compatible with the exact fitting, tube and service. Apply an adequate but not excessive coating to the mating surfaces specified by the fitting and flux manufacturers. Use a suitable brush, never a finger.
Push the tube fully into the socket until it reaches the stop. Align and support the pipework so the joint will not be pulled out of position, then wipe away external excess flux before heating.
Heat until the solder ring appears
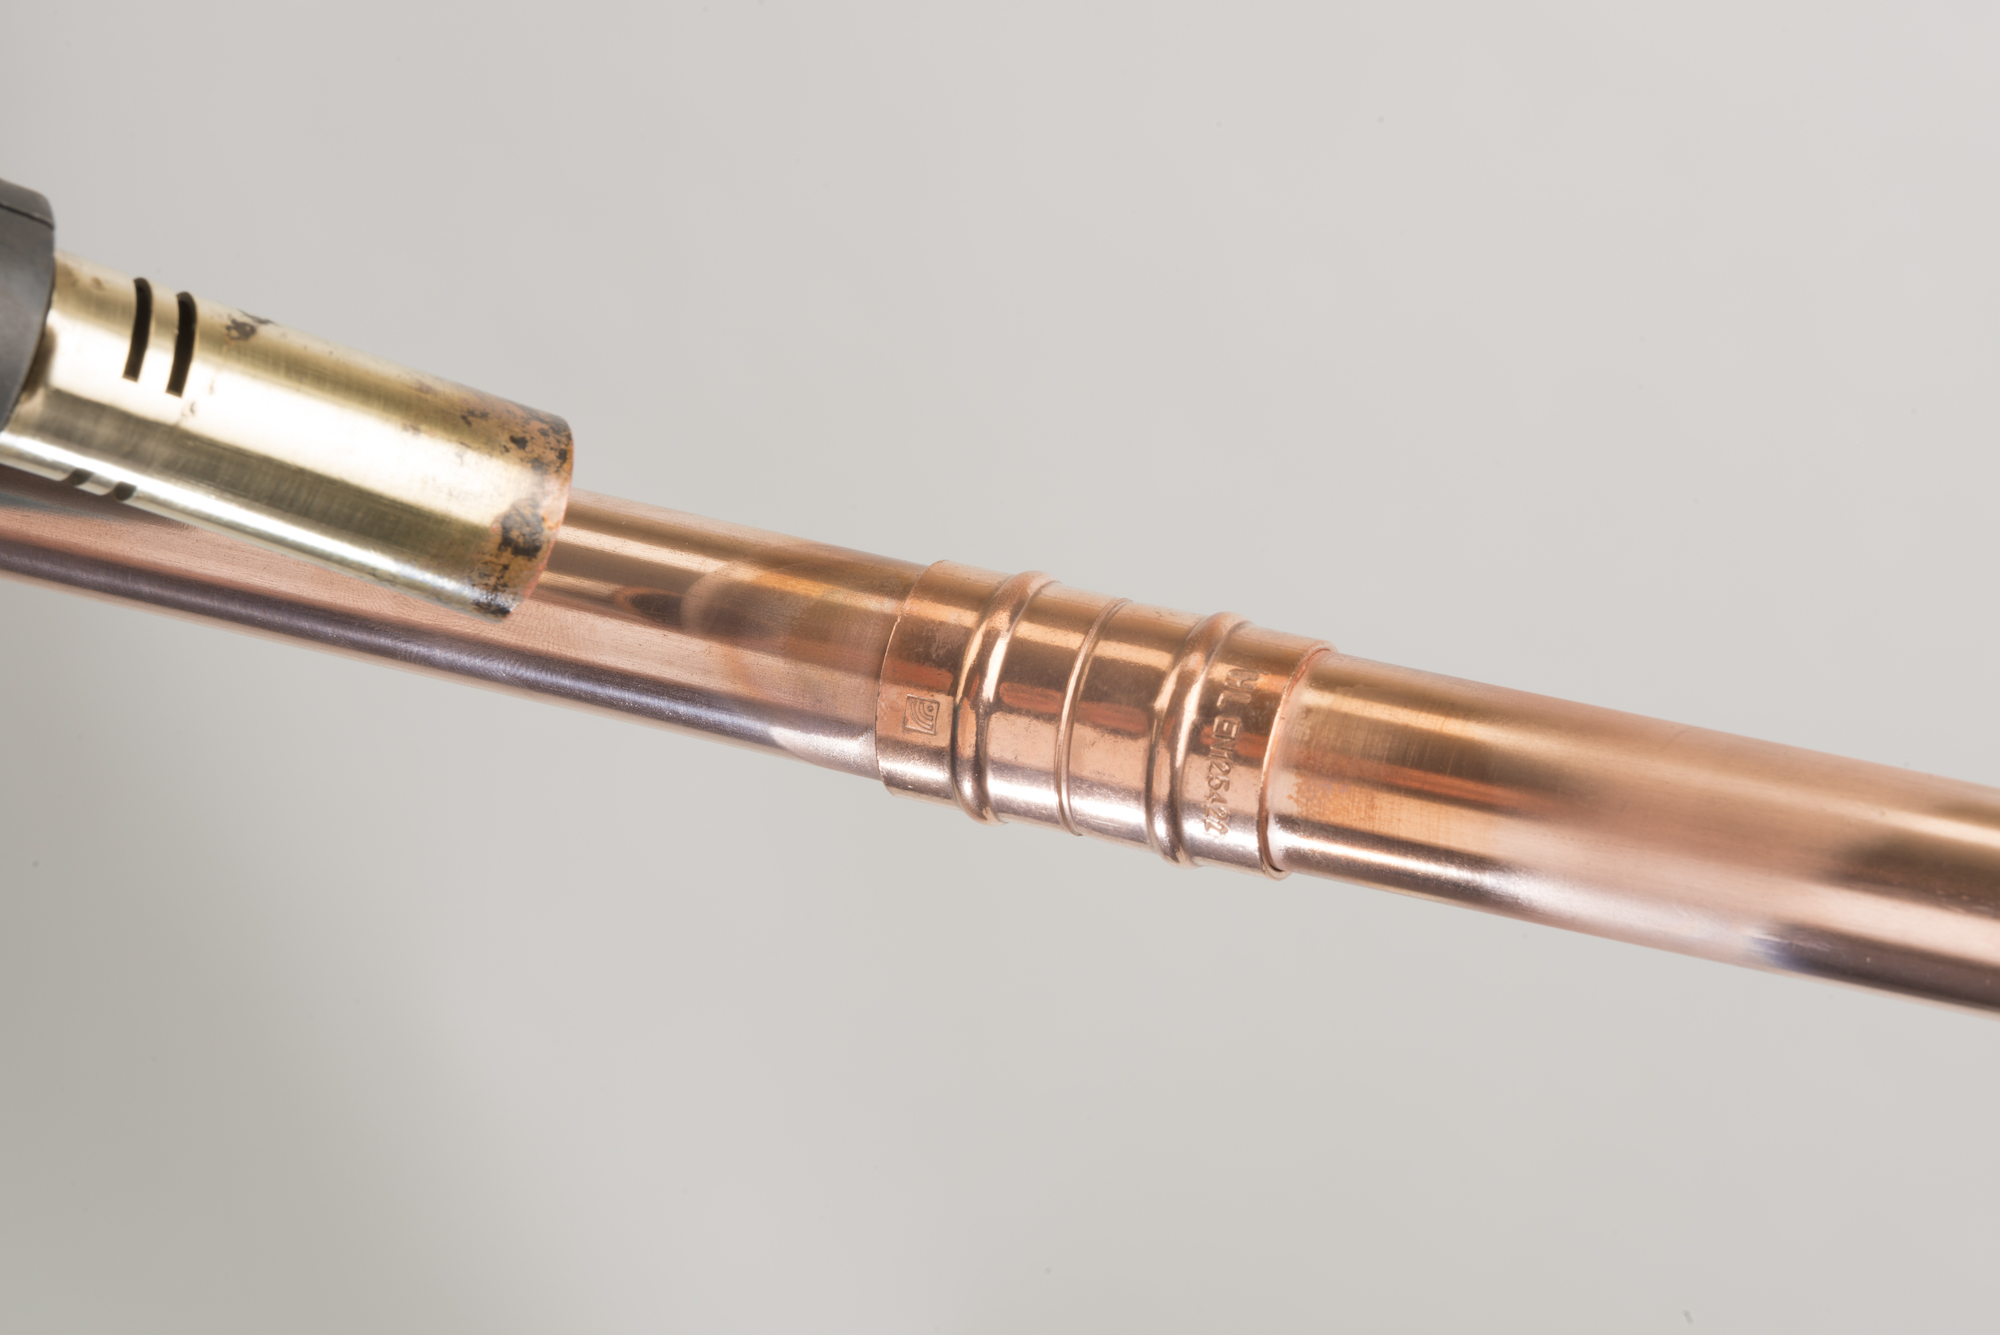
Heat the assembled tube and fitting evenly, following the fitting and torch instructions. Do not direct the flame into the fitting cup, scorch the flux or keep heating after a complete solder ring has appeared around the socket mouth.
Nearby components and unused ends of a fitting may need protection specified by the manufacturer. Do not improvise around heat-sensitive materials. If the flame cannot be controlled without risking surrounding surfaces or hidden combustibles, stop and use a competent plumber or a suitable approved alternative method.
Let the joint cool, then clean and test
Keep the pipework aligned and leave the joint undisturbed to cool naturally. Do not move it while the solder is setting or try to accelerate cooling, as rapid cooling can stress the joint.
Once the joint is cool, remove external flux residue and flush the pipework as required for its intended service. Inspect the completed joint, then test the system using the method and conditions specified for that installation. Do not put the system into use, insulate it, box it in or conceal it until that verification is complete.
What to do if the joint looks suspect
Incomplete solder flow, overheating, movement during cooling, contamination, misalignment or a failed system test all make a joint suspect. Do not repeatedly reheat it, add solder or reuse the fitting unless the exact manufacturer instructions support the corrective method and a competent assessment confirms it is appropriate.
If any part of the work, product compatibility or test result is uncertain, the sensible next step is to ask a competent plumber. Once you have confirmed the exact tube, fitting, flux and service requirements, you can explore PlumbHQ's Solder Ring Fittings as a practical starting point.