
In this guide
A well-planned towel rail should fit the room, meet the pipework cleanly and remain firmly supported when full. The key is to settle the product type, mounting structure, pipe route and valve arrangement before you drill or disconnect anything. This guide follows the practical sequence for a hydronic towel rail connected to a wet central-heating system.
Identify the product and installation route
First confirm whether the rail is hydronic, electric-only or dual fuel. A hydronic rail connects to a wet heating circuit. Electric-only and dual-fuel products add their own filling, expansion, bathroom-location and fixed-electrical requirements, so the hydronic sequence below must not be adapted for them.
Keep the current manufacturer instructions with the product and follow them throughout. Any fixed electrical work in or around a bathroom should be assessed, installed and tested by an appropriately competent person in line with current requirements. Do not attempt wiring as part of a hydronic installation.
Check parts, support and pipe route
Unpack the rail carefully, remove protective packaging and inspect the finish and connections for damage. Check the supplied components against the manufacturer instructions before work starts. Depending on the product, these may include brackets, legs, flanges, fixings, plugs, an air vent, a blanking plug and valve components. If anything specified is missing or damaged, pause before installation.
Plan the whole arrangement together rather than treating the rail, fixings and pipework as separate jobs. Confirm:
- the correct orientation, finished height and required clearances;
- the mounting centres and every manufacturer-specified fixing point;
- the rail's filled weight and whether the wall or floor construction provides suitable structural support;
- the pipe entry direction and the valve geometry needed to meet it; and
- enough access for fitting, venting, inspection and future maintenance.
A wall-mounted rail needs fixings into structure capable of carrying it when full. A floor-mounted model may still need wall restraint. Supplied wall plugs are not automatically suitable for every masonry, stud, board, tile or floor build-up, so choose fixings only after the substrate has been assessed.
Isolate and prepare the hydronic system
Before opening a valve or pipe connection, switch the heating off and allow it to cool. The relevant circuit must then be correctly isolated, depressurised and drained. The right draining method depends on the heating system, so follow its instructions rather than assuming one approach suits every installation.
Protect the floor, wall and nearby finishes, and keep a suitable container and absorbent material ready for residual water. If you cannot confirm the correct isolation point, control the system pressure or alter the pipework confidently, stop and use a competent heating professional.
Position, mark and drill safely
Work from the exact dimensions of the rail and its brackets. Hold the rail in position, or use the manufacturer's specified template, then check the finished height, level, pipe alignment, valve access and room clearances. Mark every fixing point only when the complete arrangement lines up.
Before drilling, locate concealed electrical cables, water pipes, gas pipes and other services on both sides of the surface. Use an appropriate detection method and obtain competent assessment if the route cannot be established confidently. Remove the rail while the holes are prepared, then use tools and fixings suited to the assessed substrate and finish.
Secure floor-mounted or wall-mounted rails
Floor-mounted rails
Assemble only the product-specified flanges, legs and wall restraints. Position the assembled rail, check it against the planned pipe route, and mark every required floor and wall fixing. Remove the rail before preparing the fixing points, then refit it and secure all specified restraints. Do not assume that legs remove the need for wall support.
Wall-mounted rails
Secure the specified brackets or fixing pegs into suitable structure before placing the rail onto them. Fit the rail in the sequence given by its manufacturer and engage every locking or retaining point. Once mounted, confirm that it is stable, level and undistorted, with the connections aligned rather than pulled towards the pipework.
Select, seal and connect the valves
Choose valves from the rail connection and the actual direction of the pipework, not from finish alone. For example, a straight valve can suit pipework rising from the floor when the product connections align, but that arrangement is not a universal choice.
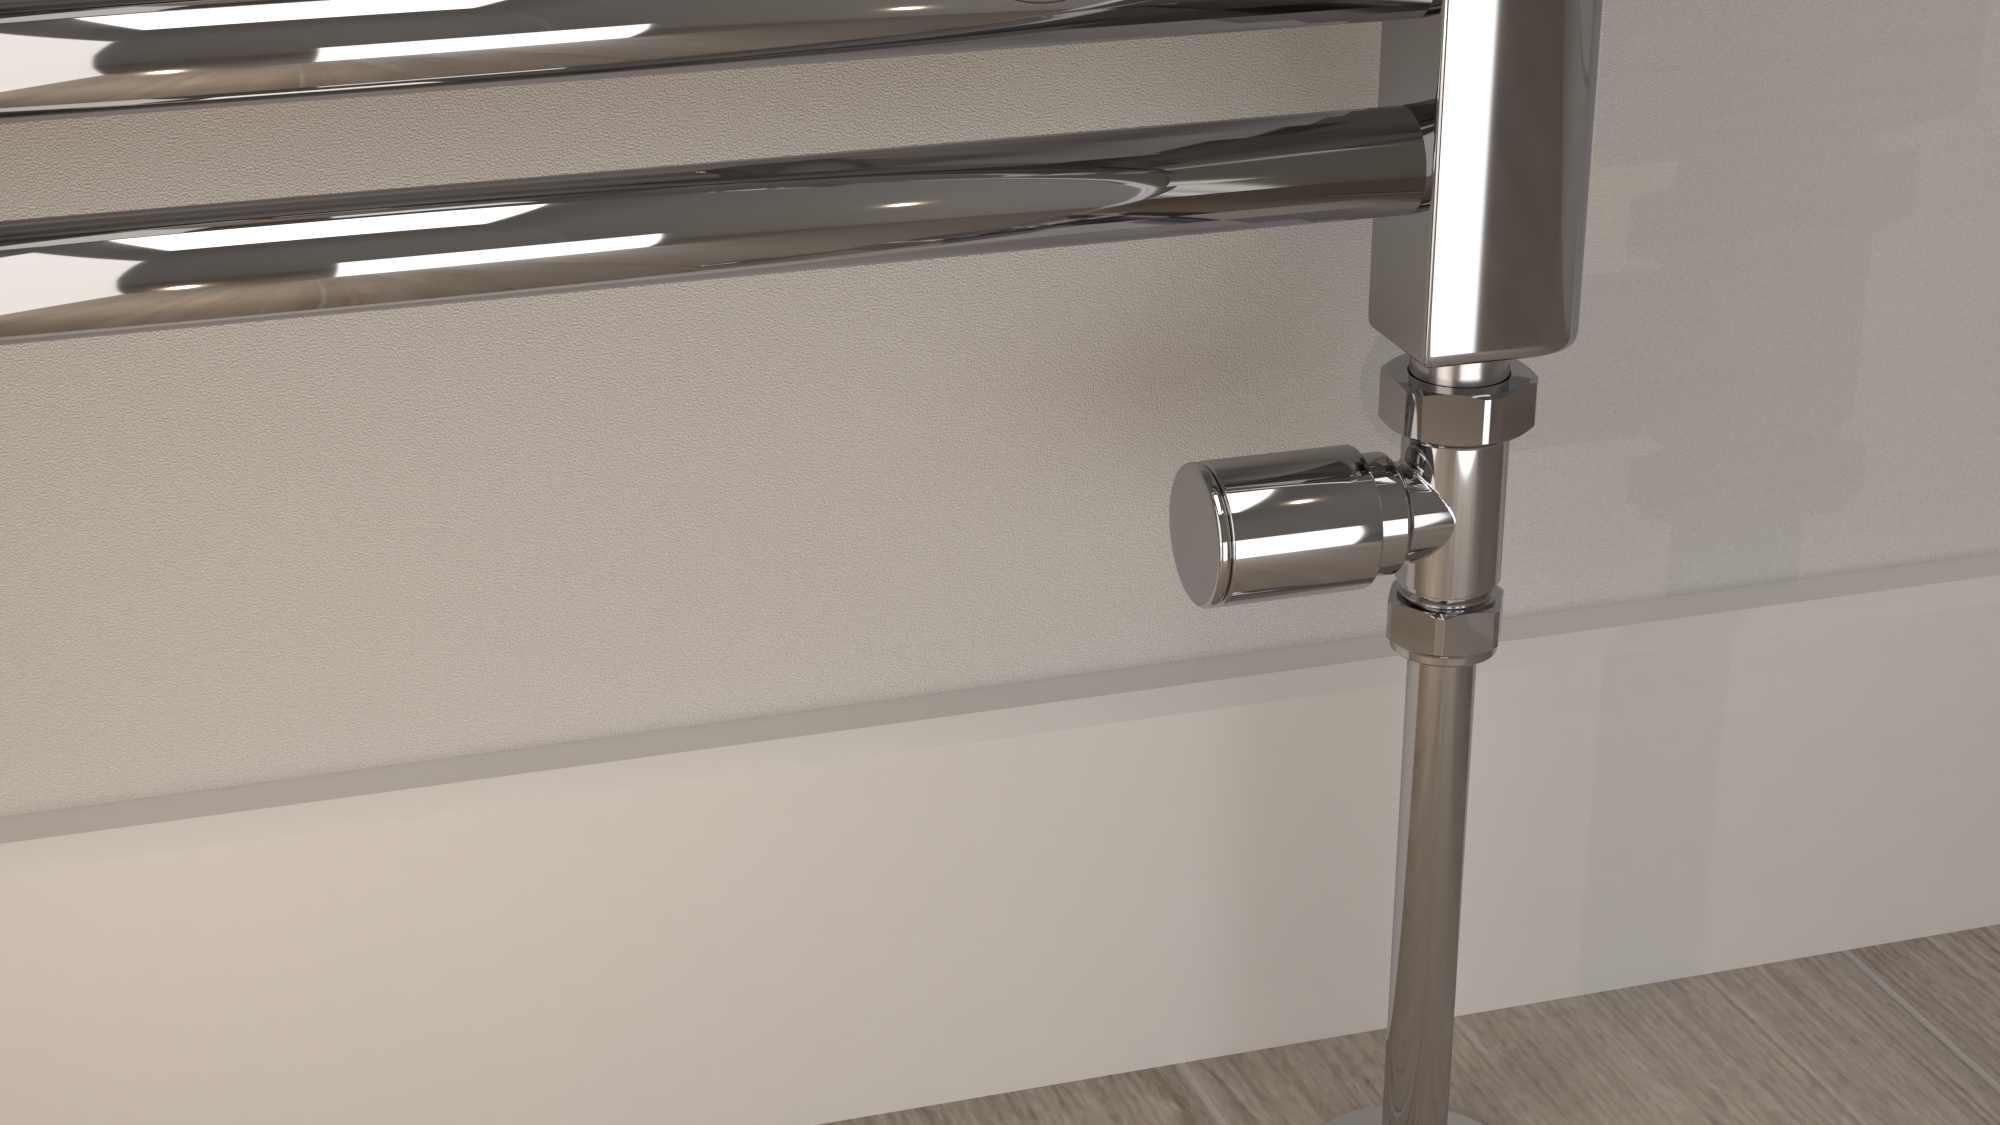
Use only the thread-sealing method specified by the rail and valve manufacturers. There is no universal quantity of PTFE tape or sealant for every connection. Align valve tails, threaded joints and compression connections without forcing the rail or pipework. Support each joint while tightening and avoid over-tightening nuts or threaded parts.
Check that the completed valve arrangement remains accessible and that neither the pipework nor the mounted rail is under strain. If the pipe route needs alteration, or the correct sealing and connection method is uncertain, use a competent heating professional.
Refill, vent and leak-check
When the connections and mountings are complete, refill the heating system using the method specified for that system. Vent trapped air through the intended air vent, restore the correct operating conditions and inspect the rail, blanking plug, vent, valve tails and pipe connections as filling progresses.
Continue checking after the heating is running under its normal operating conditions. Use the system-specific test method and conditions before concealing pipework or relying on the installation. A joint that looks dry at first is not proof that the completed connection is sound. If water appears, pressure will not restore correctly, the rail remains airlocked or any result is uncertain, stop and arrange competent diagnosis.
Finish safely and choose the next step
Keep every connection and mounting point accessible until the rail is stable, trapped air has been vented and the leak checks are complete. Replace finishes or conceal nearby pipework only after the installation has been checked under the conditions required for that system.
Before choosing a rail, confirm the product type, dimensions, loaded support needs, connection positions, pipe direction, valve arrangement and intended installation route. If the structure, concealed services, isolation, pipe alteration, sealing, filling, testing or any electric or dual-fuel work is uncertain, bring in the appropriate competent professional.
Once those details are settled, explore PlumbHQ's Towel Rails range for an option that matches your room and planned connections.