
In this guide
Compression fittings let you make an accessible joint on compatible copper water or wet-heating pipework without applying a flame at the joint. The dependable result comes from careful preparation and correct assembly, not brute force: match the parts to the job, cut and deburr the tube cleanly, seat it fully and tighten it exactly as the fitting manufacturer directs.
This guide covers common nut-and-olive fittings on compatible copper tube. Check the instructions for the exact fitting, tube size, material and service before you start, because components and installation methods are not universally interchangeable.
Confirm the fitting, tube and service
A typical compression joint has three working parts: the fitting body, a compression nut and an olive. As the nut is tightened, it draws the olive between the body and the tube. The olive forms the seal around the tube, while the threads provide the clamping force.
Confirm that the fitting and tube are the right size and material, and that the manufacturer permits them for the intended water or wet-heating service. Standard compatible copper tube is the scope here. Plastic, soft or annealed copper, steel and plated tube may require different fittings, components or methods. Where a permitted softer tube or plastic system requires a specified liner or insert, it must be fitted as instructed.
Gas pipework is outside this installation sequence. Gas isolation, jointing, tightness testing and recommissioning must be handled by an appropriately qualified Gas Safe registered engineer. Other specialist services, including oil, refrigerant, medical gas and compressed air, also need service-specific competent advice.
Make the pipework safe
Identify what the pipe carries before touching it. For water or wet heating, switch off the relevant supply or circuit, allow it to cool, isolate it correctly, depressurise it and drain the affected section before cutting a pipe or opening a joint. Have a suitable container and protection ready for residual water.
Stop and call a competent plumber if you cannot positively identify the service, cannot achieve reliable isolation, or are unsure what interrupting the circuit will affect. Never cut or open pipework that is live, hot, pressurised, undrained or unidentified.
Measure and cut the tube square
Plan the finished route before marking the tube. Allow for the insertion needed to reach the fitting's tube stop, using the manufacturer's dimensions or method for that exact fitting. Too little engagement can compromise the joint, while a piece that is too long or out of line can place strain on it.
Support the copper tube and use a suitable rotary tube cutter to make a clean, square end without flattening it. Keep the pipework naturally aligned. A compression fitting should join correctly positioned tube, not pull misaligned pipework into place.
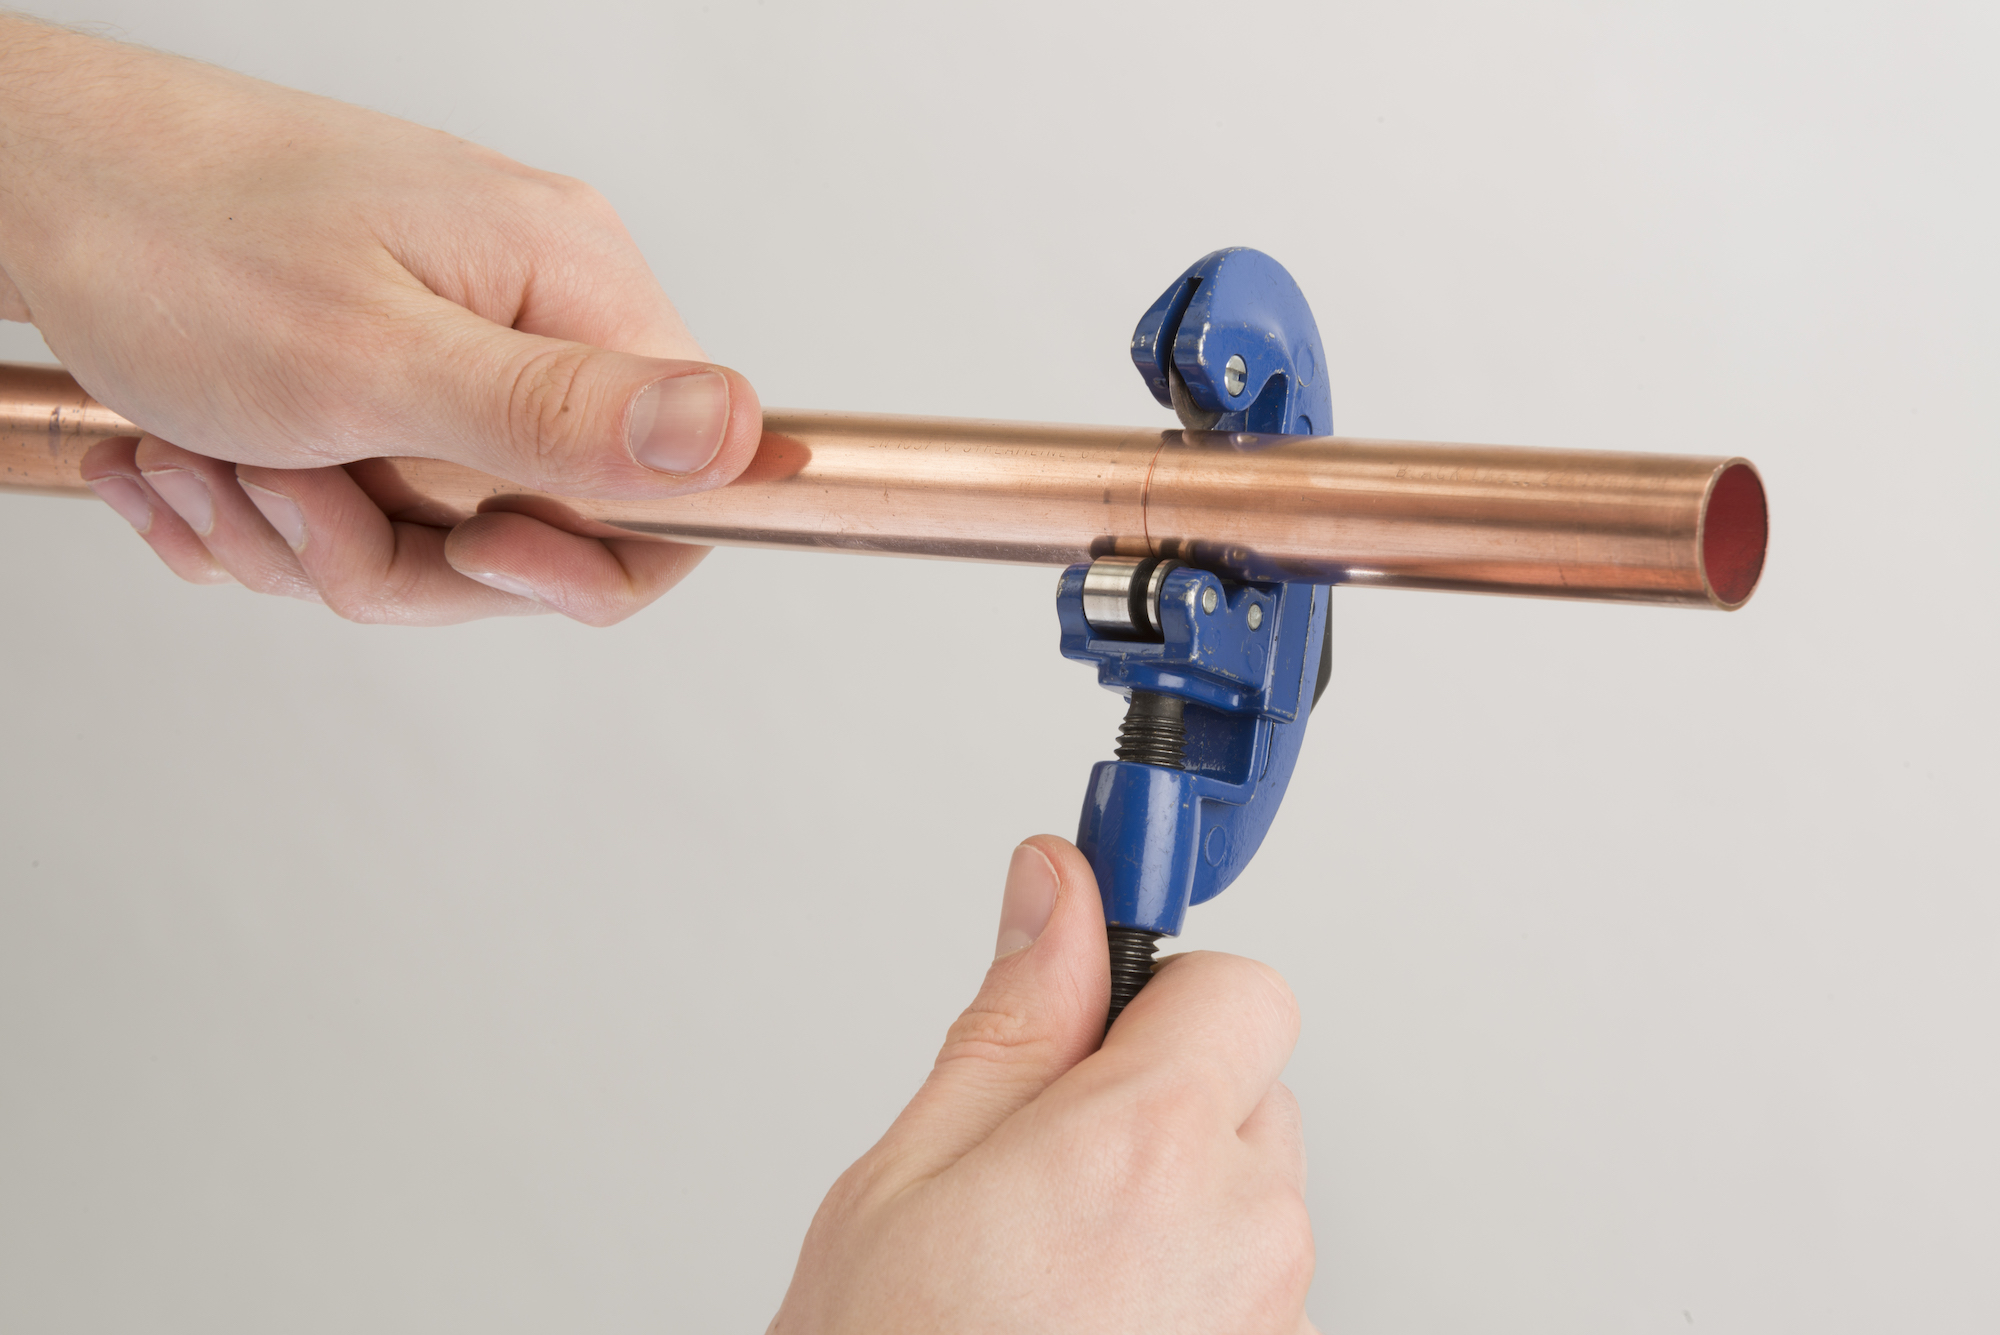
Deburr, clean and inspect
Remove burrs from both the inside and outside of the cut end with a suitable deburring tool. This clears sharp edges and debris that could obstruct flow or interfere with assembly. Clean the tube end and sealing area without removing excessive material.
Inspect the prepared end for ovality, deep scratches, scores, contamination or distortion. If the sealing area is damaged, cut back to a sound section and prepare it again rather than hiding the defect inside the fitting. Keep the fitting components clean and protected until they are assembled.
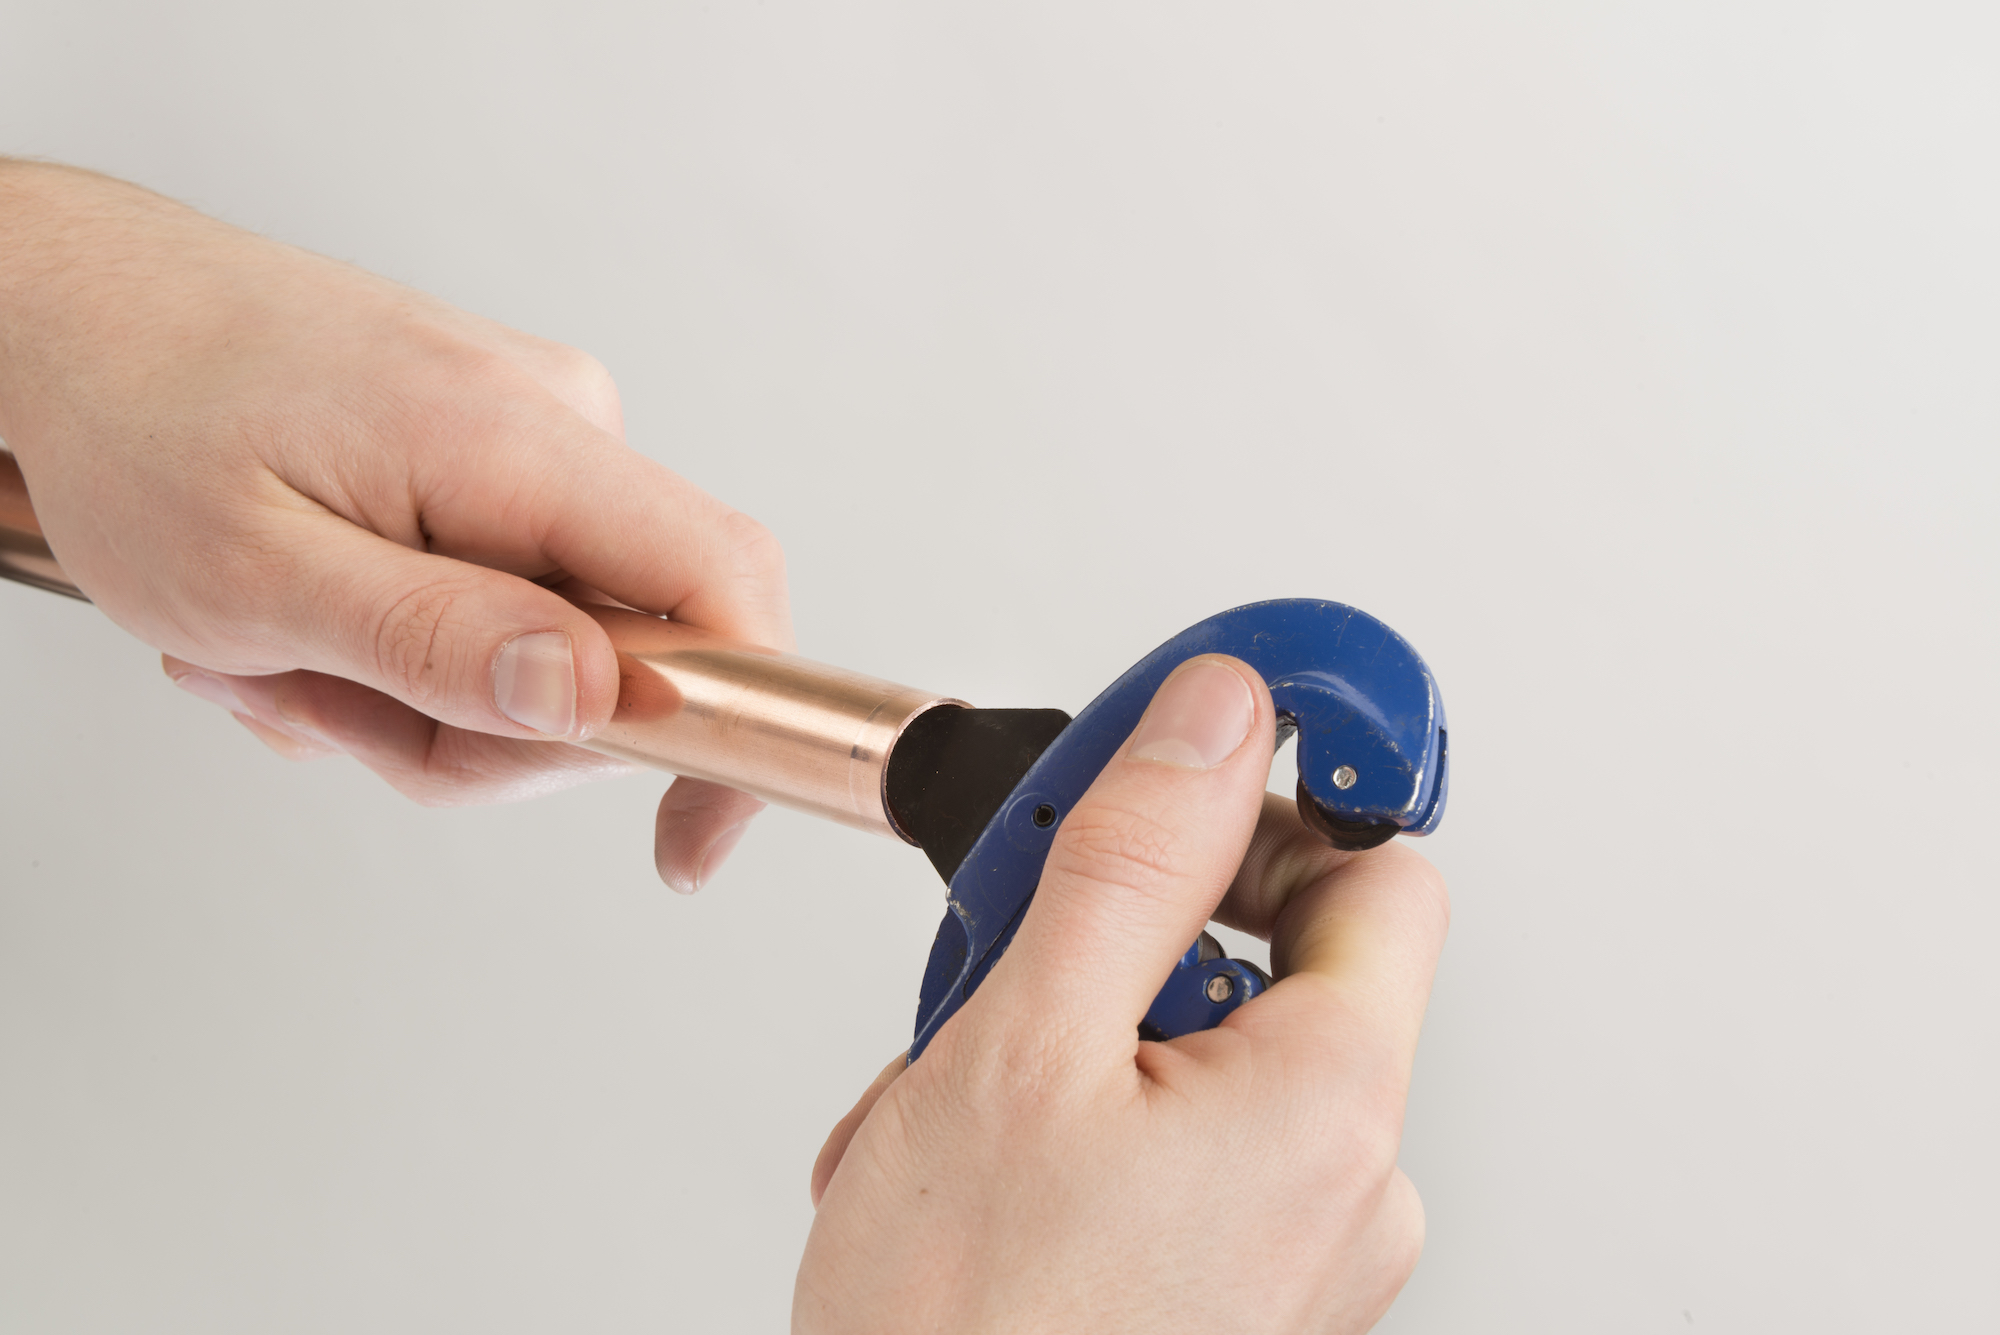
Place the nut and olive correctly
Slide the compression nut onto the tube first, followed by the correct olive, with both parts oriented for the fitting. Keep the body, nut and olive from the same approved fitting system unless the manufacturer expressly permits an alternative.
Do not add PTFE tape or jointing compound to compression threads or the olive by habit. The olive makes the compression seal. Use an approved sealant only when the exact fitting instructions require it. If the fitting also has a threaded adaptor, treat that separate threaded connection according to its own instructions.
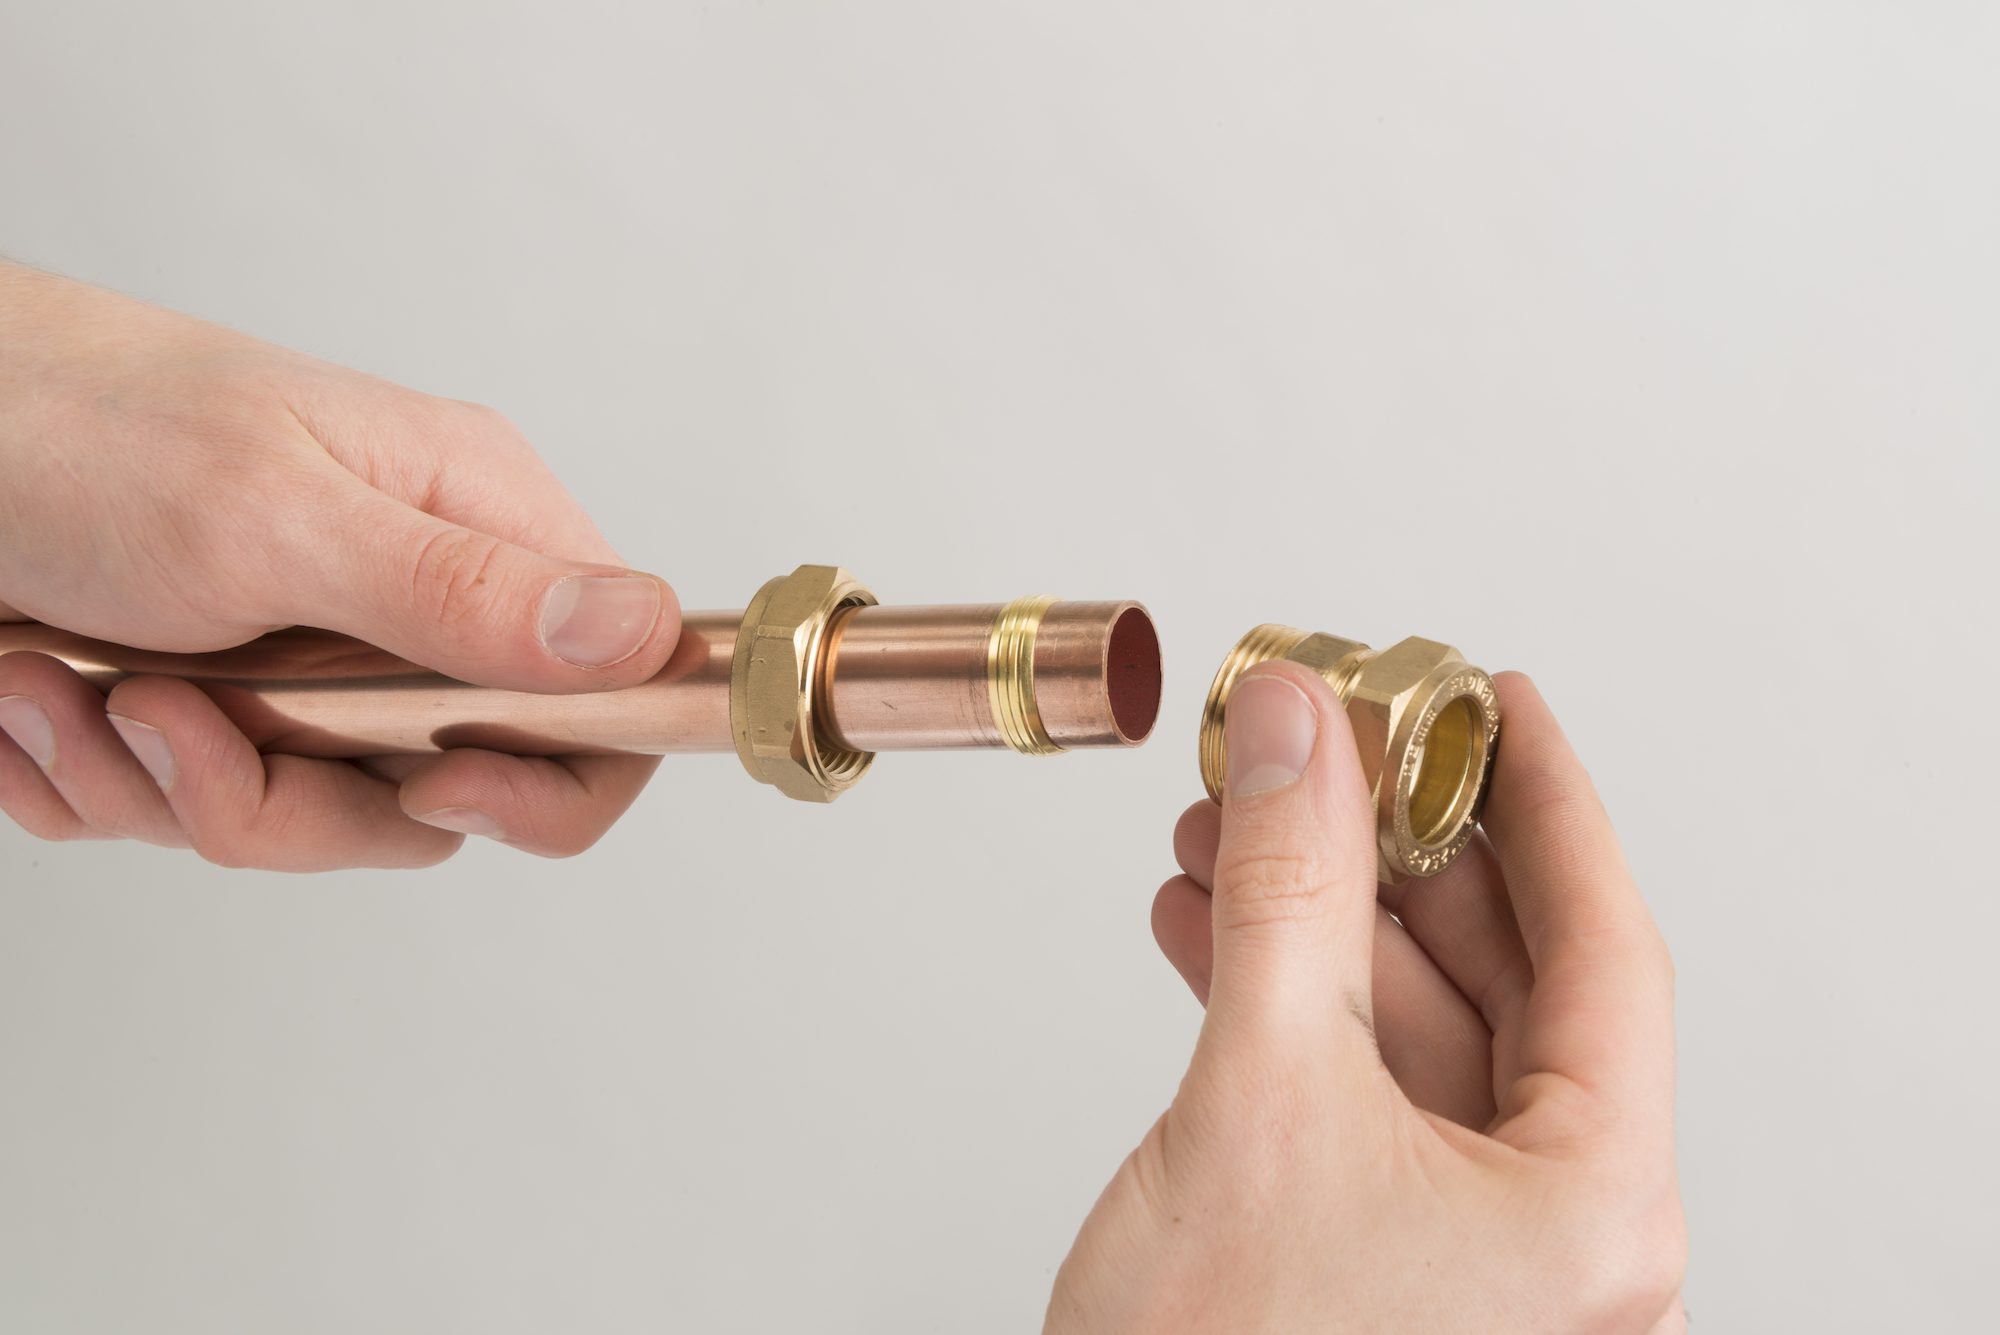
Seat and align the joint
Push the prepared tube fully into the fitting until it reaches the tube stop. Bring the olive and nut up to the body, then tighten the nut by hand. Check that the tube remains fully inserted, square to the fitting and free from side load.
For a coupling, prepare and seat both pipe ends in the same way, following the product instructions for each side. Confirm the assembly is properly aligned before applying spanners. This is the point to correct pipe position, rather than trying to force alignment as the nuts are tightened.
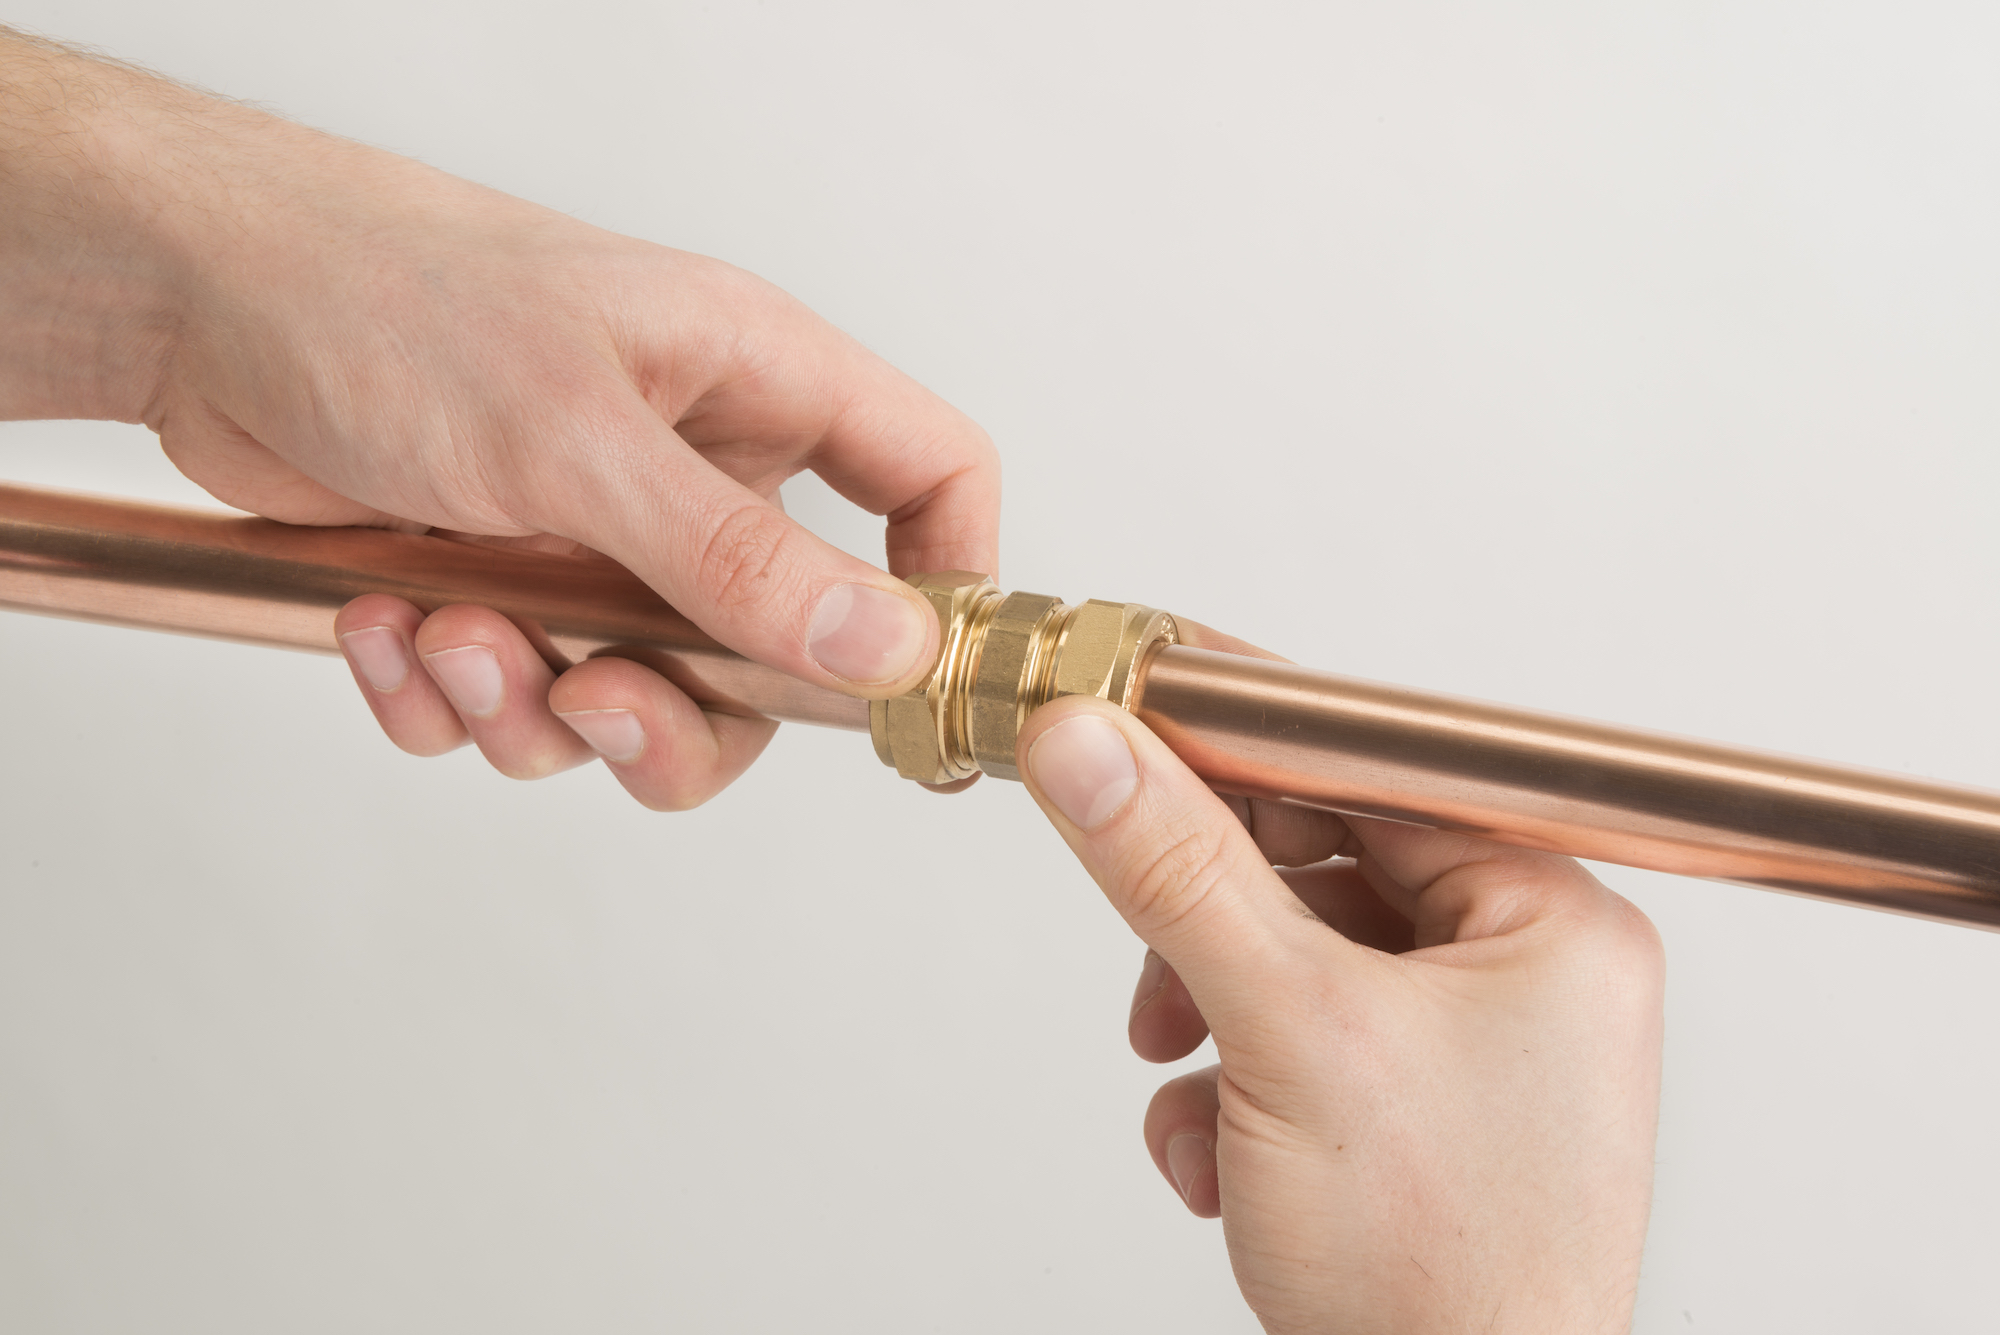
Tighten by the manufacturer's method
Begin from finger-tight. If the manufacturer specifies a number of turns, mark the starting position on the nut and tube so you can follow that instruction accurately. If it specifies a torque, use the stated method and suitable tool for the exact fitting size and tube.
Hold the fitting body with one correctly sized flat-faced spanner and turn the nut with another. Supporting both sides helps prevent the fitting and connected pipework from twisting. Do not substitute serrated-jaw pliers or Stilsons, and do not assume that a universal turn count or maximum force will improve the seal. Excess tightening can damage the joint.
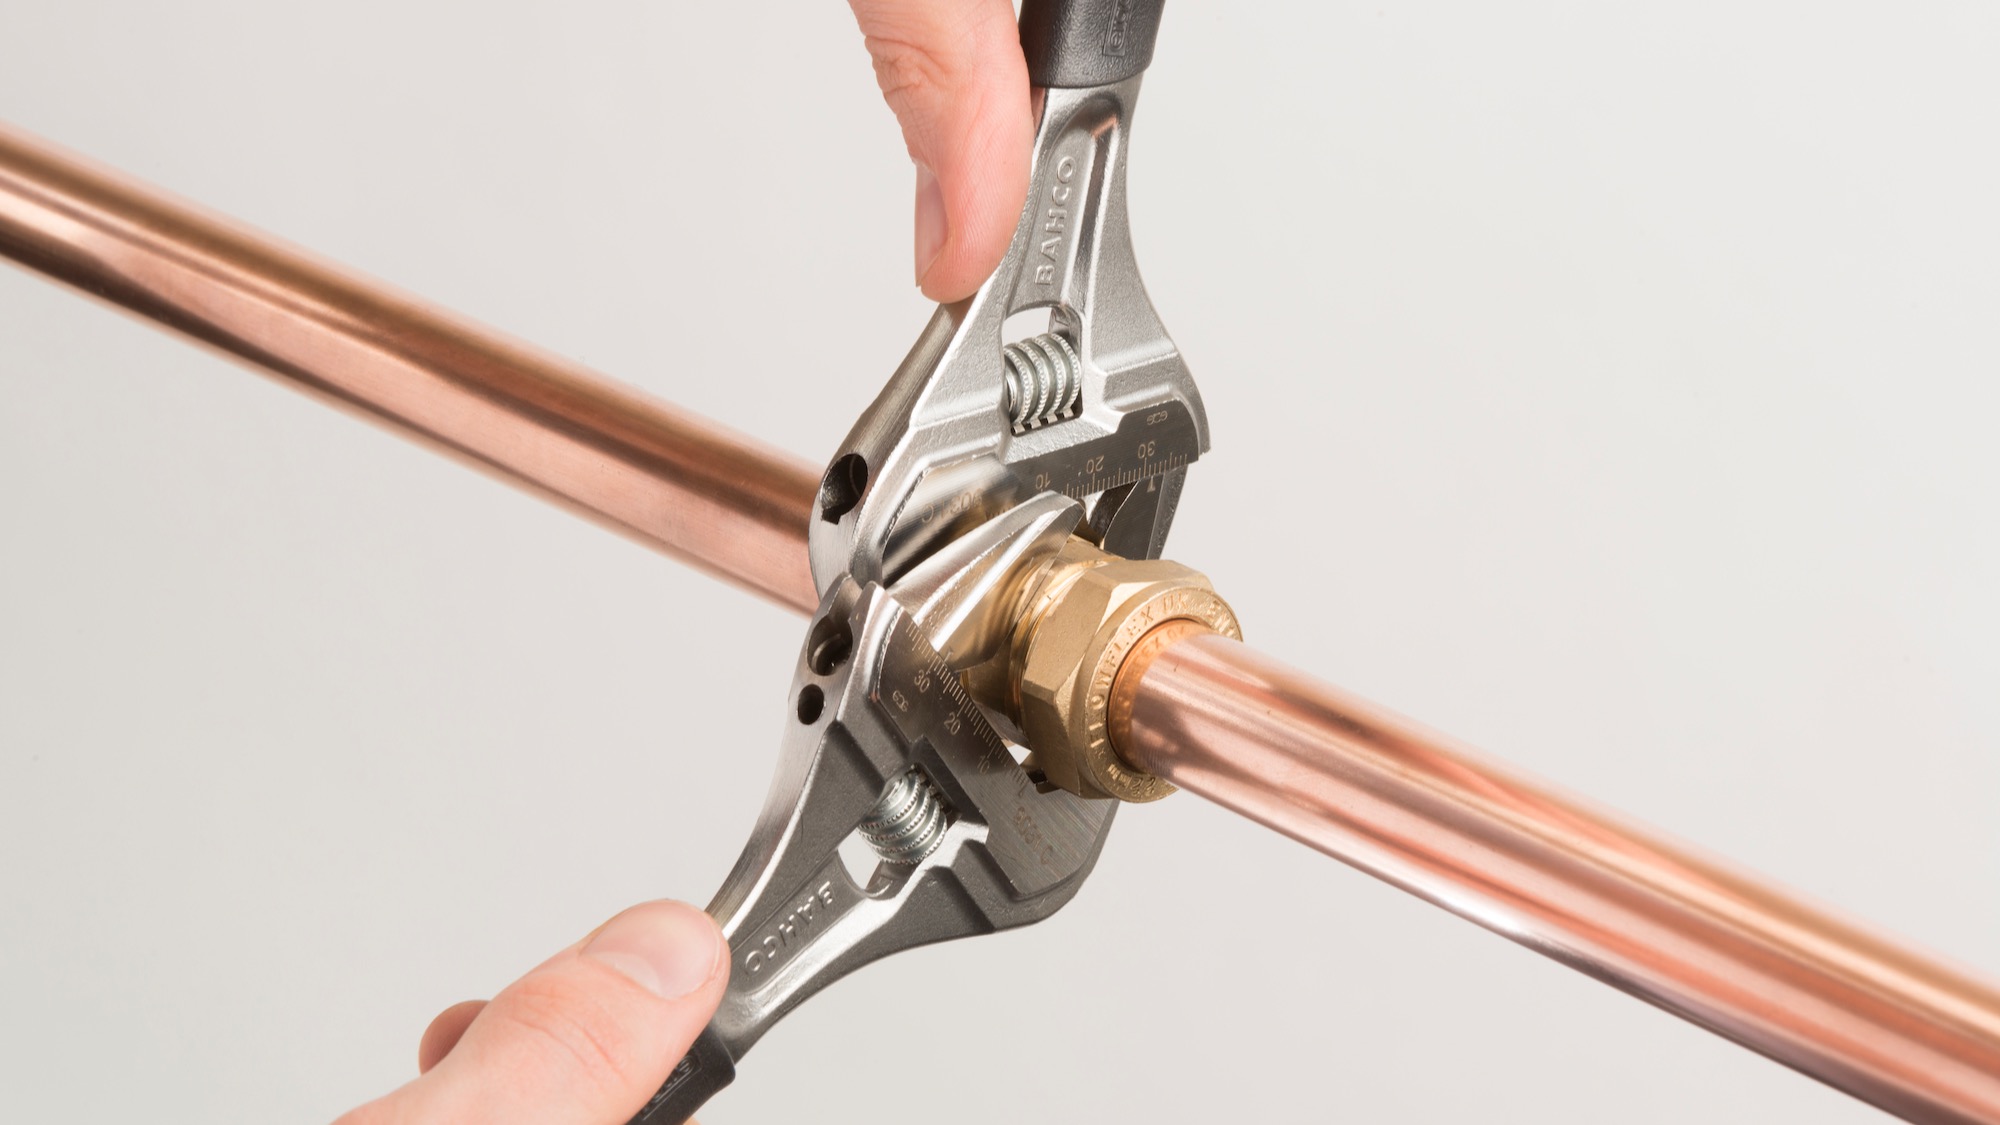
Restore service and check the joint
Restore or refill the water or heating system gradually using the specified procedure for that system. Test the joint by the required method and inspect it at both the required test condition and normal operating conditions. Check the surrounding tube and fitting as well as the nut. An initially dry surface on its own does not prove that the installation is sound.
If a leak appears, isolate and depressurise the system before making any adjustment. Follow the fitting manufacturer's correction or remake instructions. Repeated tightening is not a substitute for dismantling and remaking a faulty joint correctly, and a joint that continues to leak needs competent assessment.
Know when to stop or seek help
Bring in a competent plumber for unidentified services, unreliable isolation, damaged or badly misaligned tube, inaccessible or concealed work, or materials whose compatibility has not been confirmed. The same applies if the joint cannot be tested properly or will not remain sound. Keep every part of gas work with an appropriately qualified Gas Safe registered engineer.
Once you have confirmed the pipe size, tube material, intended service and the manufacturer's installation instructions, explore PlumbHQ's Compression Fittings range for a suitable next step.