
In this guide
End-feed fittings give you a direct way to form a soldered joint on compatible copper water or wet-heating pipework. A sound result starts long before the blowtorch is lit: every component must suit the service, the work area must be safe for hot work, and the tube and fitting must be prepared accurately.
The installation sequence below is for accessible copper pipework where the fitting, tube, flux and solder are confirmed as compatible. Follow the current instructions for the exact products and system throughout. If the service, materials, isolation or fire controls are uncertain, stop and use a competent plumber.
Understand how an end-feed joint works
An end-feed fitting has an empty socket that overlaps the prepared copper tube. The installer adds compatible flux and suitable solder. When the assembled joint is heated correctly, the joint itself melts the solder and capillary action draws it through the narrow clearance between the tube and fitting.
This is different from a solder-ring fitting, which contains a pre-loaded ring of solder. With an end-feed fitting, selecting and applying the solder forms part of the installation. Adding more heat or solder by eye cannot make up for poor preparation, an unsuitable material combination or incomplete tube insertion.
Confirm the service and materials
Keep this sequence to compatible copper end-feed fittings on domestic water or wet-heating pipework. Check the exact fitting, tube size, flux, solder and intended service against their current manufacturer instructions. A matching appearance or nominal size does not prove that every component is suitable together.
Use suitable lead-free solder on pipework carrying drinking water. Do not assume that a material permitted for one closed heating system is also acceptable for a drinking-water supply. Gas pipework is outside this guide: gas isolation, jointing, tightness testing and recommissioning require an appropriately qualified Gas Safe registered engineer. Other specialist services need their own approved systems and competent installers.
Isolate the system and control fire risk
Identify the pipe service before cutting or heating it. For water or wet heating, switch off the relevant system, allow it to cool, isolate it correctly, depressurise it and drain the affected section. Make sure the joint area is dry. Never cut or heat pipework that is live, hot, pressurised, undrained, wet or unidentified.
Soldering is hot work. Remove combustible and flammable materials from the area, inspect nearby surfaces and voids for hidden fire paths, and protect anything that cannot be moved with suitable heat-resistant protection. A heat mat is useful protection at the work face, but it is not a complete fire-control plan.
Provide suitable fire-fighting equipment, ventilation, hand protection and eye protection as required by the torch, flux and solder instructions. Maintain the fire watch required by the risk assessment or site rules during and after the work. If access is cramped, hidden materials cannot be checked, ventilation is inadequate or the fire risk cannot be controlled, use a competent plumber or an approved cold-jointing method suited to the system.
Measure and cut the tube square
Plan the finished pipe route and allow for the insertion needed to reach the fitting's tube stop. The tube should meet the fitting naturally, with suitable support and without side load. A short or angled cut can prevent full seating, while an overlong or misaligned piece can strain the pipework.
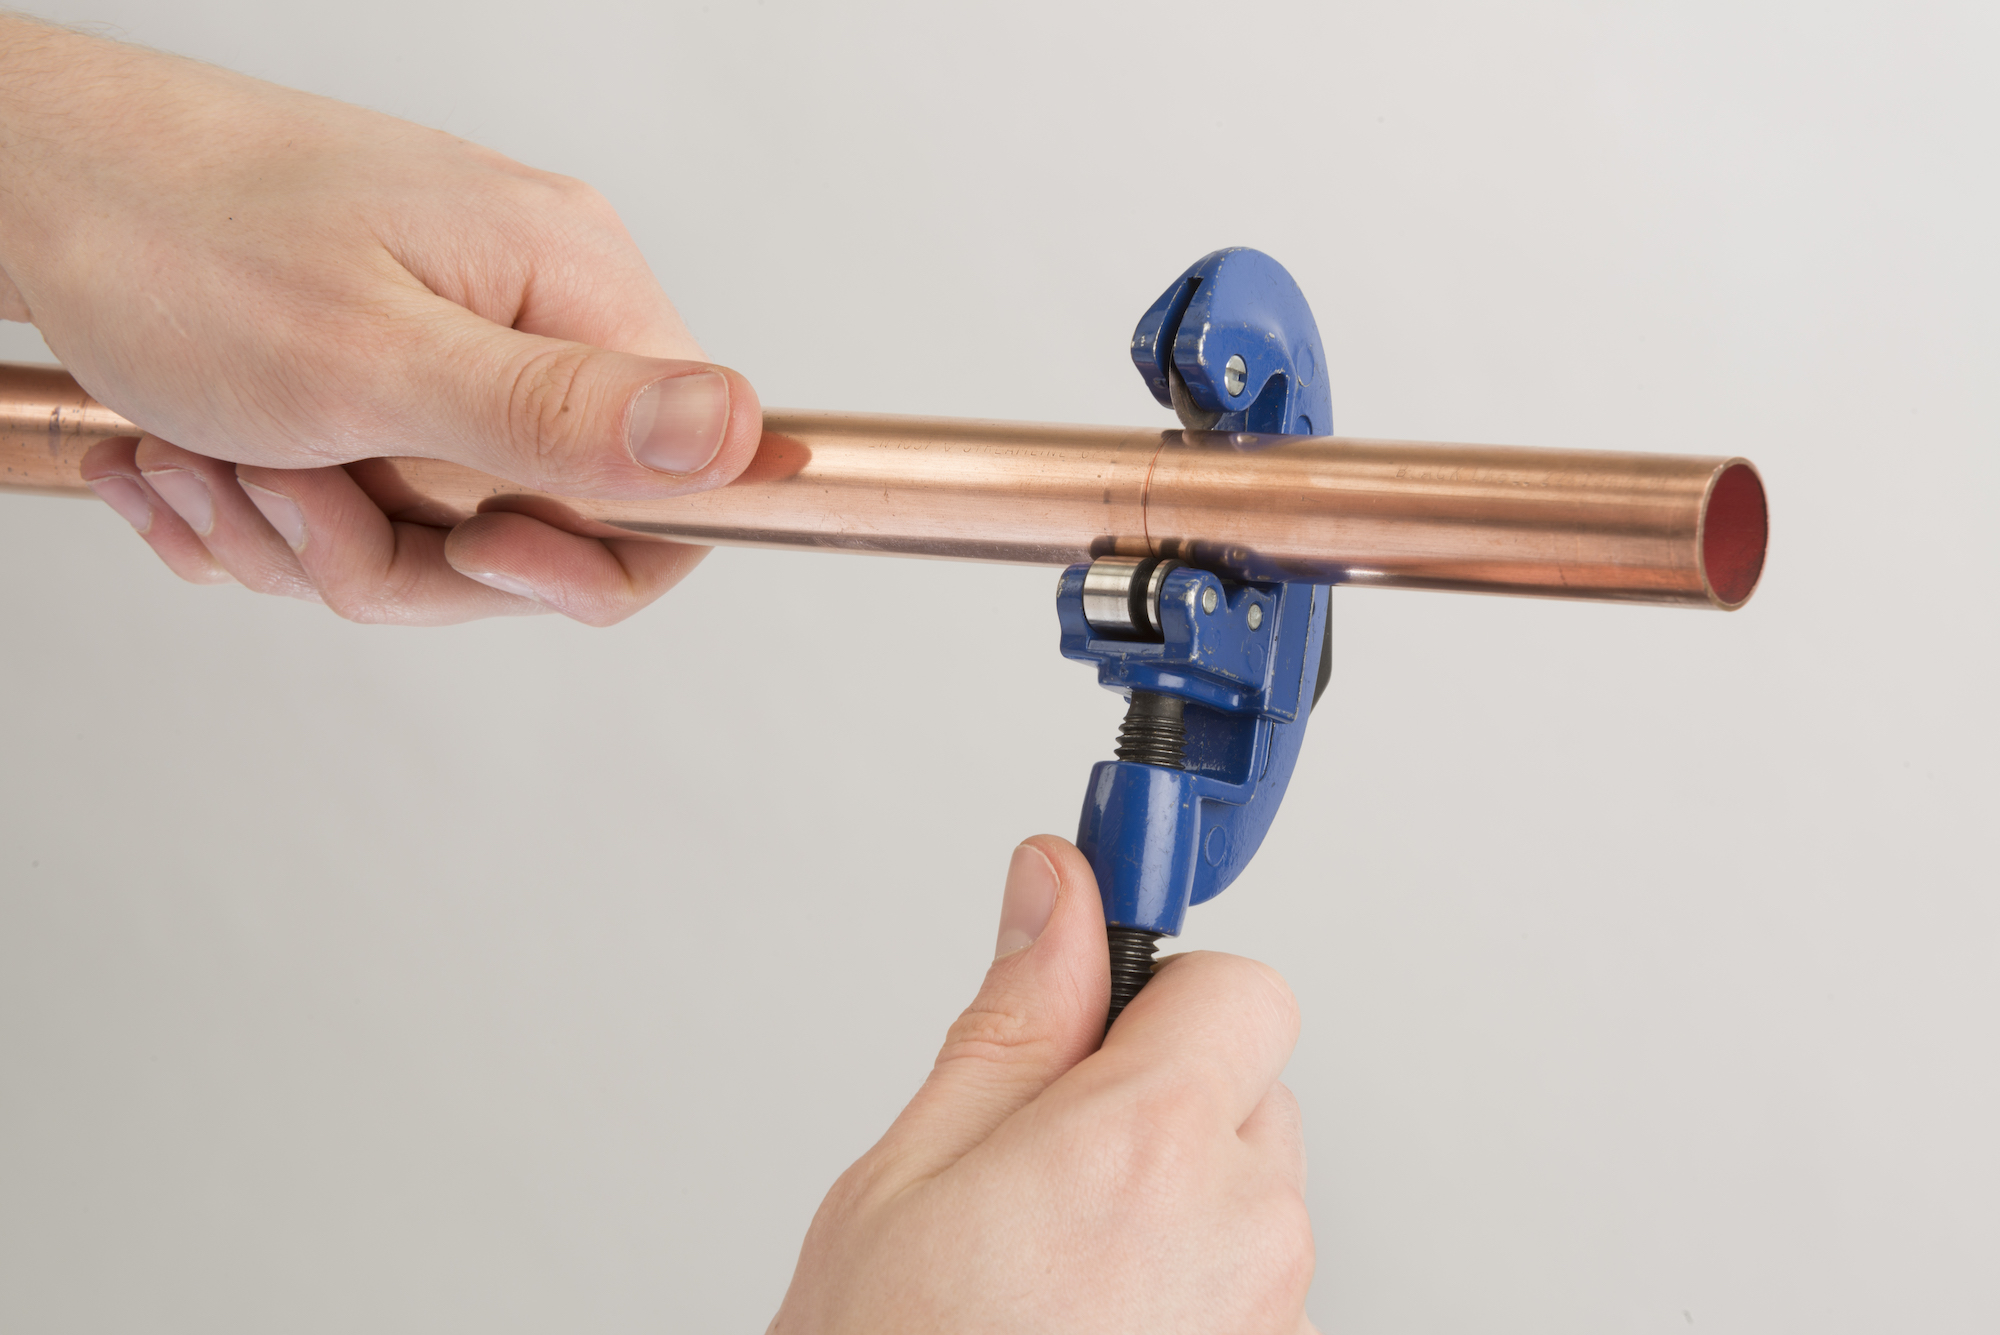
Support the copper tube and use a suitable rotary pipe cutter to make a clean, square end without flattening it. Check the end and alignment before moving on. Do not use the fitting to pull pipework into position.
Deburr, clean and inspect
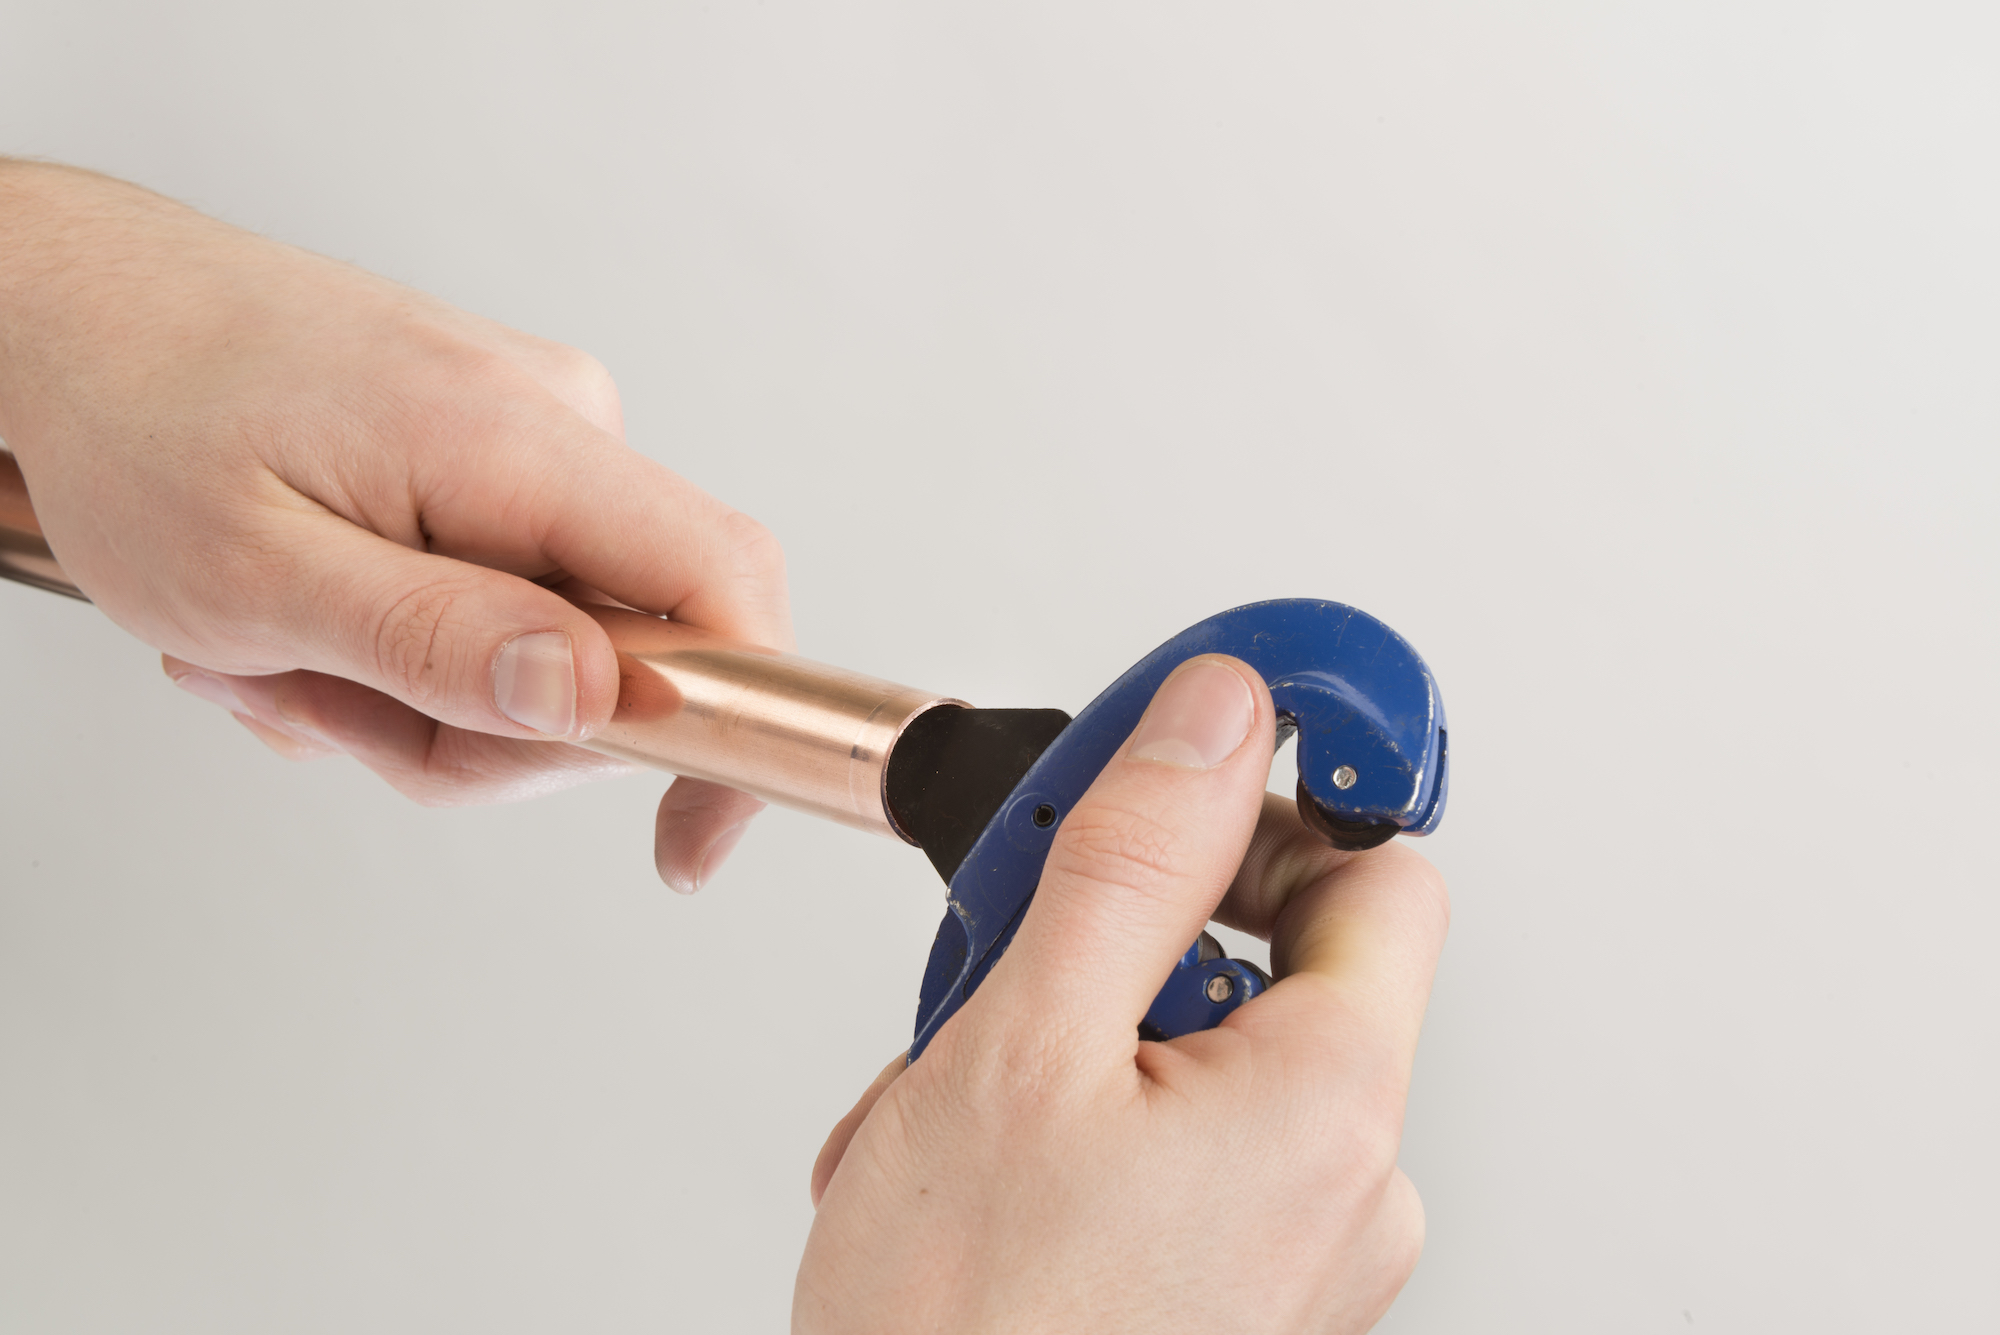
Deburr both the inside and outside of the cut tube. A smooth internal edge helps keep the bore clear, while a clean external edge supports accurate insertion. Remove filings so they cannot remain in the pipework.
Lightly clean the outside of the tube over the full socket overlap and clean the fitting socket as their instructions direct. Remove oxide, grit, dirt and other contamination that could interrupt capillary action. Avoid aggressive abrasion that removes excessive material and leaves a loose fit.
Inspect the tube and fitting before assembly. Cut back past deep scores or damage and reject distorted, oval or contaminated parts rather than hiding a defect inside the socket. Keep the freshly prepared surfaces clean.
Apply flux and assemble
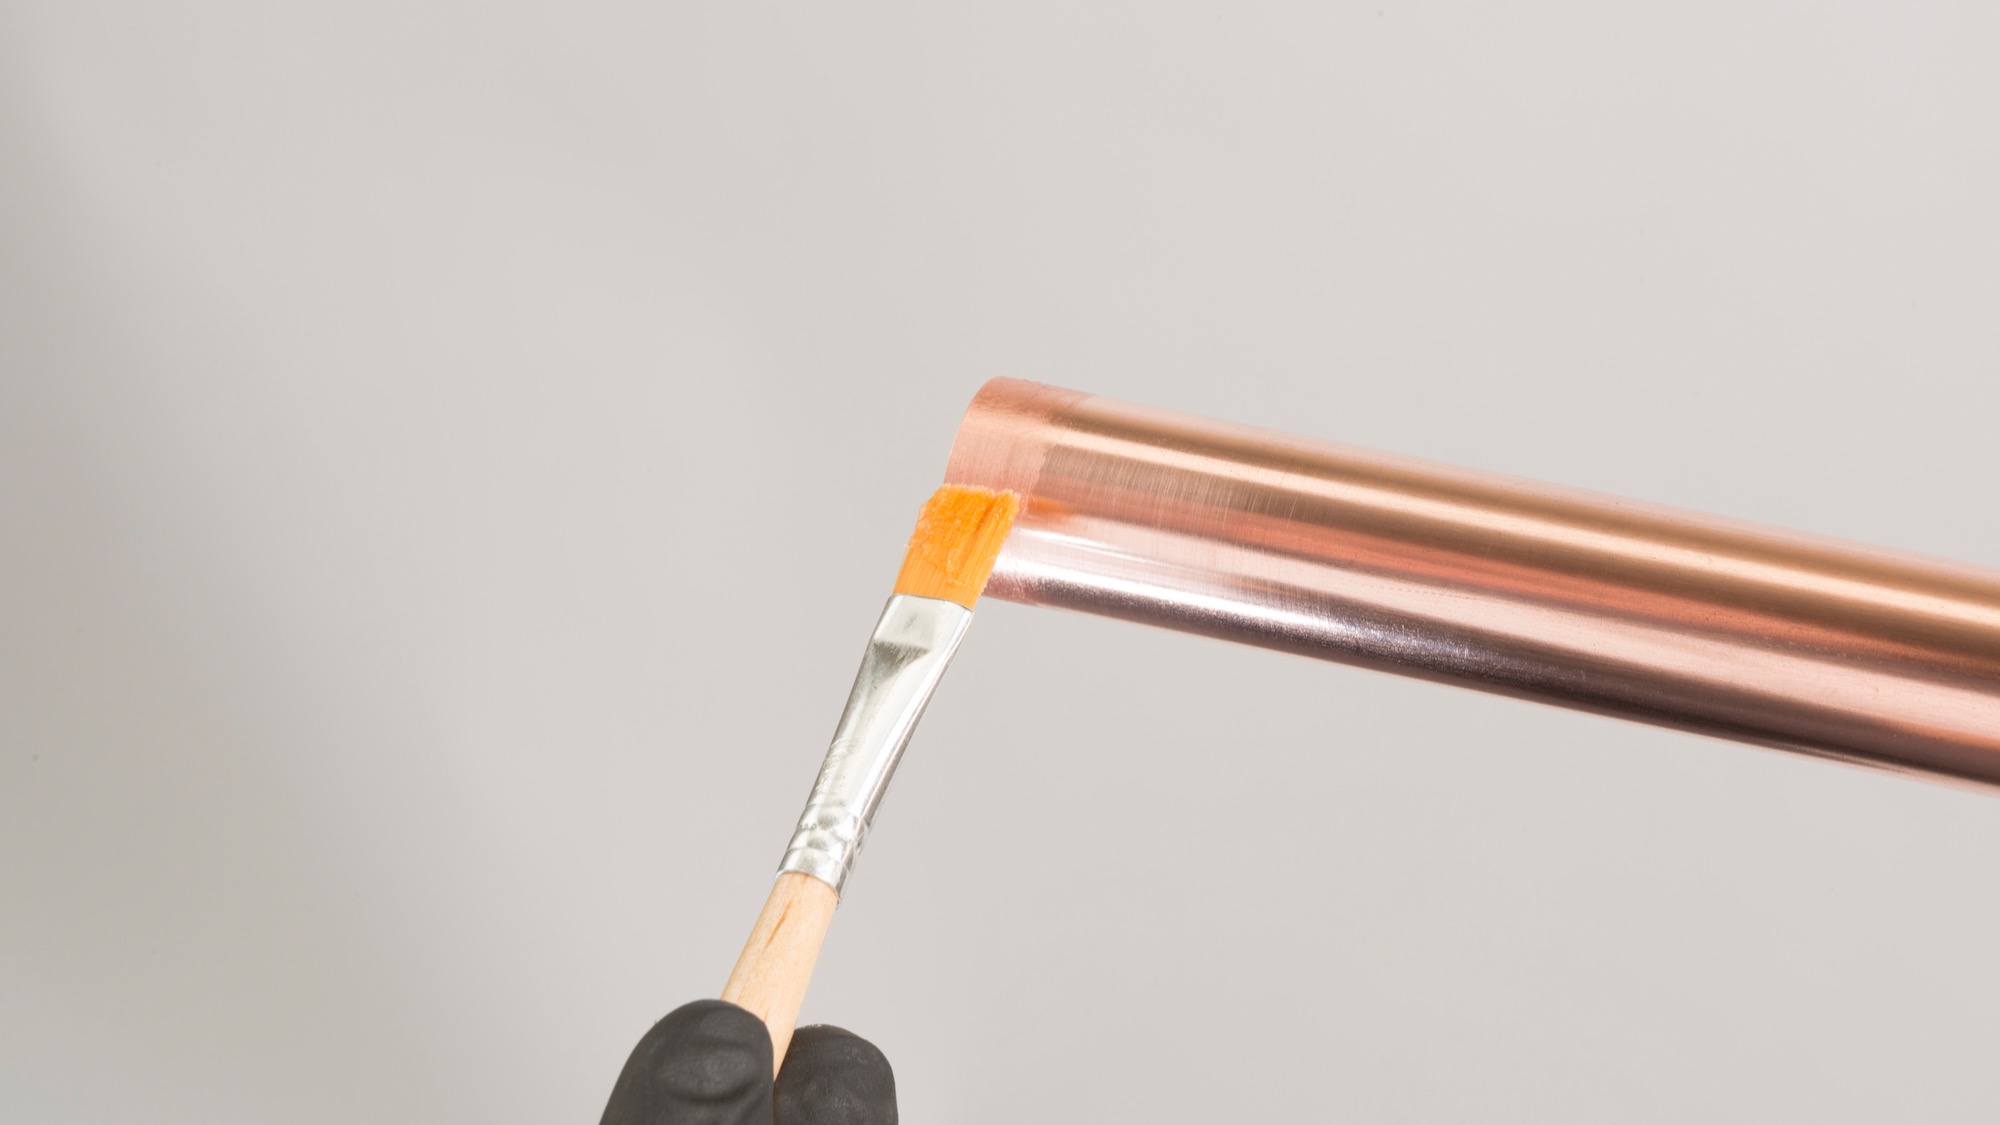
Choose a flux that is compatible with the fitting, copper tube, solder and intended service. Apply a thin, even film only to the mating surface or surfaces specified by the flux and fitting instructions. Work promptly after cleaning, and avoid loading the joint with excess flux.
Insert the tube fully until it reaches the fitting stop. Use a small twist only where the product instructions permit it, then align the joint without strain or side load. Wipe away visible external excess flux before heating. Flux and residue must not be left inside or outside the completed system.
Heat evenly and feed the solder
Set up and use the torch in accordance with its instructions, with the fire controls already in place. Warm the copper tube and fitting evenly around the joint using the method specified for the exact fitting. Keep the flame out of the fitting cup and avoid concentrating heat in one spot.
Test the solder at the joint rather than melting it directly in the flame. When the assembly is hot enough, the solder should melt at the joint and be drawn through the overlap by capillary action. Follow the product method for feeding it around the joint. If the solder will not flow, remove it and reassess the heat and preparation instead of adding a surface blob.
Do not overheat the assembly. Burnt flux cannot perform its job correctly, and excess heat does not prove that solder has penetrated the overlap. Stop if the joint or surroundings cannot be heated safely and controllably.
Cool naturally and remove residue
Remove the heat and leave the joint undisturbed while it cools naturally. Do not twist, load or quench a hot joint, because forced cooling or movement can stress it before it has settled.
Once the joint is cool enough for the specified cleaning method, remove remaining flux and surface residue with the appropriate damp cloth or method in the product instructions. Check the surrounding area for heat damage or signs of ignition, and continue the required fire watch rather than leaving as soon as the flame is off.
Test before use or concealment
Restore or refill the water or heating system gradually using its specified procedure. Inspect the complete fitting and surrounding pipework, then carry out the required test at the specified test and normal operating conditions. Flush new or altered pipework where the applicable system instructions require it, and keep the joint visible until it has passed.
An initially dry surface or visible line of solder is not proof that the joint is sound. If leakage or doubt appears, isolate and depressurise the system before any correction. Follow the fitting instructions for remaking the joint, or ask a competent plumber to assess it. Never try to reheat or add solder to a pressurised joint.
Once you have confirmed the service, pipe size, component compatibility and installation instructions, explore PlumbHQ's End Feed Fittings range for a suitable next step.