
In this guide
Compression fittings give you a practical way to join compatible pipework without making a soldered joint at the connection. The useful choice, though, is not simply “brass or plastic” or “straight or elbow”. A sound selection starts with the connection design, then checks the pipe, fitting components, intended service and current manufacturer instructions as one complete system.
Once those points are separated, the range becomes much easier to understand. You can compare Type A and Type B designs, material families and fitting shapes without assuming that parts which look similar are interchangeable.
How a compression joint works
In a common Type A fitting, the main parts are the fitting body, compression nut and a separate sealing element, usually called an olive or compression ring. The tube enters the fitting to its stop. As the nut is tightened by the approved method, it drives the olive against the tube and fitting seat to form the connection.
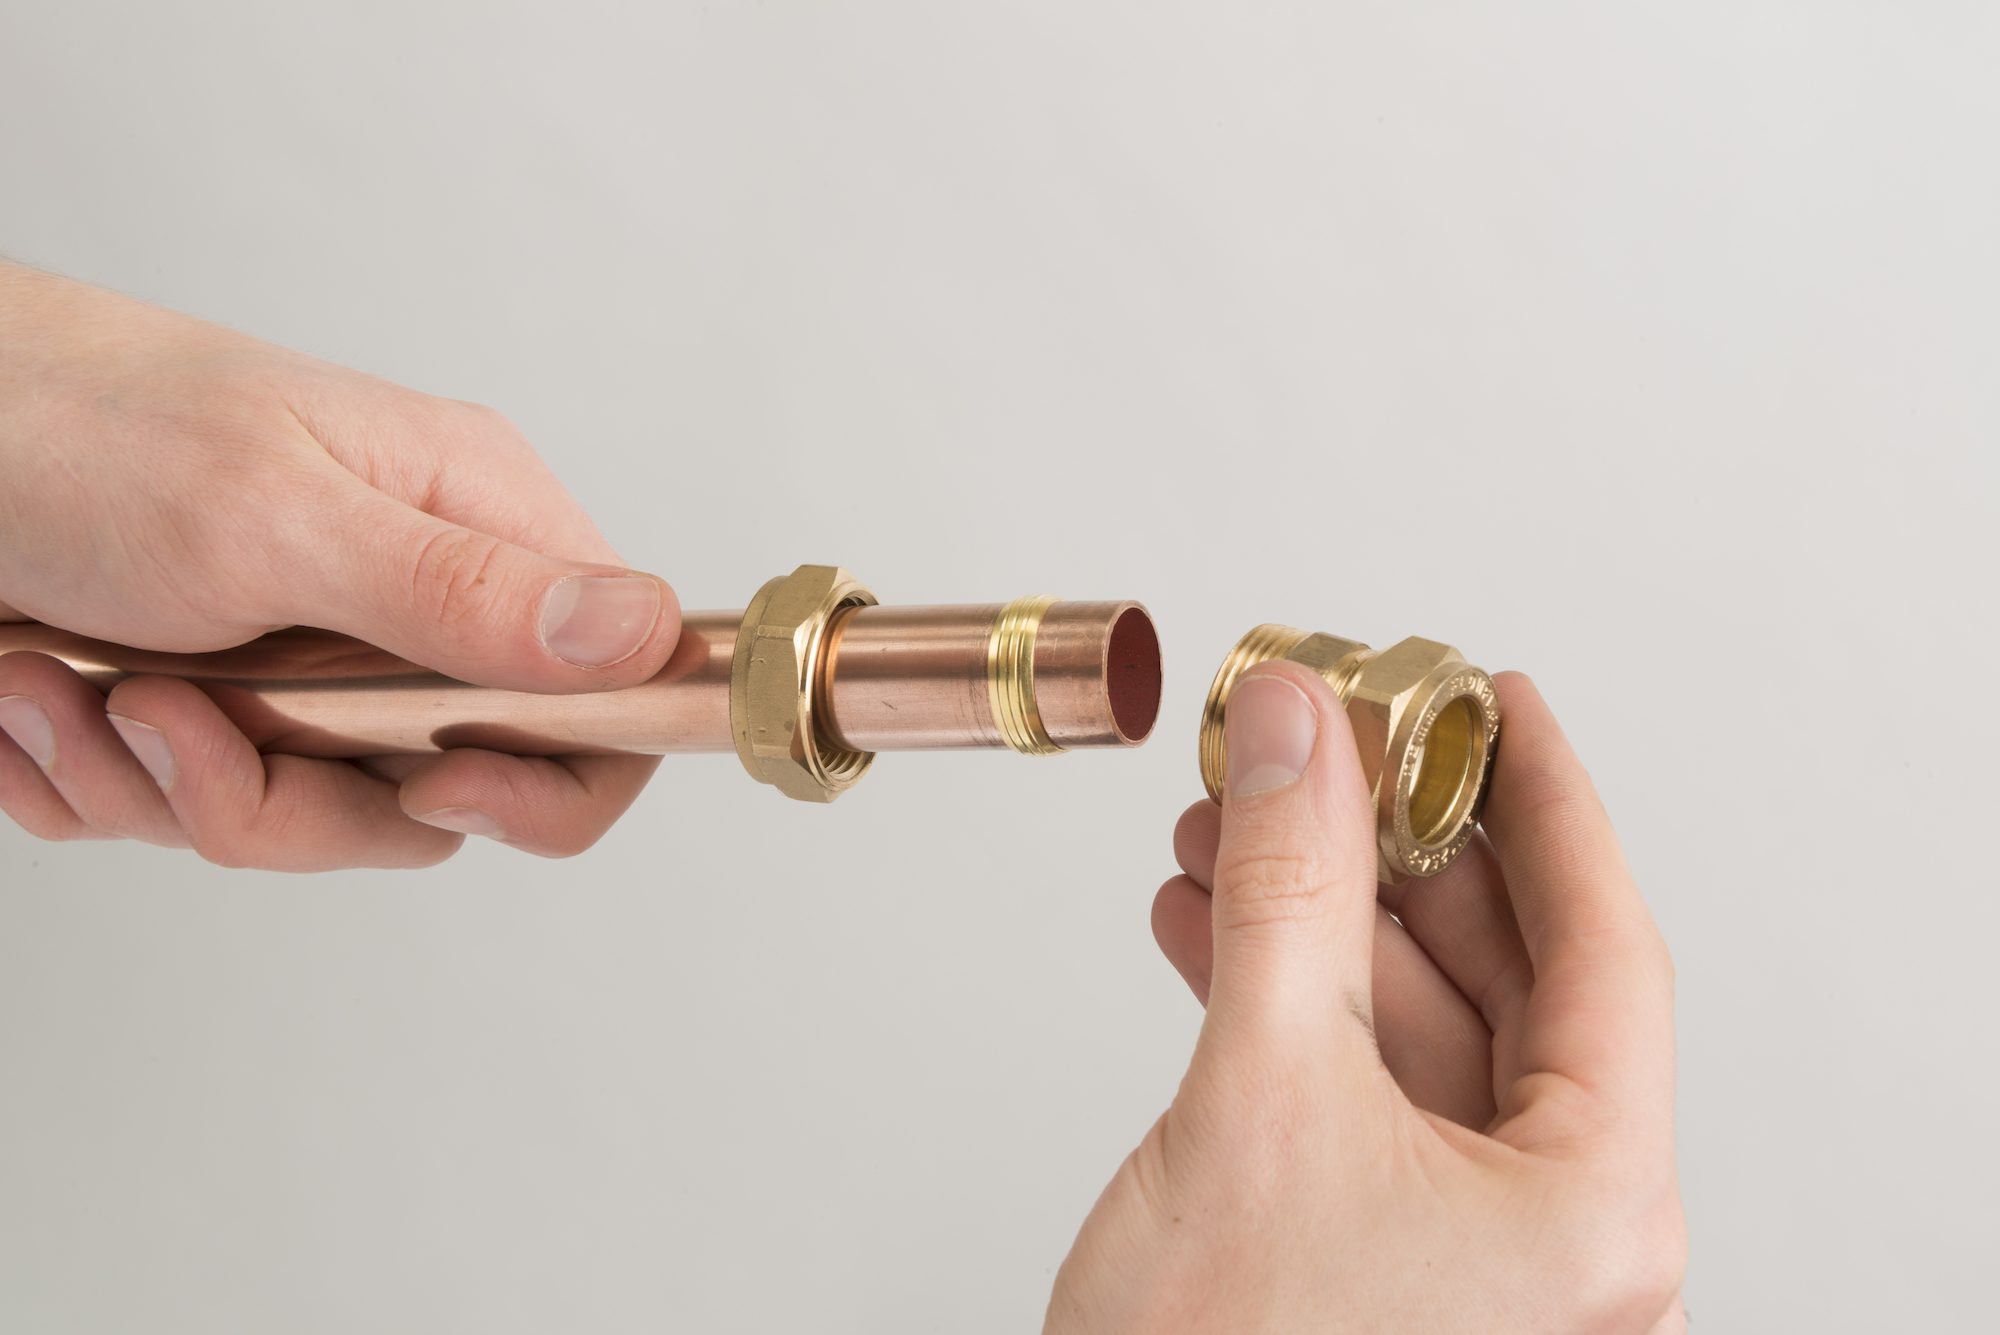
The nut thread supplies the clamping force, but it is not itself the pipe seal. That distinction matters when considering sealants: PTFE tape or jointing compound should not be added to a compression seal unless the exact fitting instructions require it. Other products sold as compression fittings can use different sealing and gripping parts, so this familiar nut-and-olive arrangement is not a universal blueprint.
If you want a short introduction to the parts and purpose first, read What are Compression Fittings?.
Type A and Type B designs
For copper and copper-alloy fittings used with copper tube, BS EN 1254-2 describes two different connection designs. Type A is commonly called non-manipulative. It uses a separate metallic or non-metallic sealing element and does not normally require the tube end to be formed before assembly.
Type B is commonly called manipulative. It has no separate sealing element and requires the tube end to be formed in the way specified for that fitting. The required shape, preparation, tooling and permitted copper-tube hardness are product-specific, so Type B should not be reduced to one universal flare or installation method.
These labels belong to a defined standards context. They should not be applied automatically to every plastic, stainless-steel or proprietary product that uses “compression” in its name.
Material families are not interchangeable
Brass and other copper alloys are common body materials for UK plumbing compression fittings. A chrome-plated fitting is usually a finished variant rather than a different connection principle, so the plating does not by itself change the need to check the underlying fitting and service data.
Bronze, stainless-steel and plastic compression products also exist, but material names are not a performance ranking. They do not, on their own, establish pressure or temperature limits, corrosion resistance, potable-water approval, gas suitability, durability or compatibility with a particular pipe.
There can also be a substantial design difference. Some plastic or MDPE compression systems use a nut with a gripper or split ring and an elastomeric seal rather than the olive arrangement found in a common Type A copper-tube fitting. Treat each as its own engineered system and use only the components specified for it.
Match the fitting to the pipe
Start with the exact pipe material, outside diameter, dimensional standard and hardness. Copper, PEX, polybutylene and MDPE describe different pipes with different system requirements. A nominal size or a close visual match is not enough to confirm that a fitting, olive or insert is suitable.
Many compression fittings can connect compatible plastic pipe, but not all can. Check both the pipe and fitting manufacturers’ current instructions. Where an approved connection needs a support insert, use the specified insert and permitted olive, confirm that the fitting provides the required insertion depth, and keep the olive within the supported section of pipe as directed.
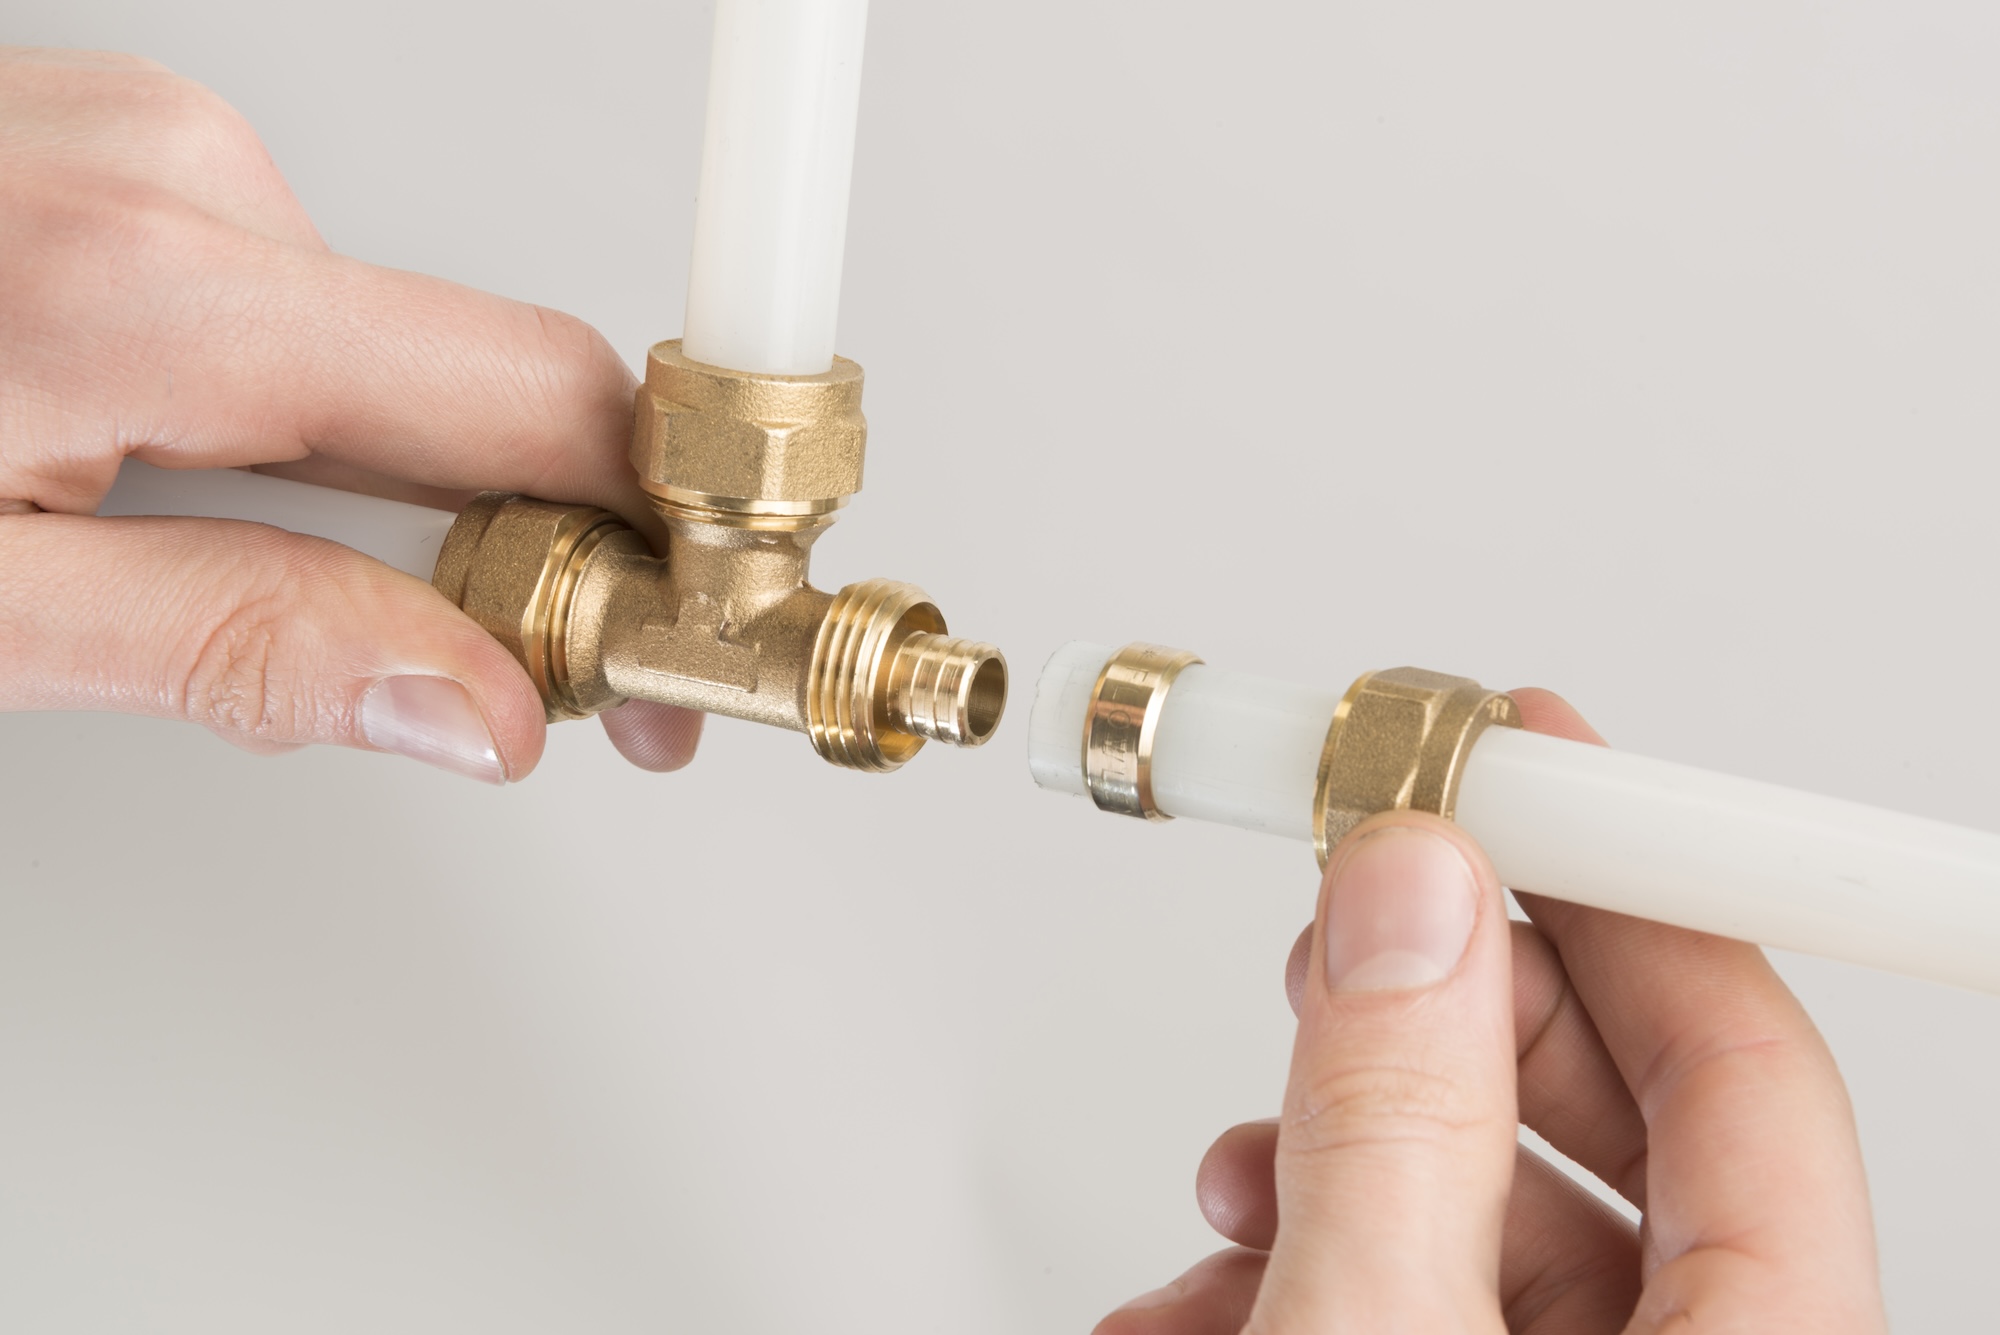
The same caution applies to copper tube. Soft or annealed copper may require internal support for a particular Type A fitting, while Type B has its own tube-hardness and end-preparation requirements. Follow the exact fitting manufacturer’s advice rather than carrying an insert rule from one product family to another.
Choose the right configuration
Once the connection system and pipe compatibility are settled, choose the fitting shape for the route or transition you need:
- straight couplings join two compatible pipes in line;
- reducing couplings join approved pipes of different outside diameters;
- elbows change direction;
- tees create a branch;
- stop ends close an approved pipe end;
- threaded adaptors and valve connectors transition to another approved component.
A shape name describes what the fitting does in the pipe layout. It does not prove the pipe material, thread form, size range, service approval or working limits. Check the full product description and instructions for the exact variant.
Check service approvals and limits
Pressure and temperature ratings belong to an identified product in an identified service. There is no safe universal 16 bar figure for every compression fitting. Before selection, confirm the intended medium, operating and test conditions, current product approvals, pipe compatibility and any environmental restrictions.
For drinking-water pipework, check the applicable water requirements and the product’s current evidence of suitability. For heating, compressed air, fuel, underground work or other specialist uses, verify that the exact fitting, tube and installation method are expressly permitted. Do not infer approval from Type A, Type B or body material alone.
Gas work and other regulated services require the appropriately registered or competent installer. Live or pressurised systems must not be used as trial-and-error checks, and burial or concealment should proceed only where the fitting system and applicable requirements expressly allow it.
Install, test and hand over safely
Selection is only complete when the proposed joint can be assembled and commissioned by the specified method. Isolate and depressurise where required, use undamaged tube and matching components, prepare the tube as directed, seat it fully, and tighten using the manufacturer’s instruction. Do not substitute a generic number of turns, torque value, olive, insert or sealant.
Inspect the completed connection, then test and commission the system using the procedure for the selected product and service. If a joint is damaged, leaks or fails inspection, isolate it and follow the manufacturer’s remedial guidance rather than repeatedly tightening or assuming the body and sealing parts can be reused.
For a dedicated preparation and assembly walkthrough, continue with How To Install Compression Fittings.
The practical buying sequence is straightforward: identify the pipe, choose the connection design and shape, verify the service limits and approvals, then check every installation component. With those details confirmed, you can explore Compression Fittings with a clear specification in mind.